DIY Delicate Floral Headbands with Puvithel
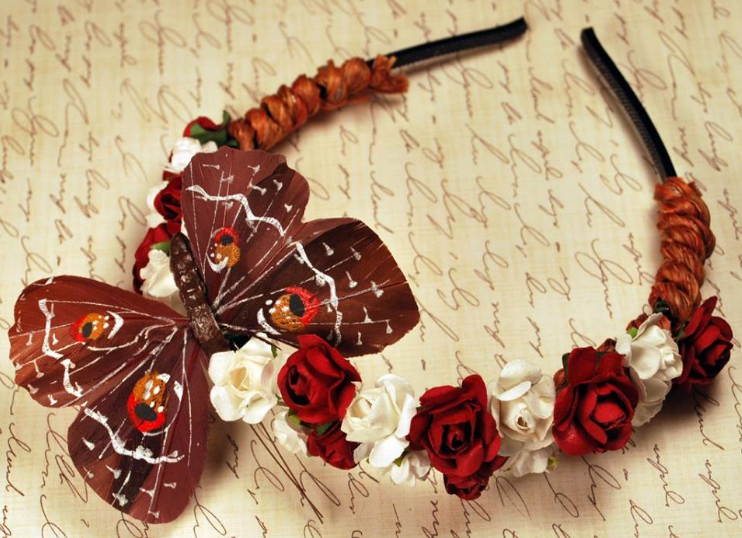
Looking for a hair accessory to match your coordinate? Are you preparing for a springtime meet and would like to add a little bit of floral detail to your outfit? Worry no further! I’ve got instructions for a quick and easy floral headband for you!
Now I’m sure many have you have seen those large floral crowns at conventions and on instagram, but what we’re making is a little more delicate than that.
Put away that glue gun! We’re going to use some basic wire-wrapping for this piece. The glue-gun may be the quick-fix tool of choice for many DIYers, but I find for most applications it is unstable and can be unattractive if you can see the glue welds. Wire-wrapping,on the other hand, is stable and can be woven into intricate patterns.
Also, you can wire wrap almost anything!
Lil’ birb wants to know why I put its eggs on my head. Fashion, birb! FASHION.
Tools
For this craft, you don’t need any special tools (though I recommend a good pair of wire cutters to snip any pokey bits).
Materials
- One (1) Headband base
- Thirty (30) Paper Flowers (approximately)
- Embellishments to Taste
- Floral Wire (I use 24 gauge, but any will do)
You can also use floral decorative wire to add a more natural look to the base of the headbands, or use floral tape to wrap the headband after finishing it for a smoother base.
I get my materials in bulk from a wholesale supplier, but you can find feather butterflies with small wires and paper flowers in any crafts store (check by the dehydrated moss and gardening miniatures or in the wedding sections). To help you find them online, here’s some helpful search terms: ‘Feather Butterfly Ties’, ‘Mini Paper Flowers’, ‘Paper Roses’, ‘Bird Decor’, ‘Wedding Decor’
Let’s Get Started
I need something to coordinate with a punk-lolita outfit, so I picked up two shades of red flowers and some spikes.
To start the floral pattern on the headband, I take the first flower and start from the bottom of one side of the headband. I’m going to start with my flower a little off the base of the headband in the following pictures so you can see the wire-wrapping a little more clearly, but in practice, it’s good to have the flower touching the headband, or as close to the headband as possible.
I’ve now made one simple loop with my first paper flower, but the flower isn’t quite secure yet. In order to fully secure it, I take the remaining wire and loop it back around the flower. Be sure to wrap your wire tightly!
That flower isn’t going anywhere. I repeat the first and second steps again for good measure (and so I don’t have a ton of excess wire sticking out).
Any remaining wire can be wrapped around the headband base or the flower as you wish, or snipped short with wire cutters. Repeat this for following flowers. You can wrap excess wire around other flowers as you go for extra sturdiness.
Fantastic. Now for the spikes. You might be thinking, “There wasn’t a wire on that spike! How are you going to wire wrap that?” The answer: with the floral wire! I just place the wire behind the divot in the spike and wrap the wire around it.
This next part requires a little finesse. With one hand, hold the spike against the headband and the flower bunch you’ve prepared. Now, while pulling on the wire to keep it tight, wrap one end of the wire around the headband base, similarly to how we wrapped the first flower. (Please ignore my gross nails ;_;)
Repeat this for the wire on the other side of the spike and wrap any excess wire to the headband or around the nearby flowers as you wish. Now with our next flower, when we loop around the headband, we are also going to loop around the spike for extra security.
And that’s it! Repeat the steps above as you work your way along the headband.
Time to glower menacingly for a selfie!
(Bonnet by Cloudberry Lady; Hairclip, Headband and Earrings by Puvithel)
I’d love to see what you make! You can contact me and see more of my things via the links below.
Happy Wire-Wrapping!


