2021年7月12日


Individual Posing Tweaks I—Part IV
当サイトの記事には広告、アフィリエイトが含まれています。
You made it to Part IV of my posing series. Congratulations!
This tweaks post will also be broken into two parts since it was so long, so please, please bear with me!
After you’ve managed to find a pose that works for you, the photographer may tweak you to get the best angle for your face for the existing light, make you look a little more flattering, or highlight a part of your coord that you want to highlight. For some of the most common tweaks that I find myself making in my models, read below.
No matter how awesome your poses are, expect your photographer to tweak you. There’s no possible way to anticipate every tweak a photographer might give you; it’s situational, and it has a lot to do with your location, the lighting, and the individual photographer’s style as well as your experience in posing. Below are some common tweaks that I do often, explained.
Take Your Time
This is a point that I run into often: people think that they have to make huge pose change after every camera click! This is a tip commonly spread around back in the day to help people change up their poses and not just pose the same way for every photo. While variety is great, there’s at least one big, important reason not to do this: you don’t allow yourself to be tweaked.
Aside from other things, this is rather frustrating for the photographer (just like not changing your pose enough can be). If you hit an excellent pose for one shot, and then move on to the next one, your photographer won’t have time to tweak you so that you look your best. Now, you can always go back, but even if you remember what you were doing (which is unlikely), your body will forget the subtleties of that stunning pose. You’ll never truly get back to what you had earlier. Additionally, the photographer can’t give tweaks to help you get to know the angles and poses that work for you, therefore making it less likely that you’ll get better at posing at all.
Unless you’re an experienced model who already knows your angles trying to get though a set number of poses in a short amount of time (ie. modeling for a taobao brand, for example), I would highly recommend that you not change it up so much between each shot. If you want to make changes, and you should, make small ones: adjust the angle of your arm or how you rest your hand, tilt your head in a different direction, change the direction you’re looking, or shift your weight onto a different leg. Just make sure that you give your photographer time to set up and take the shot, make sure it’s in focus, etc. Remember that cameras can sometimes be troublesome and unruly things, and lenses even more so. When in doubt, ask your photographer how often they want you to change poses on your own, or if they want you to change at all. Cooperation is key!
Kal Frenzel. Slight moves are best moves. A little pose change can shift the entire look of the photo.
Chin
Always be aware of your chin. Generally, it is most flattering to keep your chin out and down to combat double chins, prevent your neck from looking like it merges into your face, and emphasize your jawline. It feels stupid—and it feels like you look stupid—but I promise that it makes a world of difference.
“Out and down” is the best way I can describe this position, and it’s bit difficult to explain without being able to be there. I find this is where a lot of models don’t know what I’m talking about, so I’m going to try to explain it:
Look forward at a spot on a wall ahead of you, keeping your chin parallel to the ground. Without moving your shoulders or the rest of your body, push out your face toward the spot on the wall. When you do this, try and keep your chin parallel to the ground. You should feel some tension in the back of your neck at the top of your spine. Then, move your chin slightly down about 10 to 20 degrees while maintaining the face-towards-the-wall position. Then, turn your nose slightly away from the camera at an angle. Memorize how extreme this position feels, then loosen your muscles, shake it out, and resume the position. This is where you should be—not too tight, but still pushing it enough to feel a little weird.
Kal Frenzel. Before pushing out and down is on the left; after is on the right.
You’ll be able to tell a difference in your neck and jawline. This position creates a separation between your neck and face, even if you don’t have a great jawline. Take selfies like this to find how much “out and down” you prefer. It will look weird to you at first since you know you are pushing out your head, but as long as it’s not too extreme, most other people won’t be able to tell. If you practice this position often enough, it will come naturally to you and you won’t even have to think about it anymore!
Quick tip: Suffer from chronic double chin syndrome? Press the back of your tongue to the roof of your mouth as hard as you can. This tightens the neck muscles and prevents the tissue below your tongue from hanging down as much.
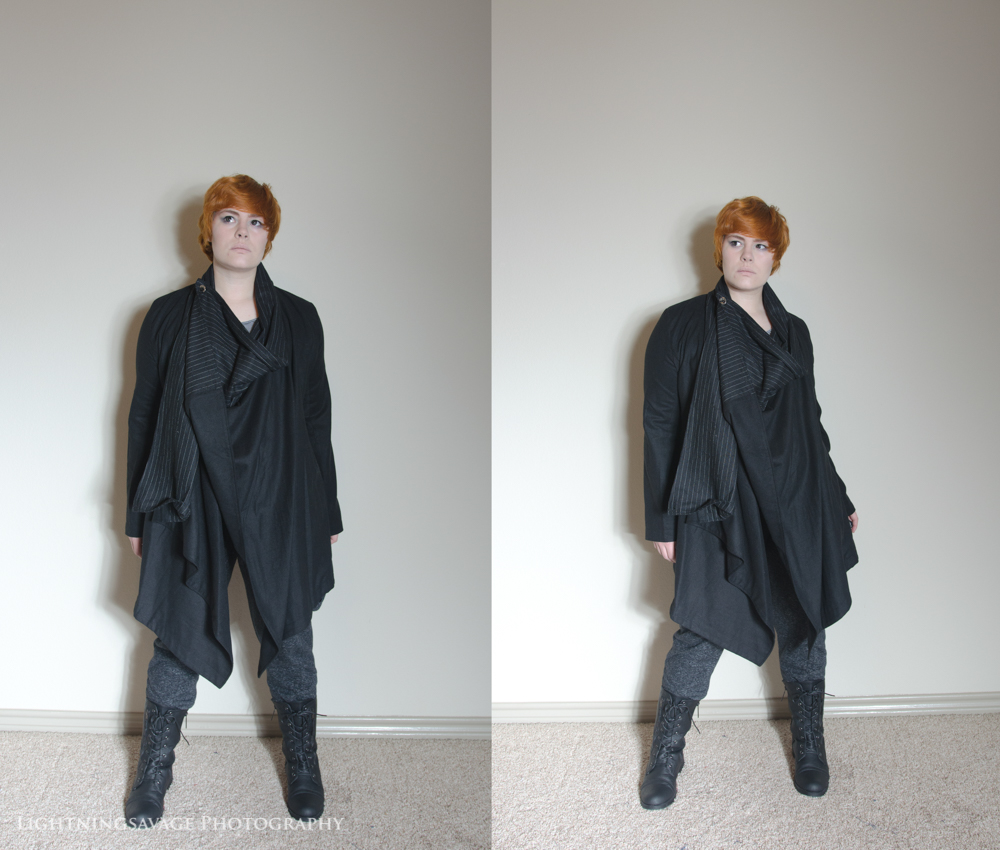
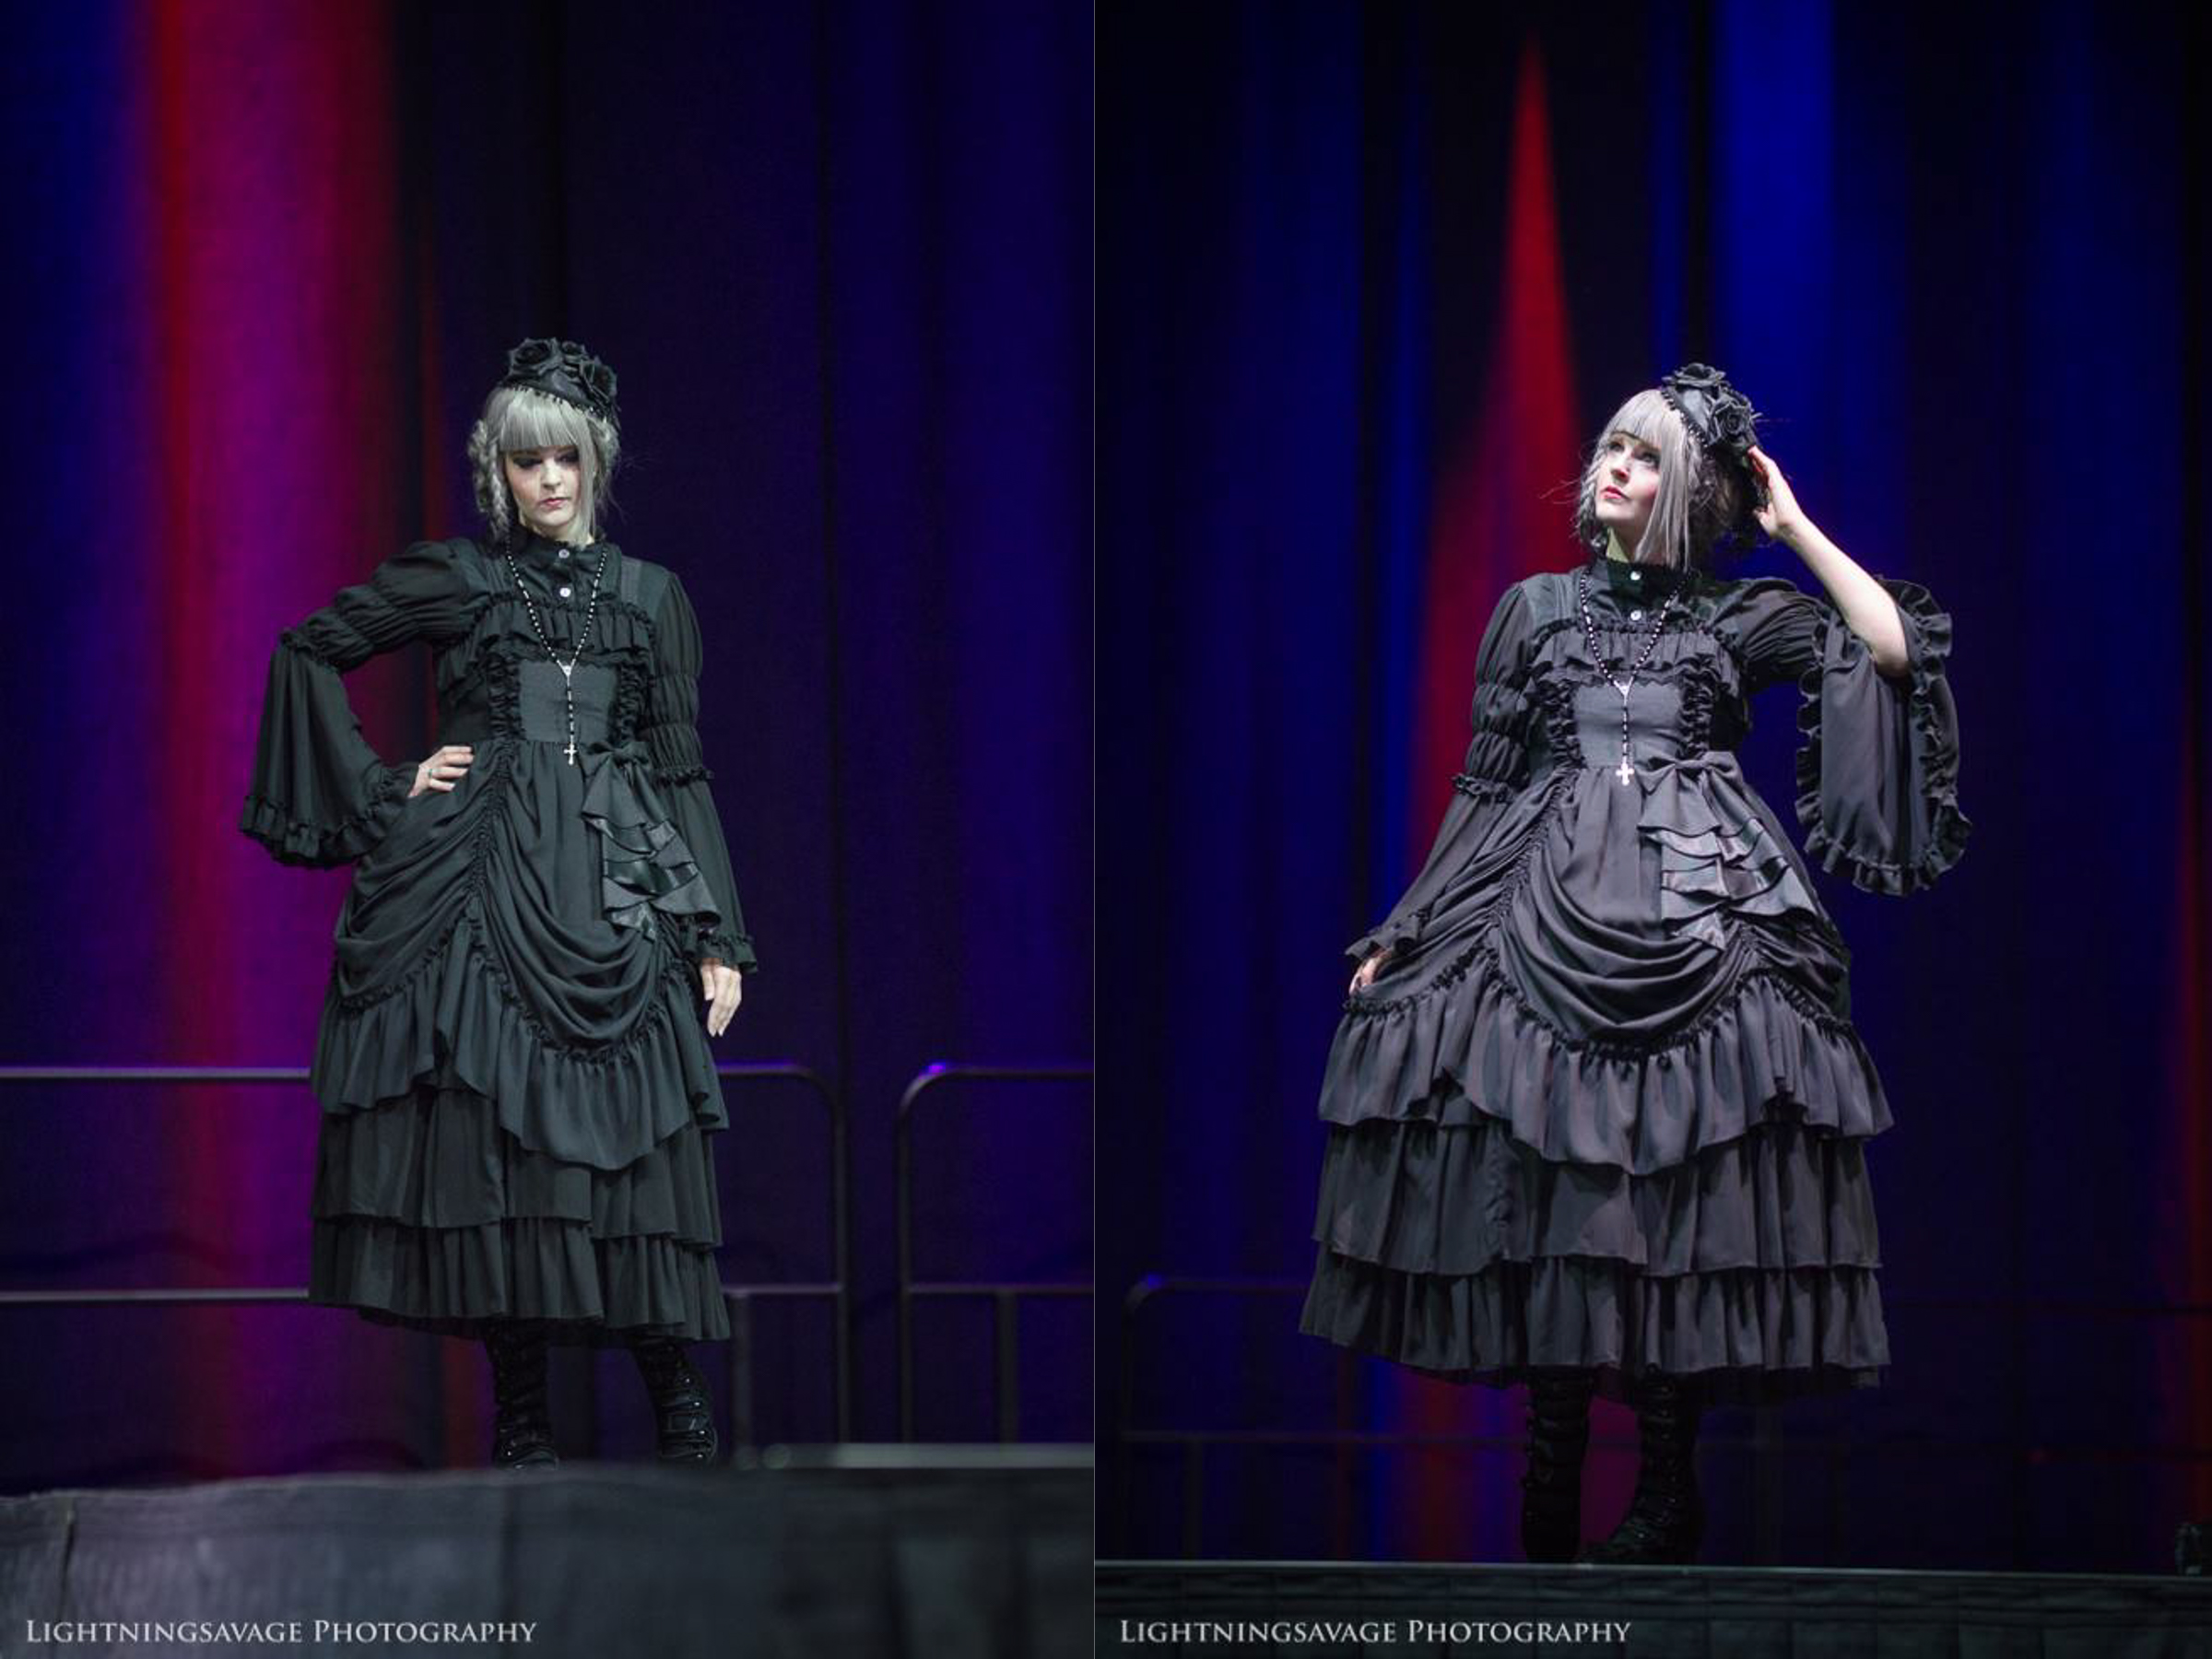
This photo was taken at the Posing for J-Fashion Panel with Lapin and Lupin at Oni-Con in 2016, and it is a prime example of how much of a difference proper chin placement makes. Note the model’s chin here (this is before and after I tweaked her—before is on the left, after is on the right).
Martha Coleman
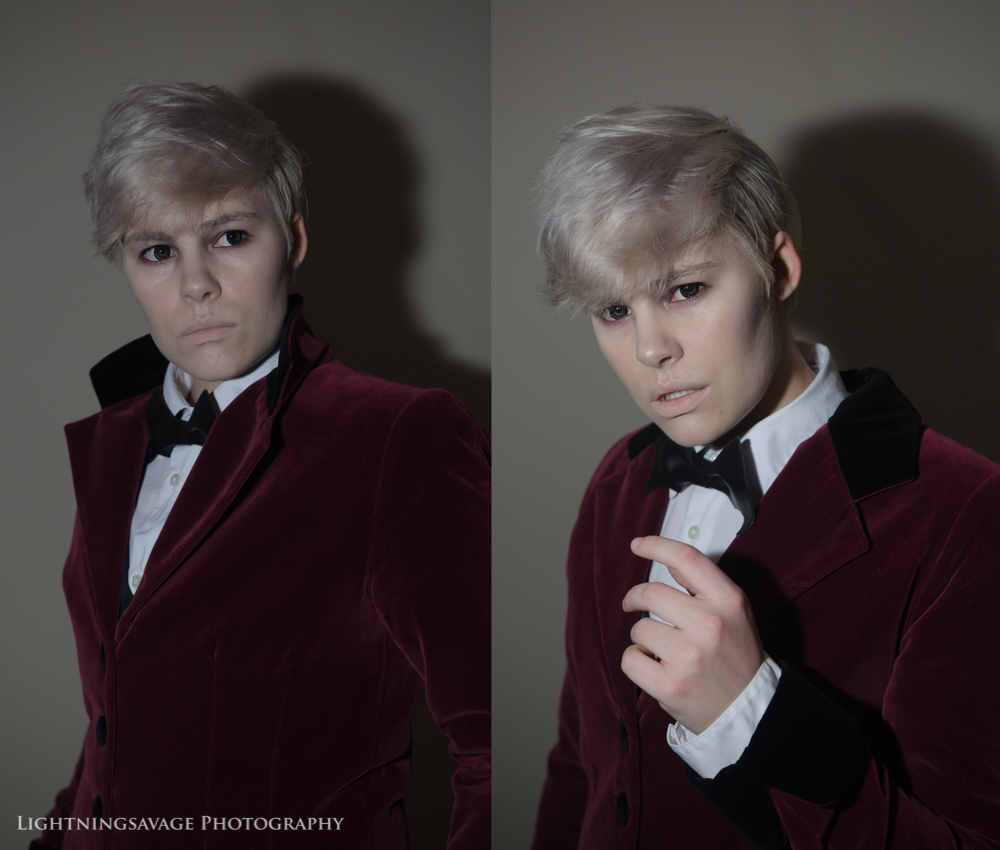
Angling your head up or down can say a lot about you too. When posing anyone—masculine or feminine—I tend to bring everyone’s chin downward first. A lot of people start by having their chin up, and that can sometimes be read as haughty, commanding, or arrogant. However, angling your chin up can look flattering on a lot of people, and as I’m learning while shooting for my new Instagram account, @kaldec_ , I am one of those people.
Kal Frenzel. Follow me on instagram @kaldec_ !
Nose to the Light
Unless it’s done intentionally, make sure your face can be seen. A portrait where your face is hidden is not that interesting, even if you want the focus of the image to be your clothing. The human brain likes faces (that’s why we find them in so many different inanimate objects :o), and if a face is shown, humans will naturally look longer than if the face is in shadow or not visible.
A simple way to make sure your face is lit is to think about pointing your nose to the light—or at least in the same general direction. Take the photos below, for example. Same model, same show, taken not even 10 seconds apart from each other! Just look at the difference it makes when your face is properly lit.
Lauren Allen, A-Kon Fashion Show, Atelier Pierrot, 2017
I recently modeled in an indoor shoot with a friend where we were working entirely with the indoor overhead lights. The lighting was just terrible, but the photographer was able to work the lighting into some pretty cool shots. It was fun to put this tip into practice, and I’m quite pleased with how the photos turned out!
Becky Maset and Kal Frenzel. Photo by Jonathan Vilches (IG: @j.a.vilches)
Look 10 lb Thinner
Another thing you should be aware of is your arm position in relation to your body. Most people have an hourglass shape (even if it’s a slight one), which is definitely something you want to emphasize in Lolita. To do this, float your arm just to where there’s a break between your body and your dress. You should be able to see the wall or backdrop through your body—this breaks up your body in a very good way, making you look thinner.
Here’s the reason why: if you pose with your arms by your sides without that gap, your torso will look as wide as your waist plus the width of your arms. In other words, your arms and torso will kinda merge and you’ll look boxy and way, way more overweight than you actually are. With that gap, the person who looks at the photograph will be able to see your beautiful waistline and know that your arms are, indeed, not a part of your body.

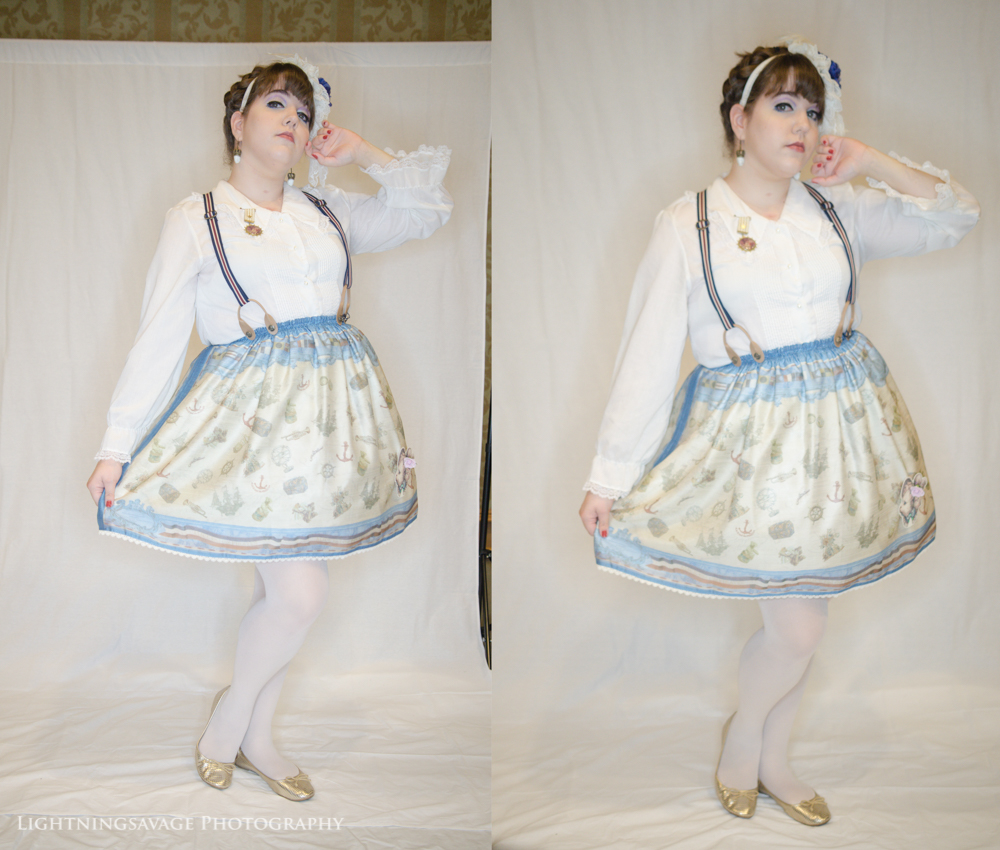
Khalif Siahaan, Houston Japanese Festival, 2018
For another quick fix, turn your entire body about 20 degrees away from the camera in either direction, then look at the camera with your head. You just exposed the thinnest part of your body. Combine that with the arm/waist gaps and you’re good to go.
Eyes
They say that the eyes are the windows to the soul. Certainly, they are one of the first places that we look with our own when we meet someone new. When studying photography, I read time and time again that it was important to “focus on the eyes” when taking a portrait. If everything else is out of focus, the eyes should be tack sharp—this is for reasons that I’m sure you know intuitively. Eyes can attract a person. Ever take a selfie where your eyes look amazing and you’re glued to the photo for a few minutes? That’s what we, as photographers, want for our models’ photos. Our models should be seen.
So how do you get amazing eyes? One way to instantly brighten up your eyes and make you look more engaged in the photo is to have a catchlight. A catchlight is a reflection of the light in someone’s eyes from a light source used to light the image. Some photographers will even set a light specifically for catchlight while setting up their studio. While you don’t have to worry about this too much, the photographer is most likely always looking for ways to naturally make your eyes brighter and more lively–having a catchlight is one of them.
If you’re in a selfie situation or a situation where you’re using natural light (in other words, if the photographer isn’t using a flash of some sort) in the photo, look up slightly to allow the light to fall onto your eyes more easily. Don’t go looking straight up or anything—follow the posing rules about your head and neck, think about having a long neck, and tilt your nose up slightly. This will make it easier for the light to fall onto your face, and easier for a natural catchlight to fall into your eyes. No one wants their face in shadow.
In more creative situations, the photographer may ask you to look different directions, including down, off camera, up, etc. From a photography perspective, the model looking different directions makes the photo more interesting, have more energy, and gives a different feel to the image. If your photographer wants a more moody, introspective, mysterious feeling, he might have you look down at the floor. Conversely, if he wants a powerful feeling, he’ll have you look right at the camera with a very strong gaze. If he asks you to look off camera side to side, he might want a whimsical, fairytale feeling for the photo, or a feeling where the model isn’t in control of the story. Note how the mood of each photo changes below.
Mood: Lauren Addington, Vic Von Fabre, Susan Ly Johnson, Bree Love
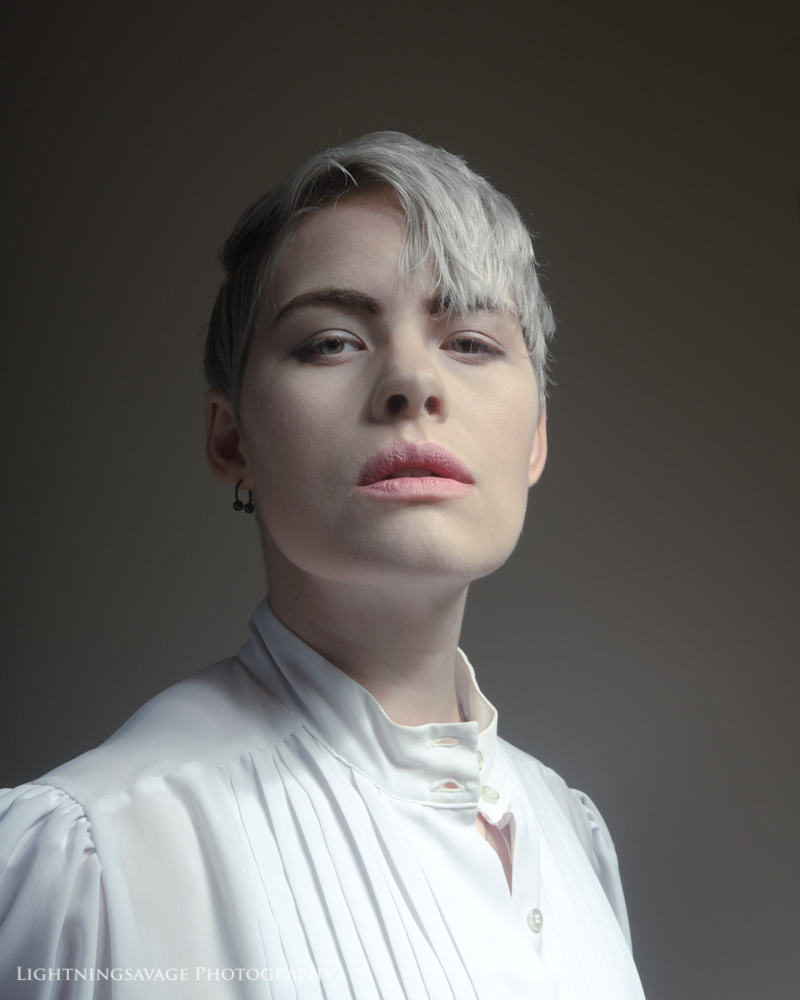
If you have an issue with always looking angry in your eyes, ie resting angry eye, you can practice the smize! This term was coined by Tyra Banks, and basically involves tightening the muscles underneath your eye and cheeks only, to produce a smile only with your eyes (hence, smize). I also call this a half squint when I’m giving pointers during a shoot, just in case my model doesn’t know what a smize is! Unfortunately, I’m one of these people who always looks angry when I’m resting my face, and I’ve learned this from years and years of taking selfies and self portraits (mostly from getting the photos back onto my computer, going through them, and going “yuck!” at literally every photo). Below is a great example, if a little exaggerated. For me, smizing helps add an element of mystery into my eyes, vs “I’m going to kill you” vibes. Bonus: it also helps you achieve that puffy undereye look that’s very popular.

Kal Frenzel. Note the catchlight in my eyes as well!
That’s it for part IV of my posing series teaks post. Keep an eye out for more tweak tips!
Kal from Lightningsavage Photography specializes in creative portrait photography for J-Fashion enthusiasts and more. He has served as the J-Fashion event photographer for Oni-Con 2016–2020, as well as fashion shows, meetups, and personal shoots. He is also a co-owner of Kuroshiro Kawaii. You can follow him on Instagram at @lightningsavage_photography and @kaldec_
He is currently into visual kei and EGA fashions.

Recommend
Sorry. No data so far.