2021年7月12日


Overcome Your Fear of Dyeing in 6 Easy Steps
当サイトの記事には広告、アフィリエイトが含まれています。
Lolita fashion’s thriving second hand market means that some of the clothes we wear have had long lives before they ever get to us. Clothes that are ten plus years old may come with some wear and tear. Stains and holes are within most lolitas’ power to fix, but what can you do about fabric that’s started to fade? Every gothic lolita’s nightmare is mismatching blacks and that problem is only compounded by age. For solid colored items, the answer is as simple as dyeing it.
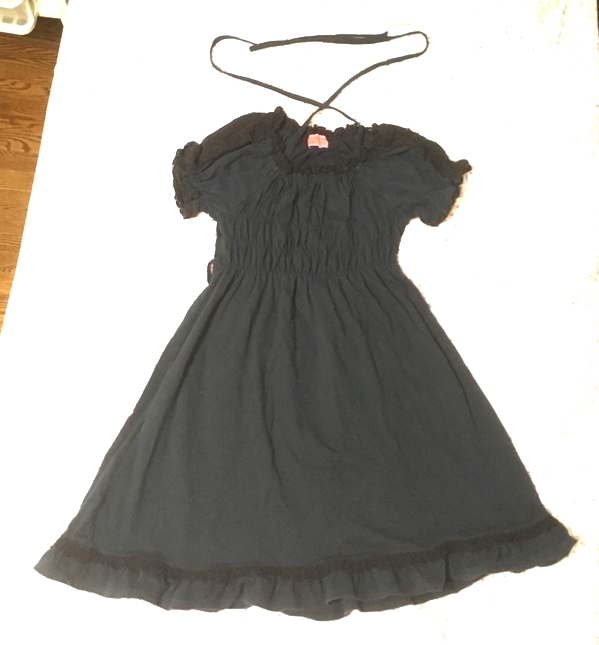
Dress before dye
I recently received an adorable Baby cutsew one piece dress that I believe is from 2003. The piece was in decent shape, but the cotton jersey had faded from black to a short of sad blue grey color. The cotton lace on the sleeves and neck line was still a dark black and made the whole thing look very worn. So I gathered some supplies to breath new life into this nearly 20 year old dress.
A few words of caution: lolita garments present unique challenges. Lace may not be the same material as the body of the dress and may react to dye differently. In the case of my dress, the lace had retained more of the dye than the fabric had, so there was no way I could make the contrast worse. However, if you’re dyeing a white dress a new color, you may end up with unexcepted results. If possible, test a small section on the interior of the dress to see how your lace and fabric take the dye.

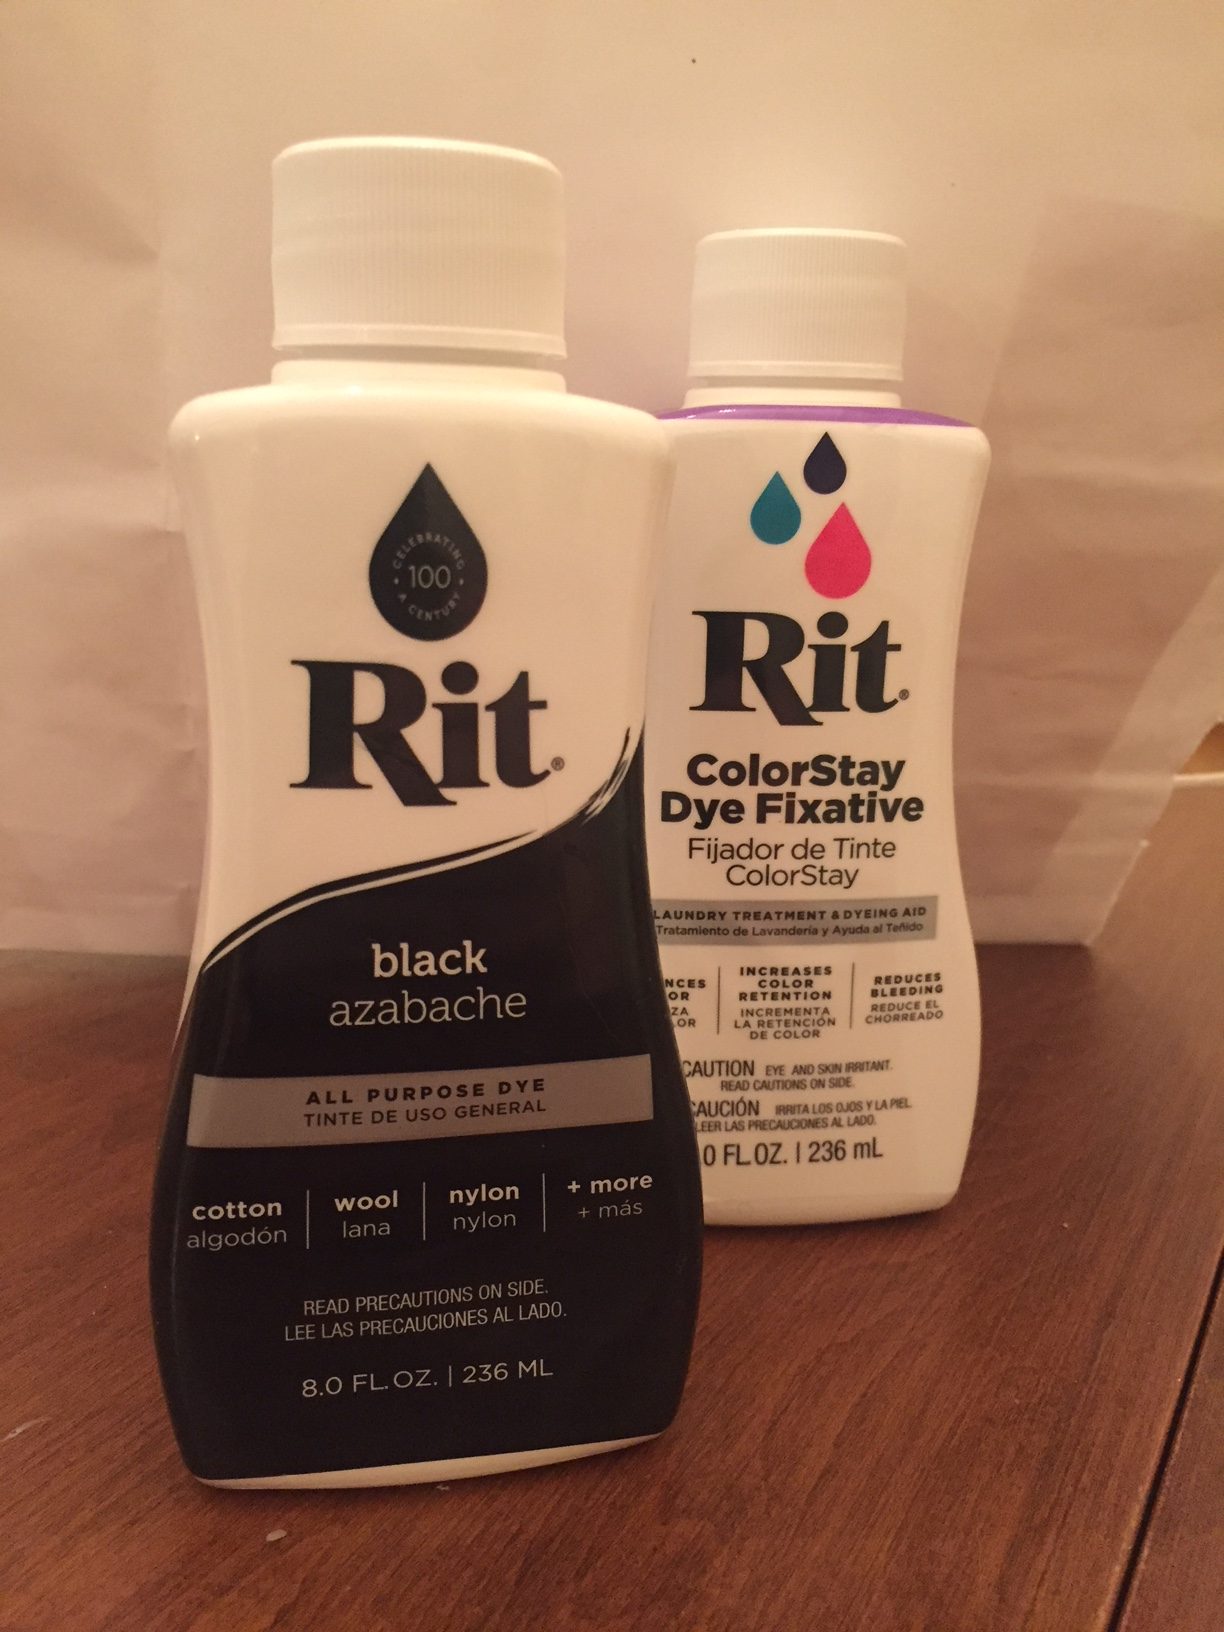
RIT Dye for Cotton
Supplies:
- Dye for your fabric (in this case, RIT dye for cotton)
- Spoon for stirring (not for food!)
- Bucket or pot for boiling water (not for food!)
- Towel or rag for cleaning up splatter
- Gloves
- Optional: dish soap, salt, dye fixative
These optional items help you achieve a darker color that won’t wash out. Check your own dye instructions for best results.
Dyeing isn’t so hard
- Wash the garment you want to dye to get rid of any stains or residue. Do not dry (you want your garment to be wet before dyeing).
Wet dress for dyeing
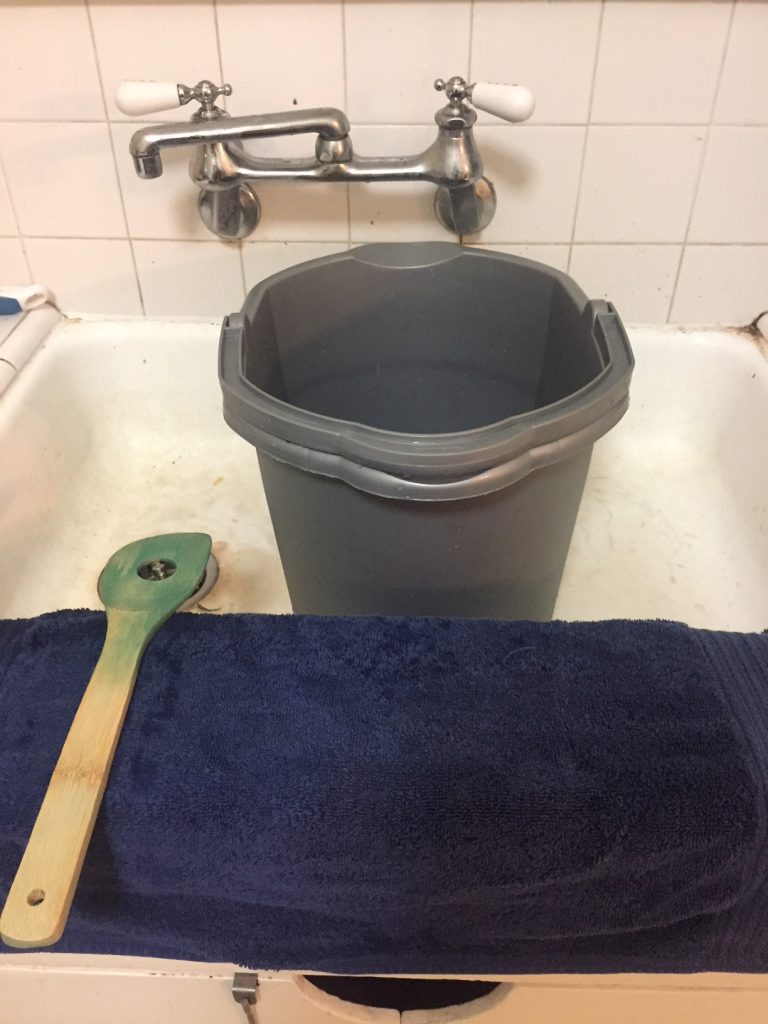
- Heat a pot of water to boiling. If your pot is a crafting pot (aka, it won’t get used for food again) then prepare your dye directly in the dish. Otherwise, get a bucket to transfer the water into. Make sure your bucket is large enough that your garment can move freely inside of it.
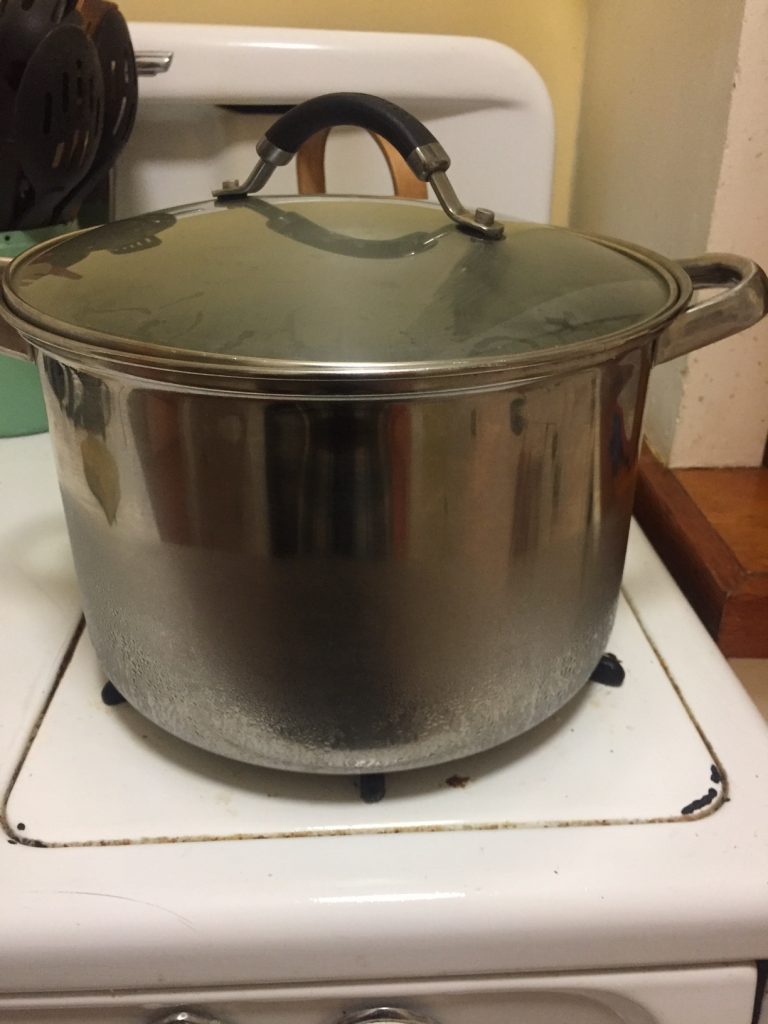
Big pot for boiling
- Carefully add the dye to your water and prepare according to the directions for your product. When the dye is thoroughly mixed, add your garment to the hot water. Submerge the garment completely and begin stirring. You want to ensure that the dye bath evenly reaches all parts of the garment. Continue to stir for the desired dye time (I left my dress in for approximately 45 minutes). The longer it sits in the dye bath, the darker the color. Remember that the garment will appear darker when it is wet.

- When you have completed the dye bath, drain the liquid carefully (don’t splash your sink). If you are using a dye fixative, prepare and add this now.
- Rinse your garment with cold water until the water runs clear. This may take a while. You may also begin cleaning up your sink so the dye doesn’t stain anything.

- When the water has run clear, wash the garment in your washing machine in cold water. When the wash cycle is finished, run your washing machine through a cycle with no clothes inside to ensure there is no lingering dye inside. (Some people recommend using bleach with this cycle.) Dry according the garment instructions.
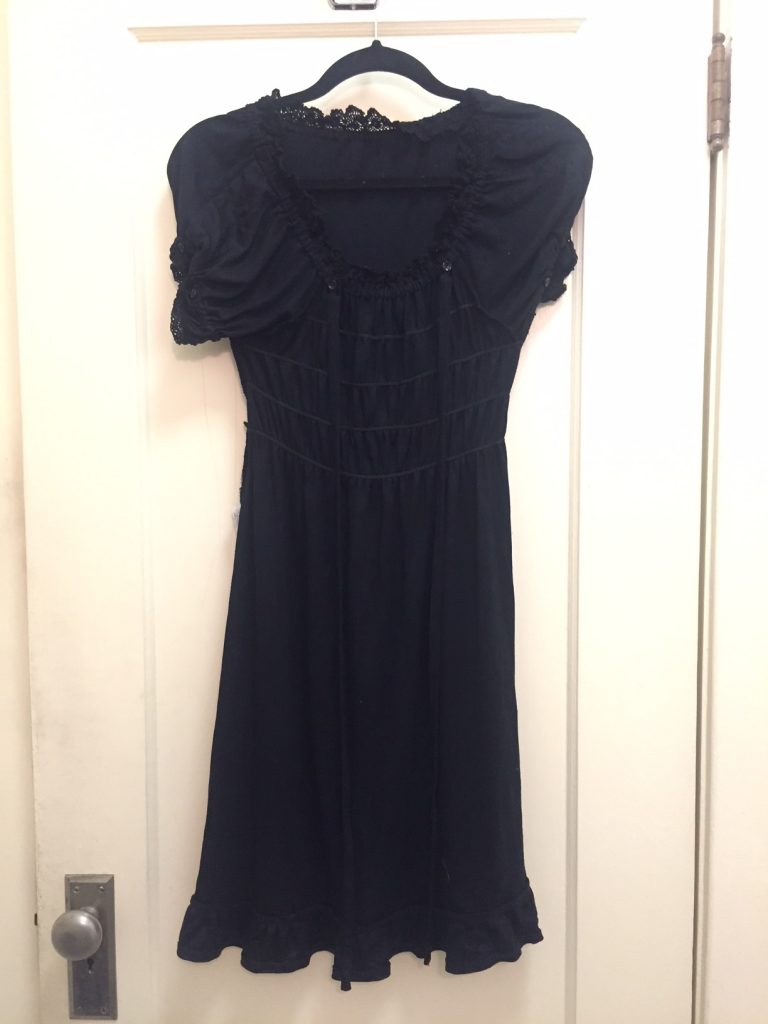
Admire your handiwork!
Dyed dress
My dress doesn’t look like new, but it certainly looks better than before. It may be necessary to periodically repeat the dyeing process to keep your garment looking its best. Hopefully with these instructions, dyeing doesn’t seem so scary anymore.
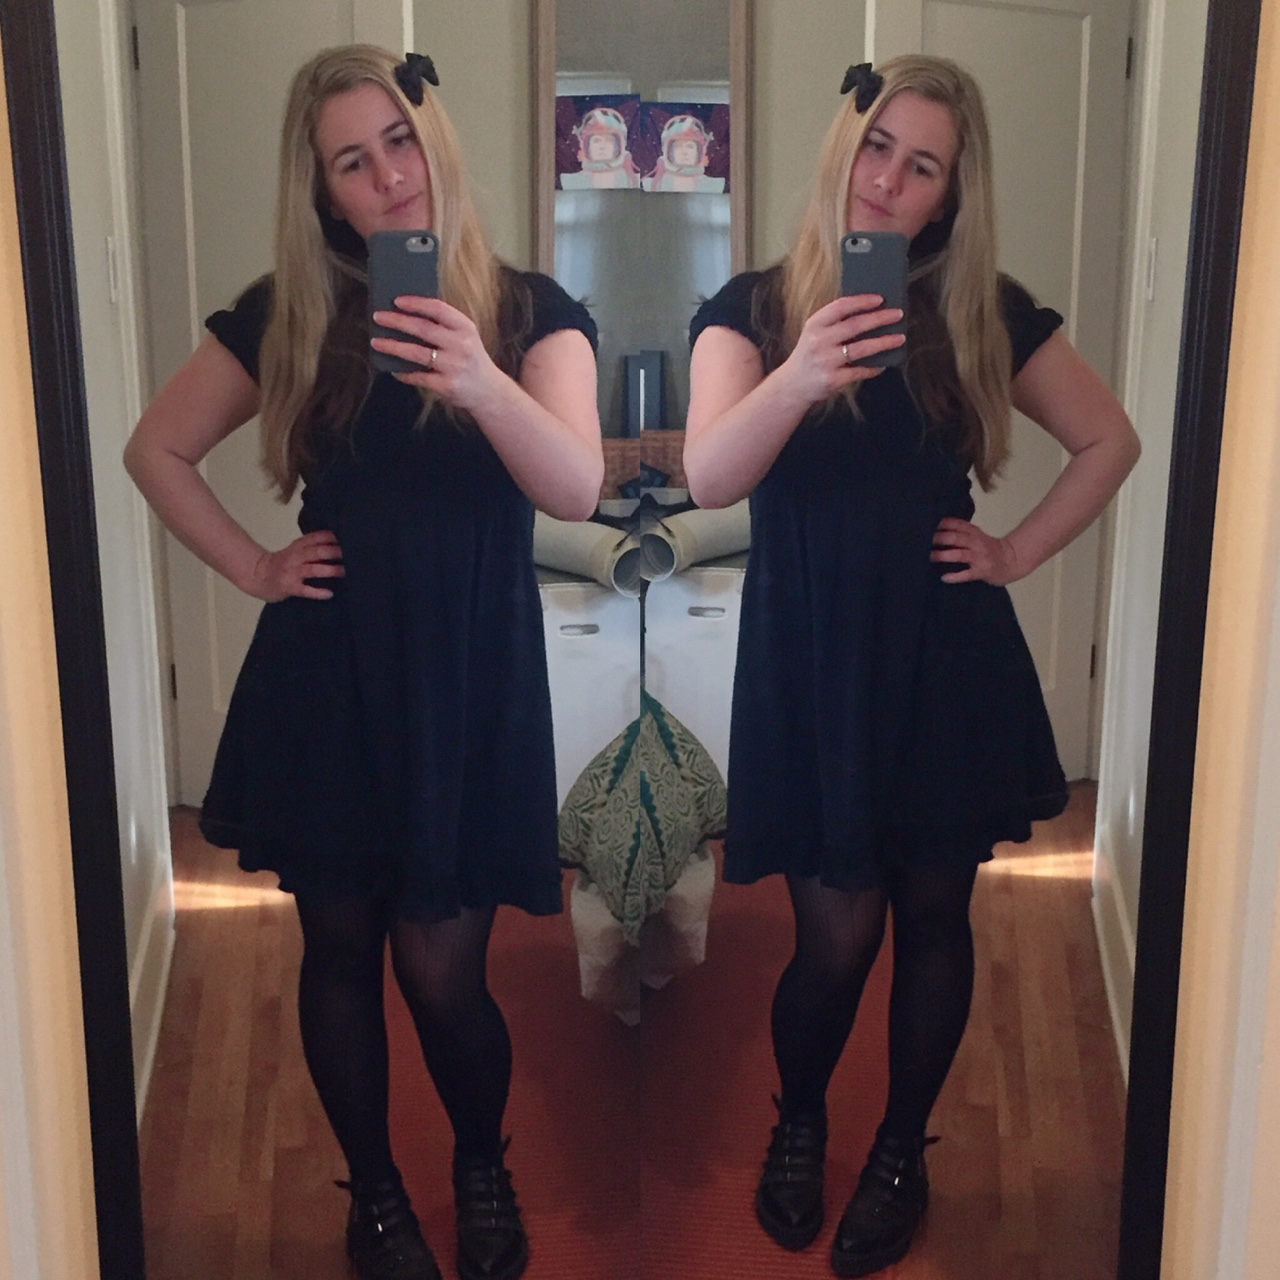
By day, Jenna is a legal professional living in Los Angeles, California. By night (and weekends), she is a frill wearing monster who loves Innocent World and lolita indie brands. When she isn’t taking mirror selfies of her coordinates, she enjoys reading comic books, playing board games, and snuggling with her pup, Lily. You can see her mirror selfies on her instagram @lovelylaceandlies and contact her at lovelylaceandlies@gmail.com.

Recommend