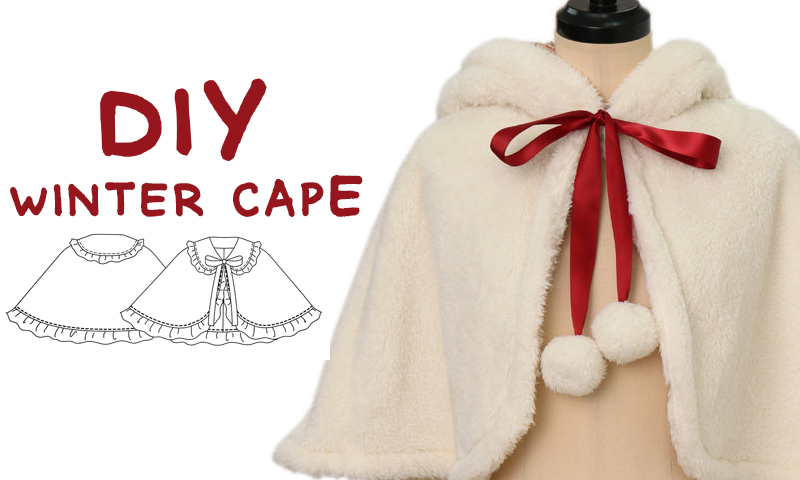
Christmas Pattern: trace your own cape!

Always wanted a cozy cape for your Christmas coord? Now is the time! Today I’ll show you some tips to make your own cape. I won’t give out the pattern sheets (which can be easily found googleing), but I’ll give you some tips on how to trace your own pattern!
So, let’s start.
Christmas Cape

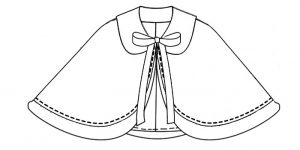
First of all, you should be deciding on the shape of your cape. Do you want it frilly or plushy? Check out some capes from Wunderwelt to feel inspired and start drawing your own cape!
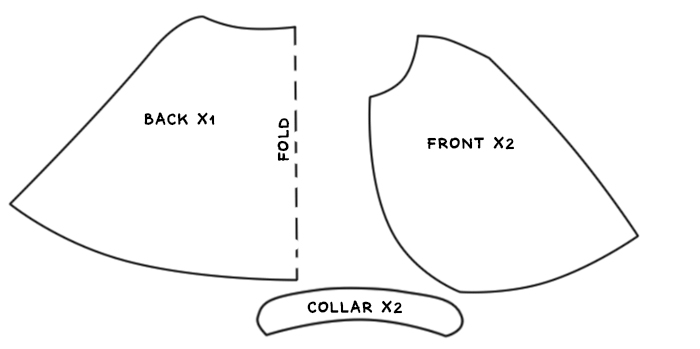
Now, let’s see the basic shape for a nice Christmas cape:

With these pieces you may make any kind of cape. You only need to add your own embellishments and it will be ready!
Ok, so, how to cut?
First, let’s see the back part. You should cut the piece folded, with the dotted line over the fold of the fabric. You’ll end up with a single long part that shall have around 30cm of height and 76cm of horizontal length (from tip to tip).
Now, for the front part, consider the same height of the back part and half of its length.
To trace the collar, use another shirt or coat of yours as a reference, and draw over it.
Ok, now how to sew?
Now that you have all the parts cut, sew front and back part together, sewing the shoulders to sides. Leave the collar and bottom area unsewn for now. You should place the collar over the back and front part together and sew it with the zigzag to make a nice finishing. Fold the hem inside and sew over it.
Add a ribbon and embellish it as you see fit. If you want to make the cape lined, just cut another piece of the back and two other pieces of the front part. Attach them together before attaching the collar or folding the hem, and then decorate it as you see fit.
Your cape is ready!
27-years-old Brazilian, trying to survive with a black and navy wardrobe during the summer. I work as a freelancer writer in fashion, games and education. During my free time I enjoy sewing, writing fiction, drawing and, of course, playing lots of video game.


