How to sew: Learn how to make your own elastic skirt!
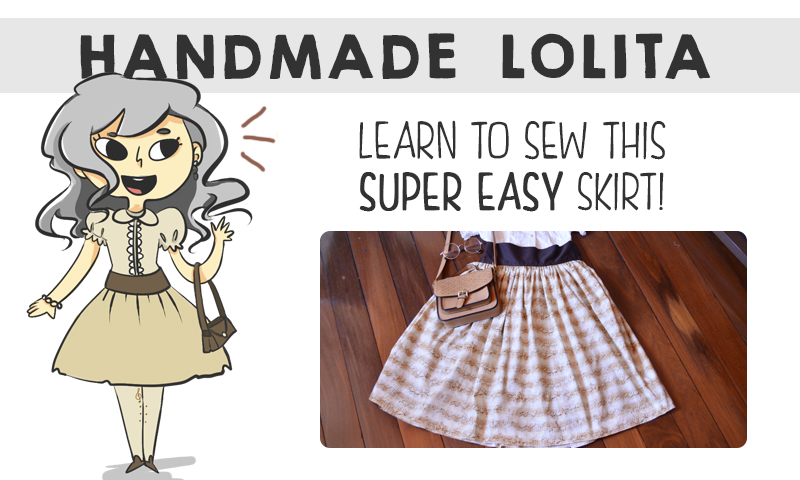
Hi! Have you read my last entry about Handmade Lolita? If so, it’s time to get your needles an fabrics ready because today we’re going to make our very first Lolita skirt!
For this, let’s start by trying something that is easy enough for a beginner: a simple skirt with an elastic band on the waist. This has a basic shape that will help you train your skills with the sewing machine and get the grip of making your own pieces. So, shall we start?
What will you need?
So, for this tutorial, you’ll need:
- Fabric for the skirt (120cm x 300cm);
- Fabric for the waist area (18cm x 80cm);
- Fabric for the lining (120cm x 300cm) – optional;
- Elastic for the waist;
- Threads in the same colour of the fabric you chose.
Just that? Yes, just that! For this pattern we’ll be doing you won’t need a zíper or buttons, which makes it a hundred times easier to sew!
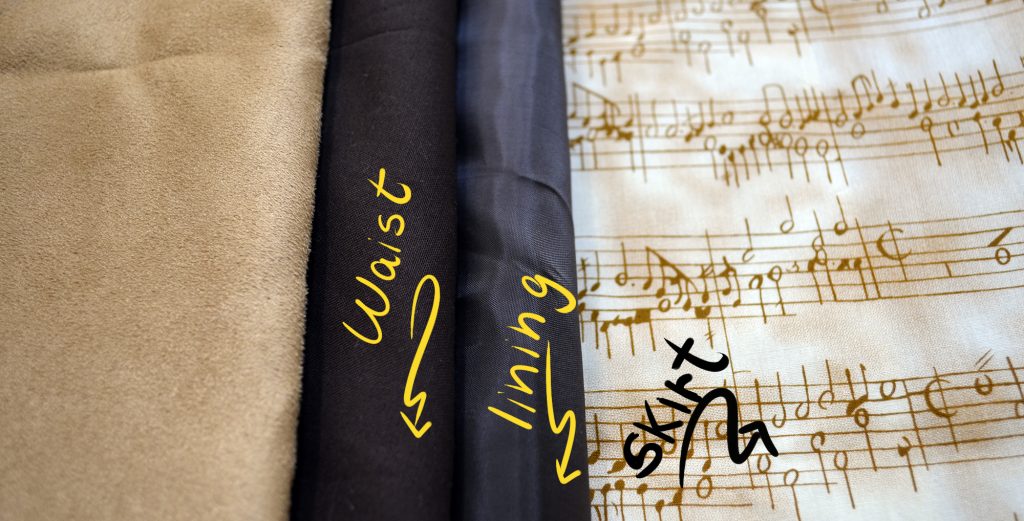
So, here are two tips for when choosing your fabrics:
- Avoid shiny or cheap options like bedsheets, for example;
- Try keeping your colour range between two or three colours;
How to cut?
Since this tutorial won’t use a printable pattern, let’s try cutting your fabric using this cutting guide:
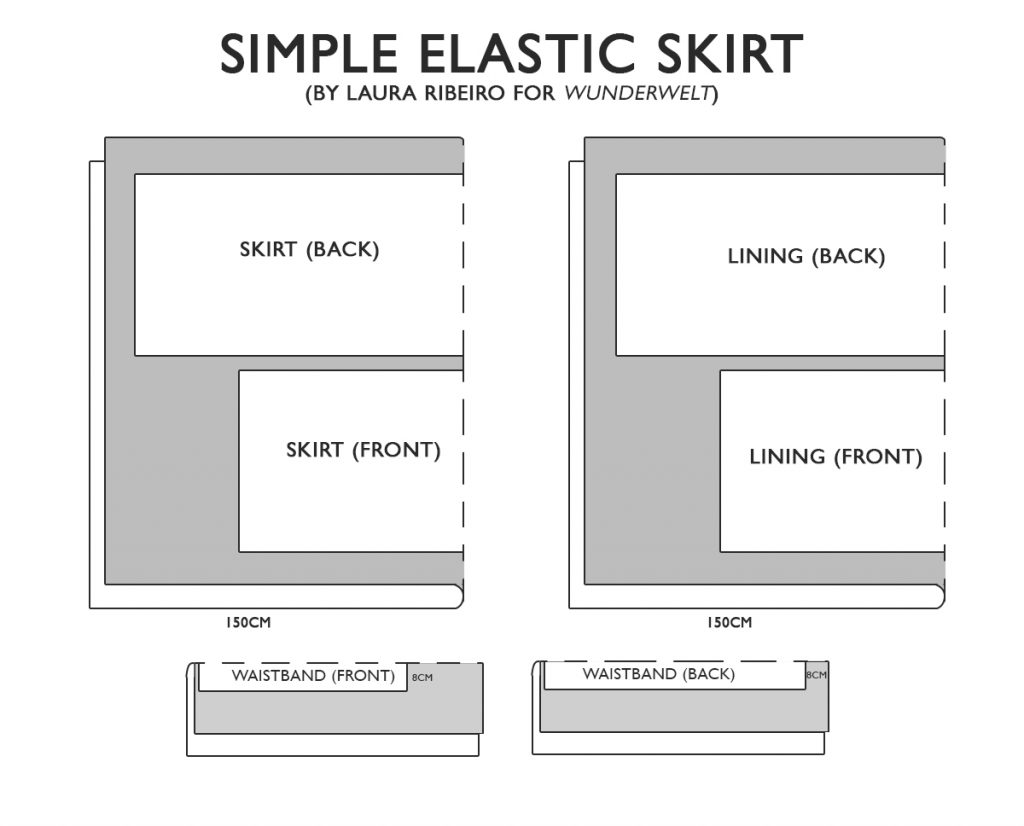 I suggest you get now paper and pencil because we’ll be doing some calculations to make this skirt perfect for your sizes. So, first of all, let’s start with the easiest part:
Skirt & lining
For the skirt you’ll need two rectangular pieces: (1) for the front part and (1) for the back part. But, how to measure the size of each one?
Skirt (back): If your waist is around 50cm to 90cm of waist, your skirt (back) should have 150cm width. If your waist goes over that, I’d suggest getting 200cm for the back part. The height of the skirt should be the the height you measure from your waist area to your knees (usually varies from 50cm to 70cm long).
Skirt (front): This one should have the same height of the skirt (back) you cut previously. As for the width, again, I’d suggest 90cm width for waists that go from 50cm to 70cm, 110cm for waists that go from 80 to 100cm, and 150cm for waists that go above those numbers.
So far, so good? The lining shall be cut the same way the skirt pieces were cut.
Waistband
Now, pay attention to this one.
The waistband should also be cut in two different pieces: one for the front and another one for the back. To find the right numbers, start by measuring your waist. Now divide this number in two. This will be the width of the front part of your waistband.
Want an example?
- If my waist is 60cm, for example, the waistband (front) should be 30cm long.
- If my waist is 100cm, the waistband (front) should be 50cm long.
Now, the back part is a little bit different:
For this one, get your biggest measurement. Let’s suppose it’s your hips and they have something around 90cm. You’ll need to make sure that your waistband is wide enough to go past your shoulders or hips before sitting on your waist. So, for this one, get your biggest number, deduct the width of the waistband (front), and this will be the width of your waistband (back).
I know it’s hard, so let’s see another example:
- If my waist is 60cm, my waistband(front) will be 30cm. If, together with that, my biggest measurement is 90cm, I’ll have to make this: 90 – 30 = 60cm. My Waistband (back) will be 60cm long.
- If my waist is 100cm, my waistband(front) will be 50cm. If my biggest measurement is 120cm, I’ll have to make this: 120 – 50 = 70cm. My Waistband (back) will be 70cm long.
Since we won’t be putting a zipper, the full waistband must be wide enough to fit your body.
Ah, the height of the waistband usually goes around 8cm to 6cm. So, when cutting, don’t forget to cut it doubled (total of 16cm to 12cm, since we’ll fold it in half).
Visually explaining…
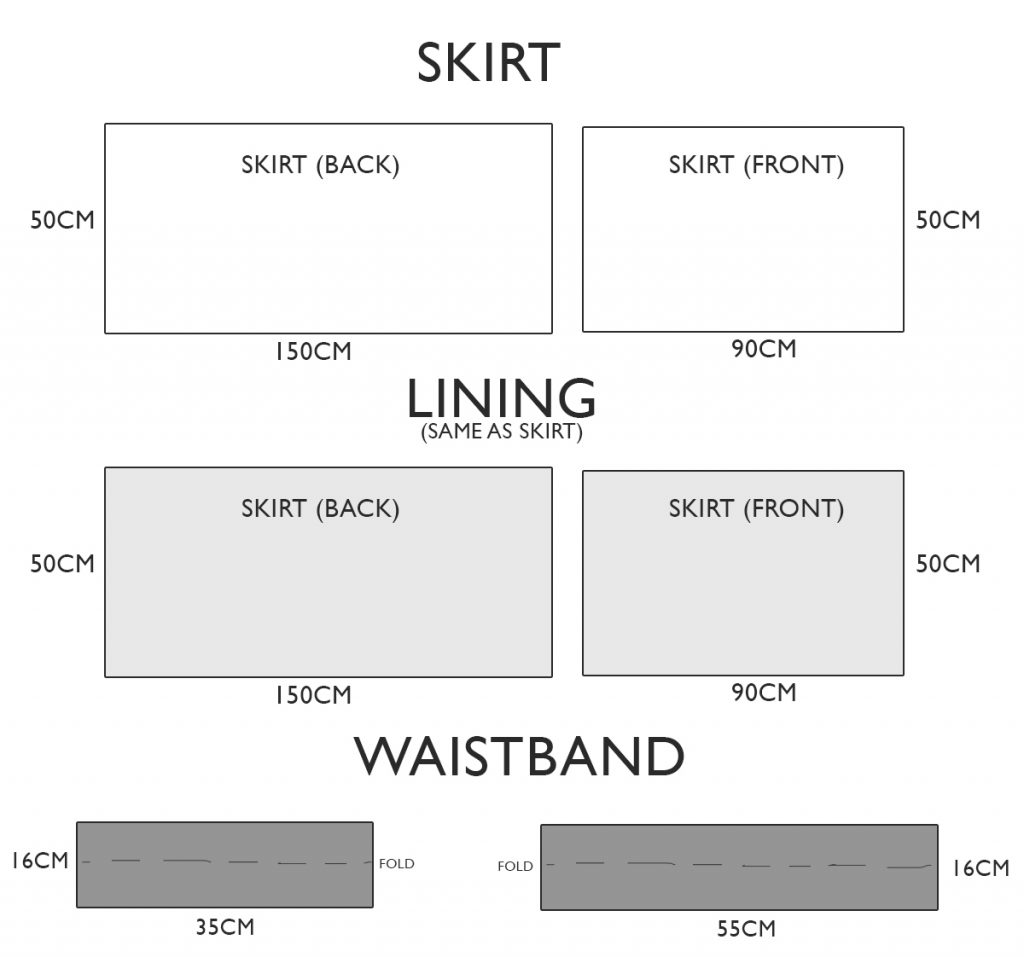
Since that might not be THAT clear, let’s see how we would cut this skirt for a hypothetical person.
Let’s consider someone who has the following measurements:
- Waist: 70cm;
- Hips: 90cm (biggest measurement of this person);
- Height: 156cm (50cm from the waist to the knees).
Following the instructions above, this person should probably have the skirt cut like this:
Now, let’s start sewing.
Putting everything together
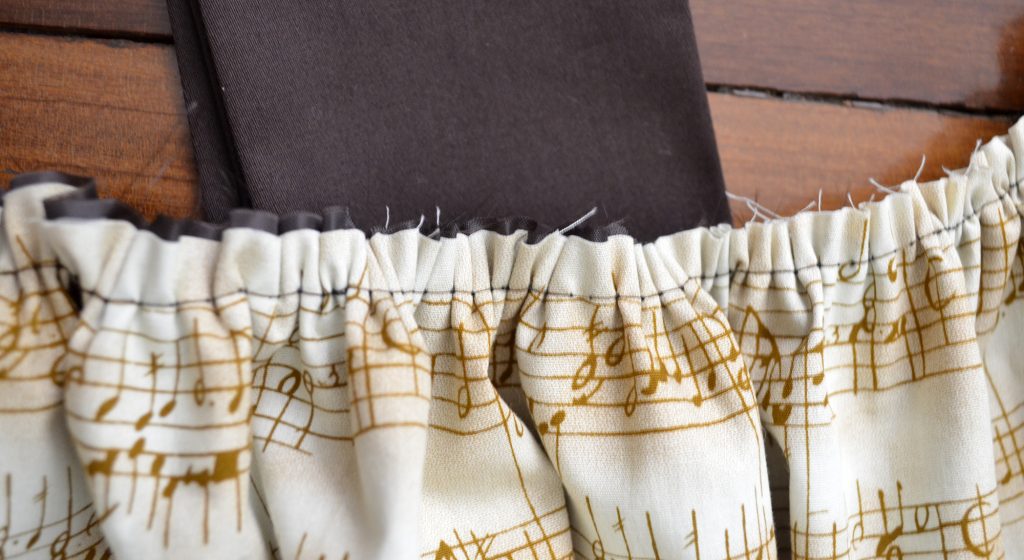
So, now that you’ve cut everything, it’s time to start sewing and gathering the fabric. First of all, put your lining and skirt parts together (back part with back part and front part with front part). Now, you can either use the machine or your hands to gather the fabric. Just make sure it’s secure enough to handle without falling off. It should be like this (see that I’ve ruffled both lining and skirt together):
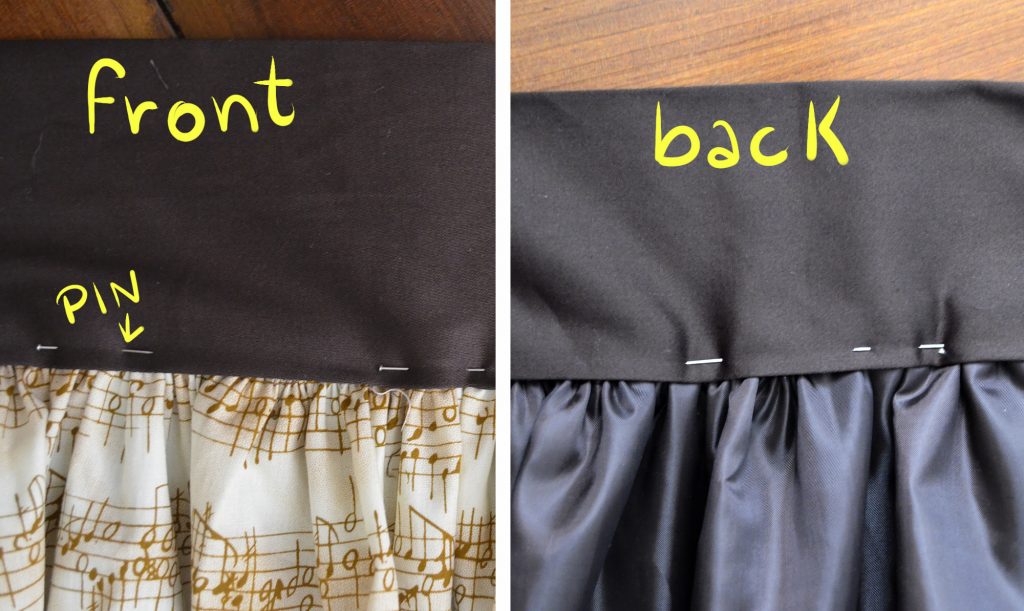
Now, the hardest part: get your ruffled skirt + lining and place it inside the folded waistband. For a better finishing, I suggest you also fold the extremities of the waistband and put some pins to hold everything together, like this:
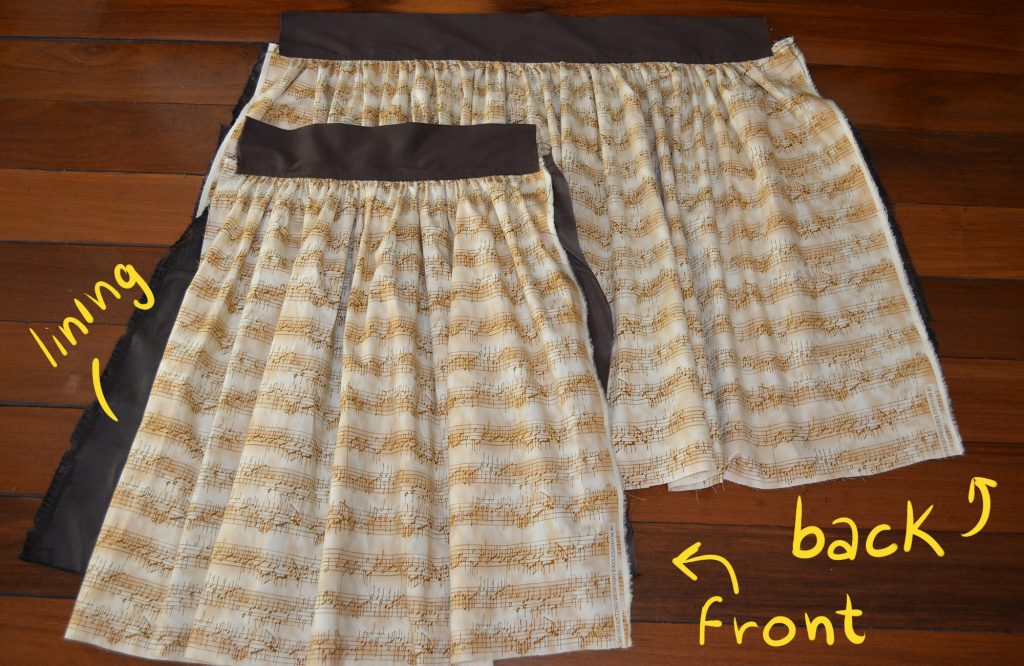
Now use the machine to sew over the place you put the pins. Take the pins off. You shall have two separate parts, like this:
Ok, we’re almost finishing it! Now, onto the elastic! This one also require some calculations: you’ll have to cut your elastic by the same length of your waistband (front), or, as you may have already noticed, half of your waist measurement.
Again, if your waist is 60cm wide, your elastic should be cut around 30cm.
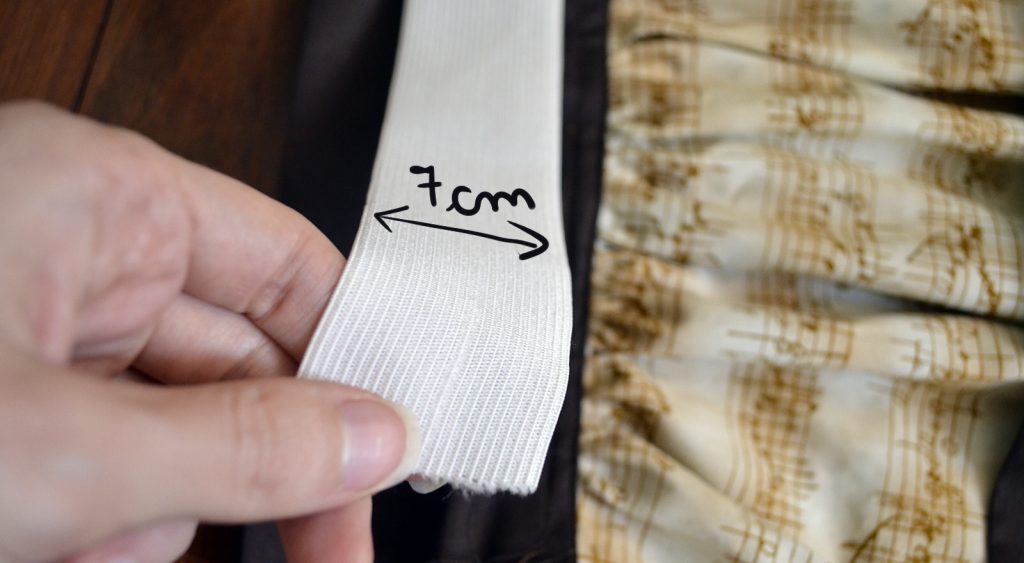
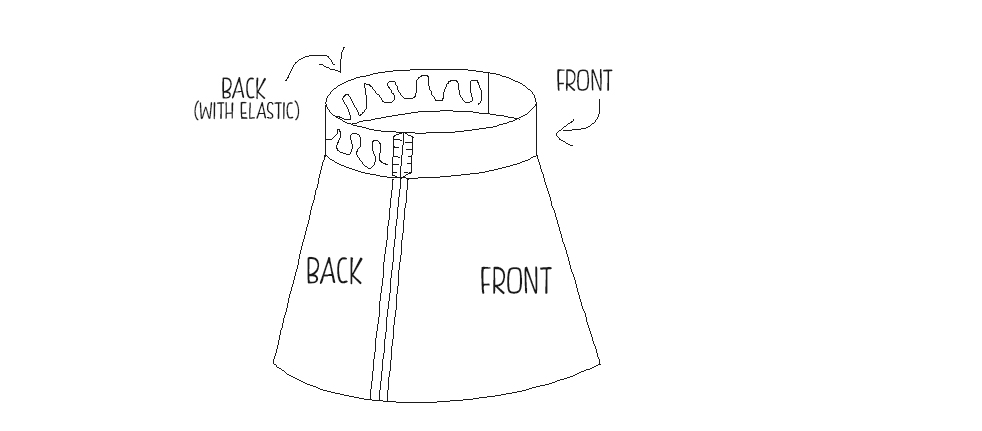
Now place the elastic inside the waistband(back) and sew on each side to make sure it will stay put. Now, finally, sew both parts (front and back) facing together!
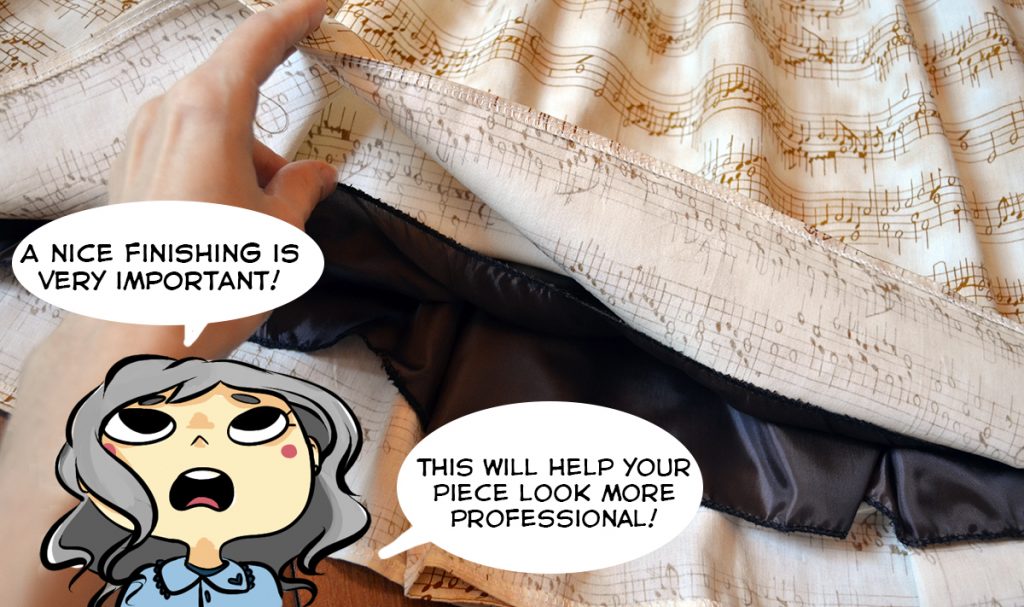
Give your piece a nice finishing with the Serger, or, if you don’t have it, try folding the edges and making a nice hem that will prevent fraying threads.
And that’s it! Your brand new skirt is ready! <3
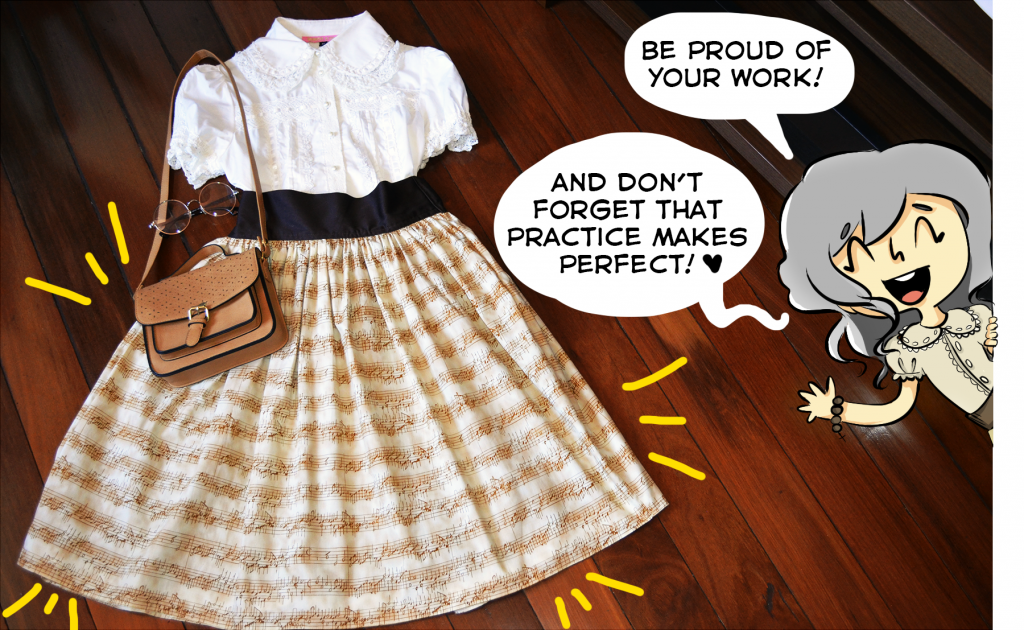
Hope you found this tutorial useful, and, if you didn’t understand something, just tell me and I’ll try to explain it better. See you next month!
27-years-old Brazilian, trying to survive with a black and navy wardrobe during the summer. I work as a freelancer writer in fashion, games and education. During my free time I enjoy sewing, writing fiction, drawing and, of course, playing lots of video game.


