2021年5月28日


Turning a T-shirt into a Kawaii Cutsew
当サイトの記事には広告、アフィリエイトが含まれています。
Even if you are living the dream of being a lifestyle lolita, there are some days that call for something casual, like a cute cutsew. If Japanese brands don’t fit you well or you want to support an artist by purchasing some wearable merch instead, it’s pretty easy to turn a t-shirt into something a little more kawaii.
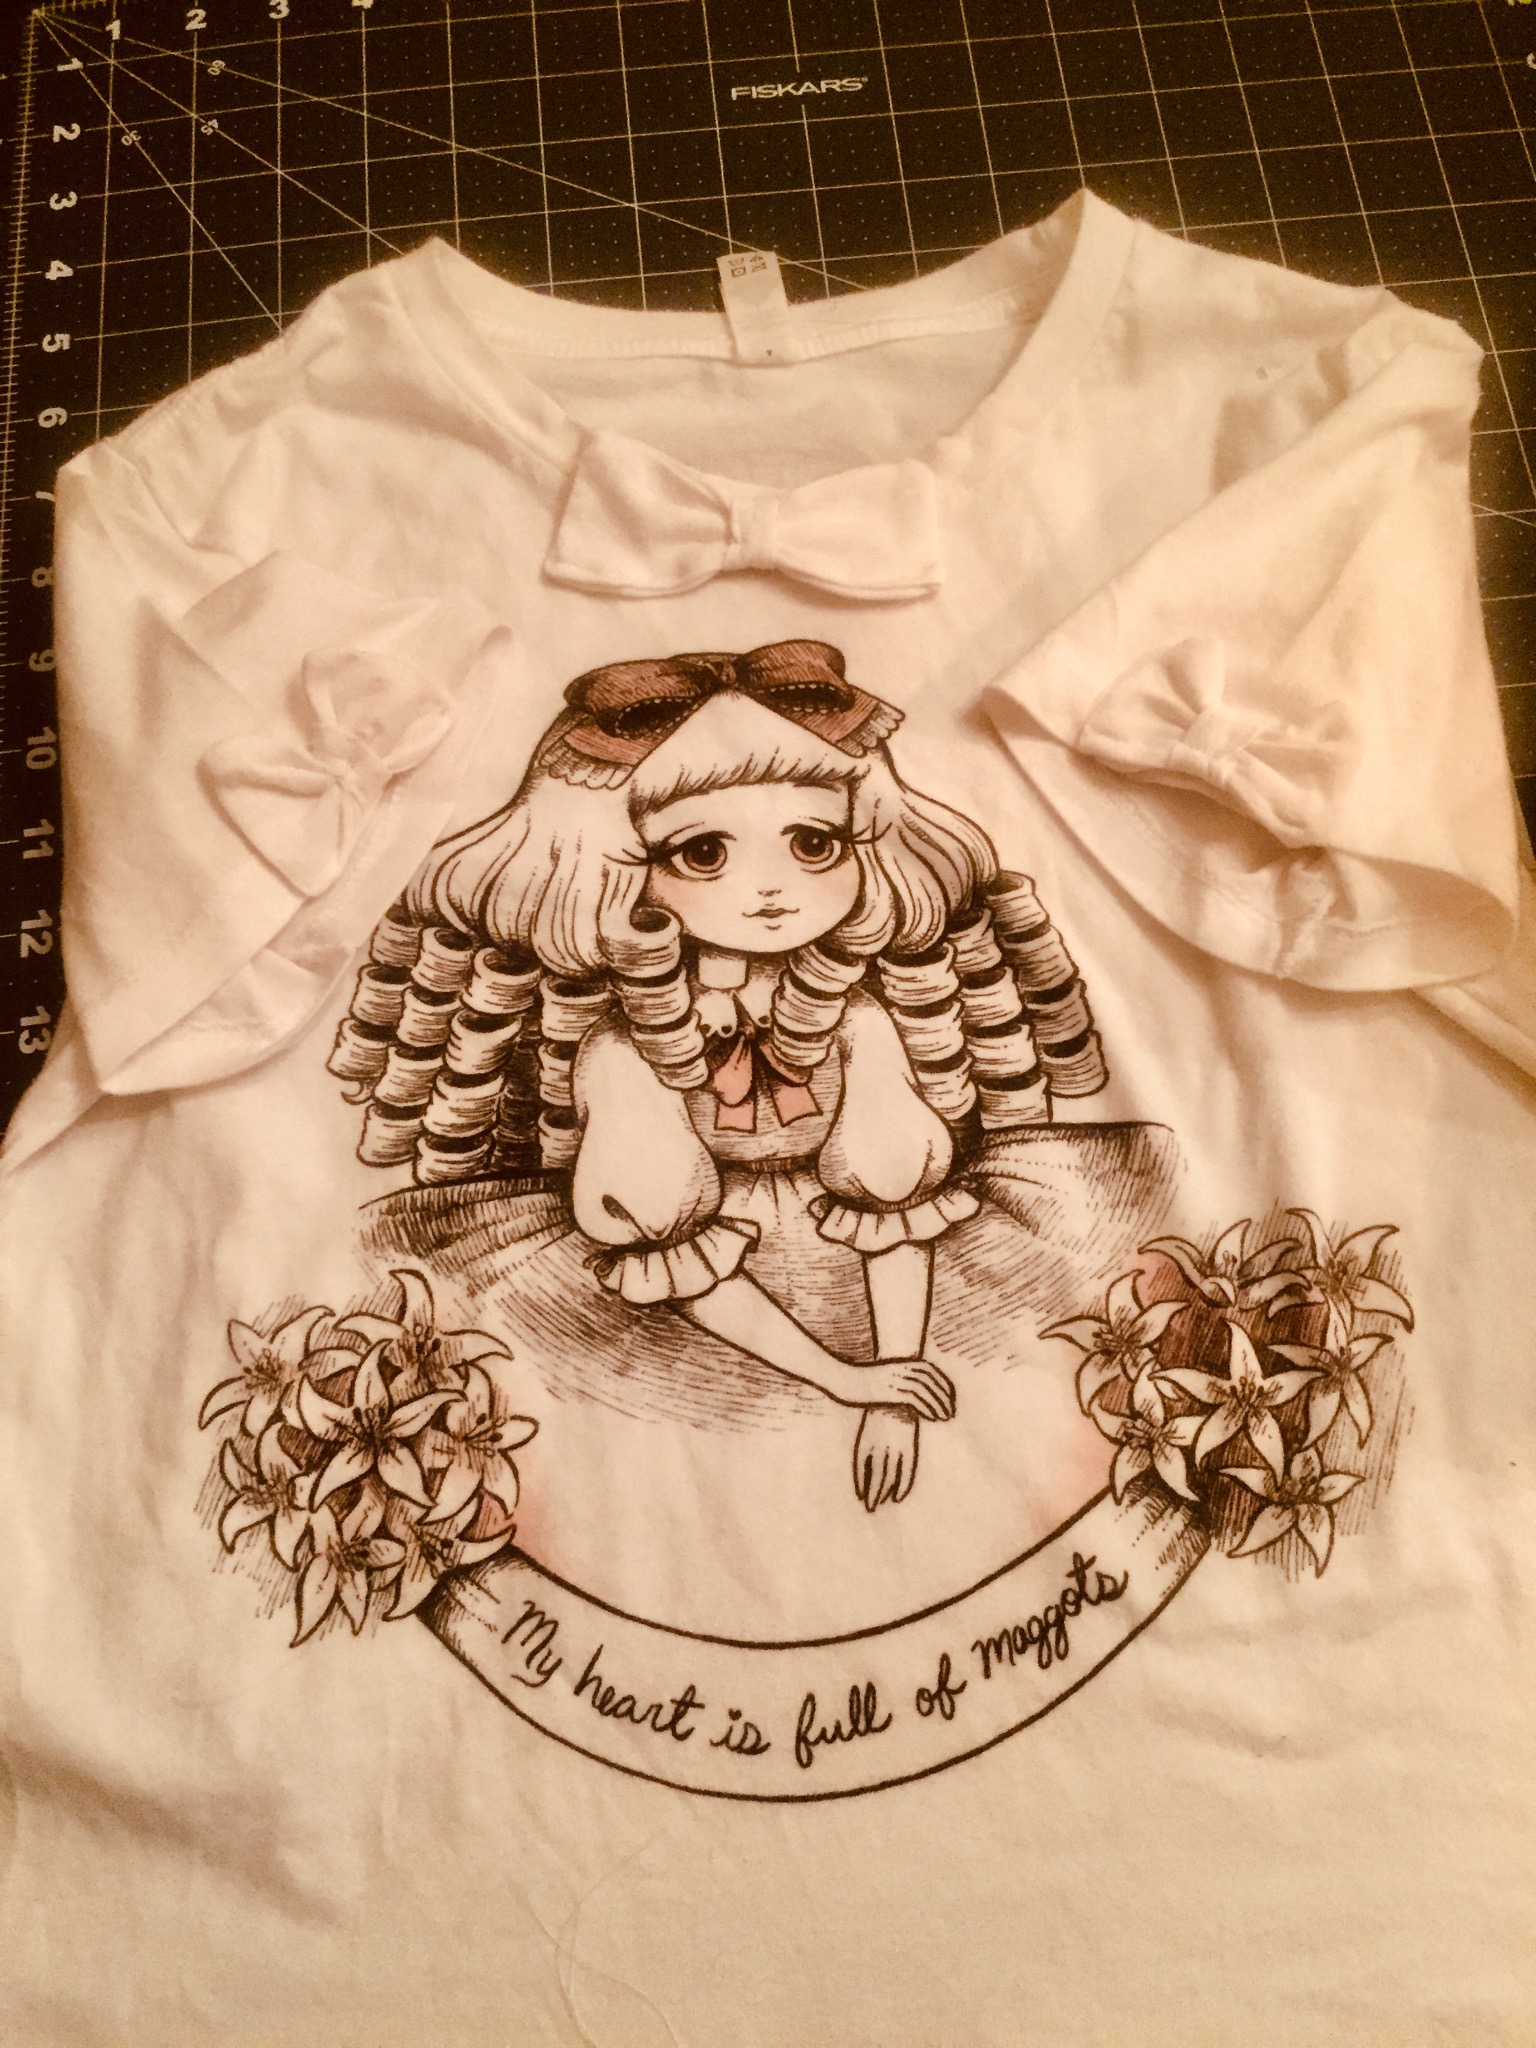
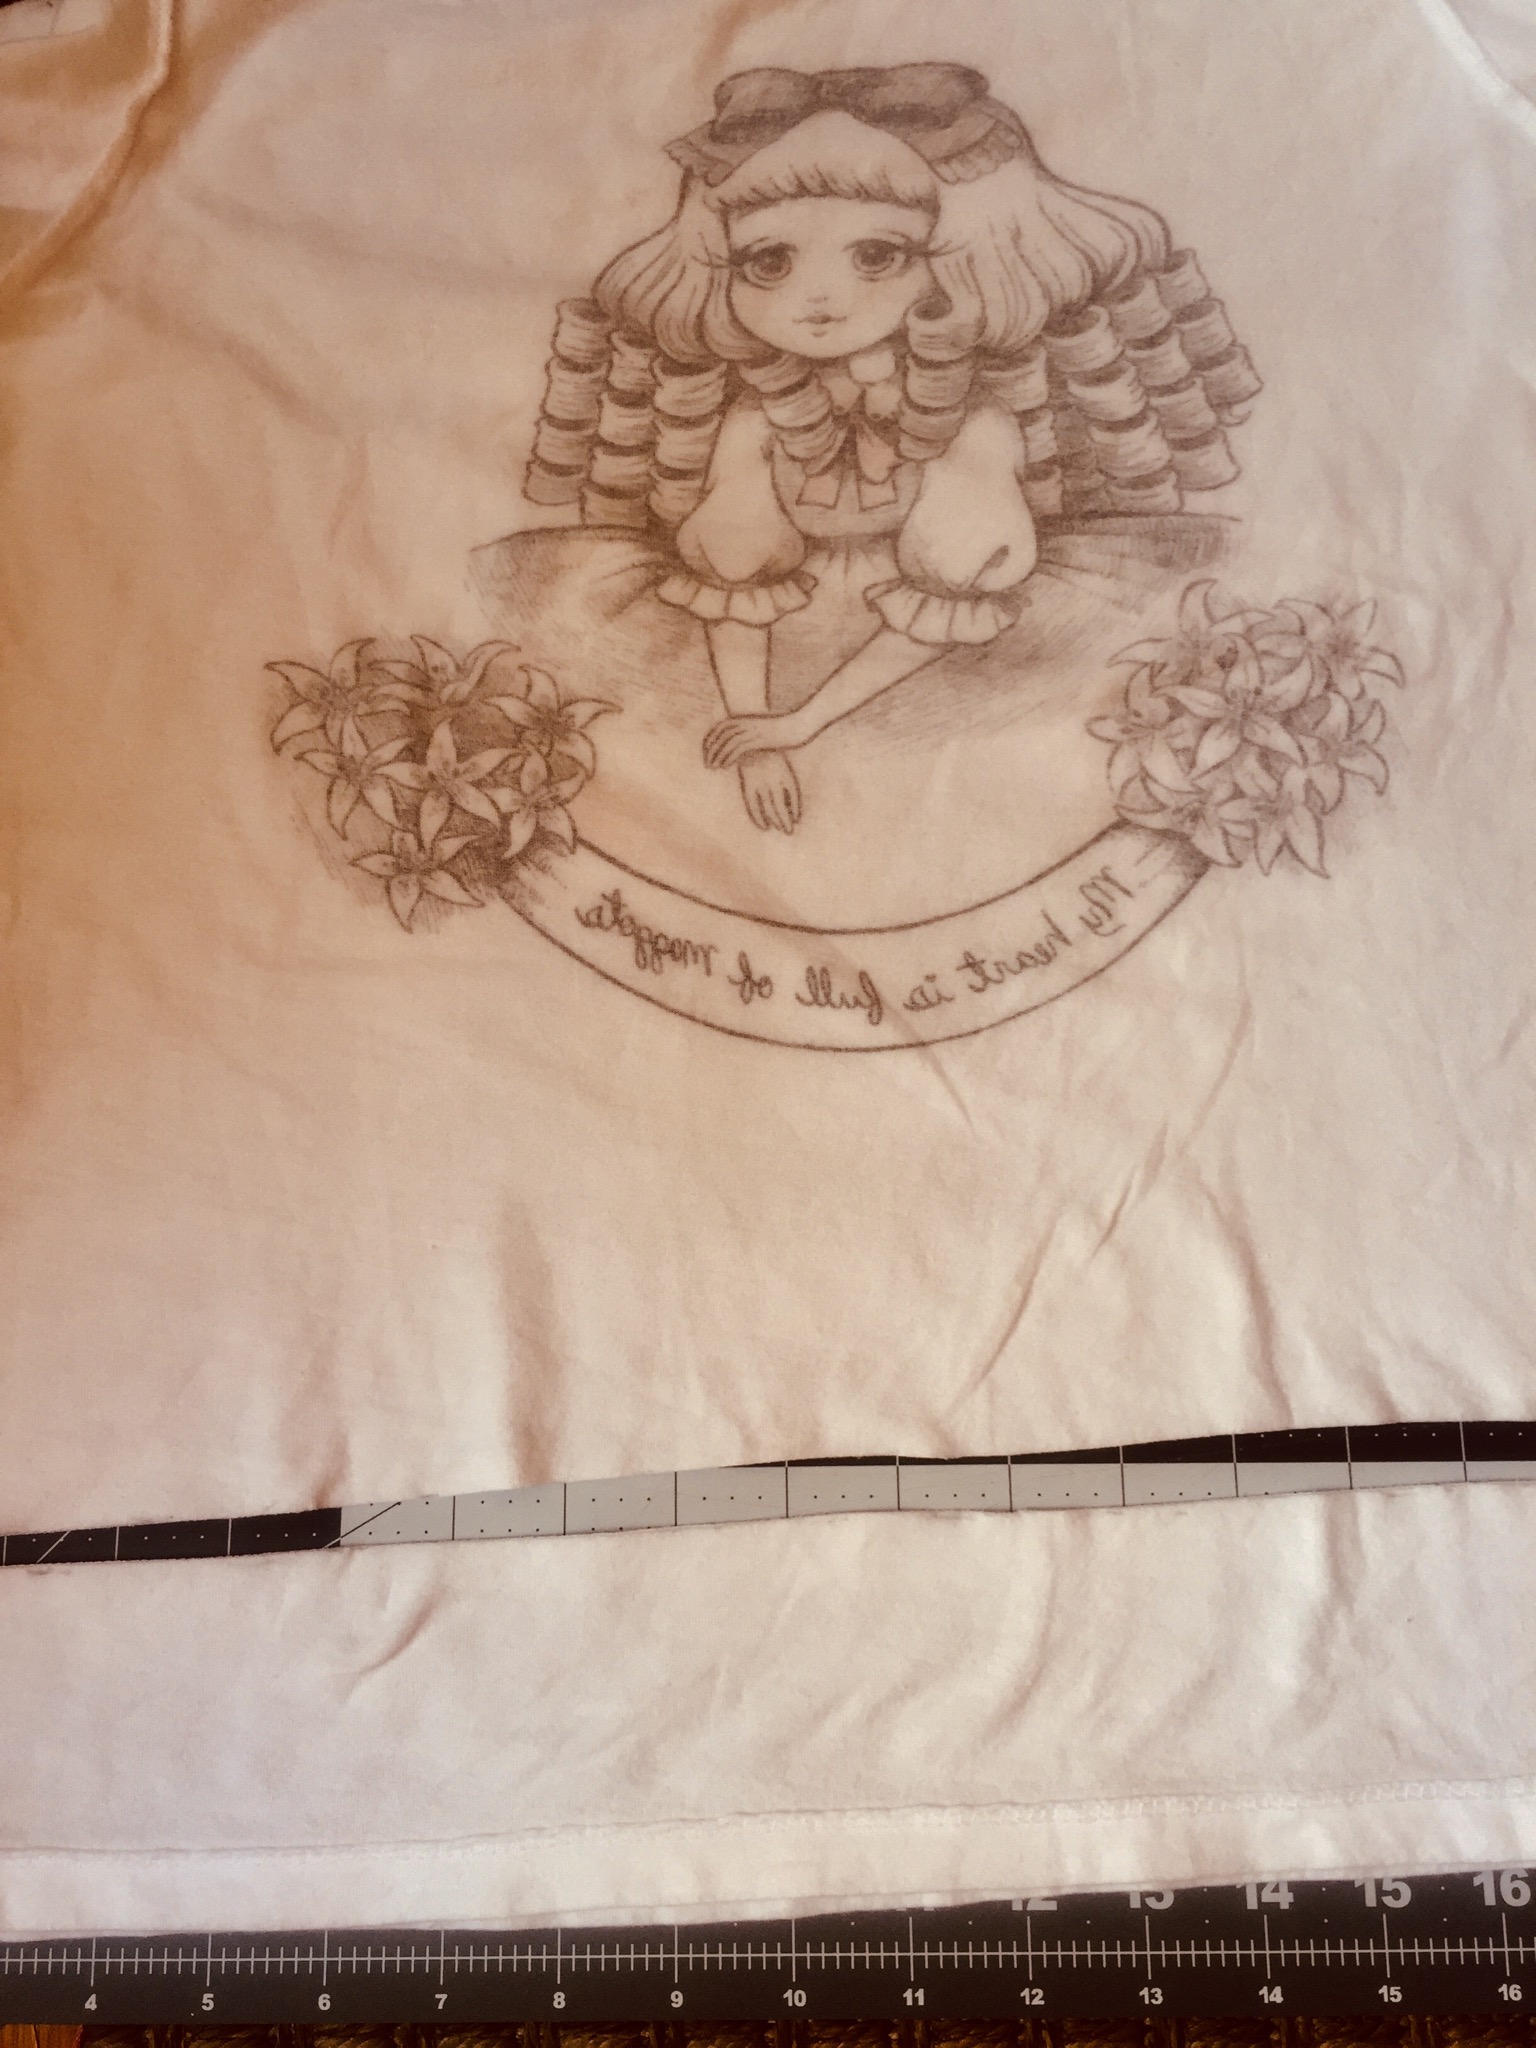
I got this t-shirt from artist Lulu Vanhoagland a few months ago. (Though this shirt isn’t on her Etsy, she can turn some of her illustrations into t-shirts and other printed goods via drop shipping, so ask her if there’s one you’d like.) The illustration is adorable, but I wanted give it a few more cute touches before I tried coordinating with some skirts.
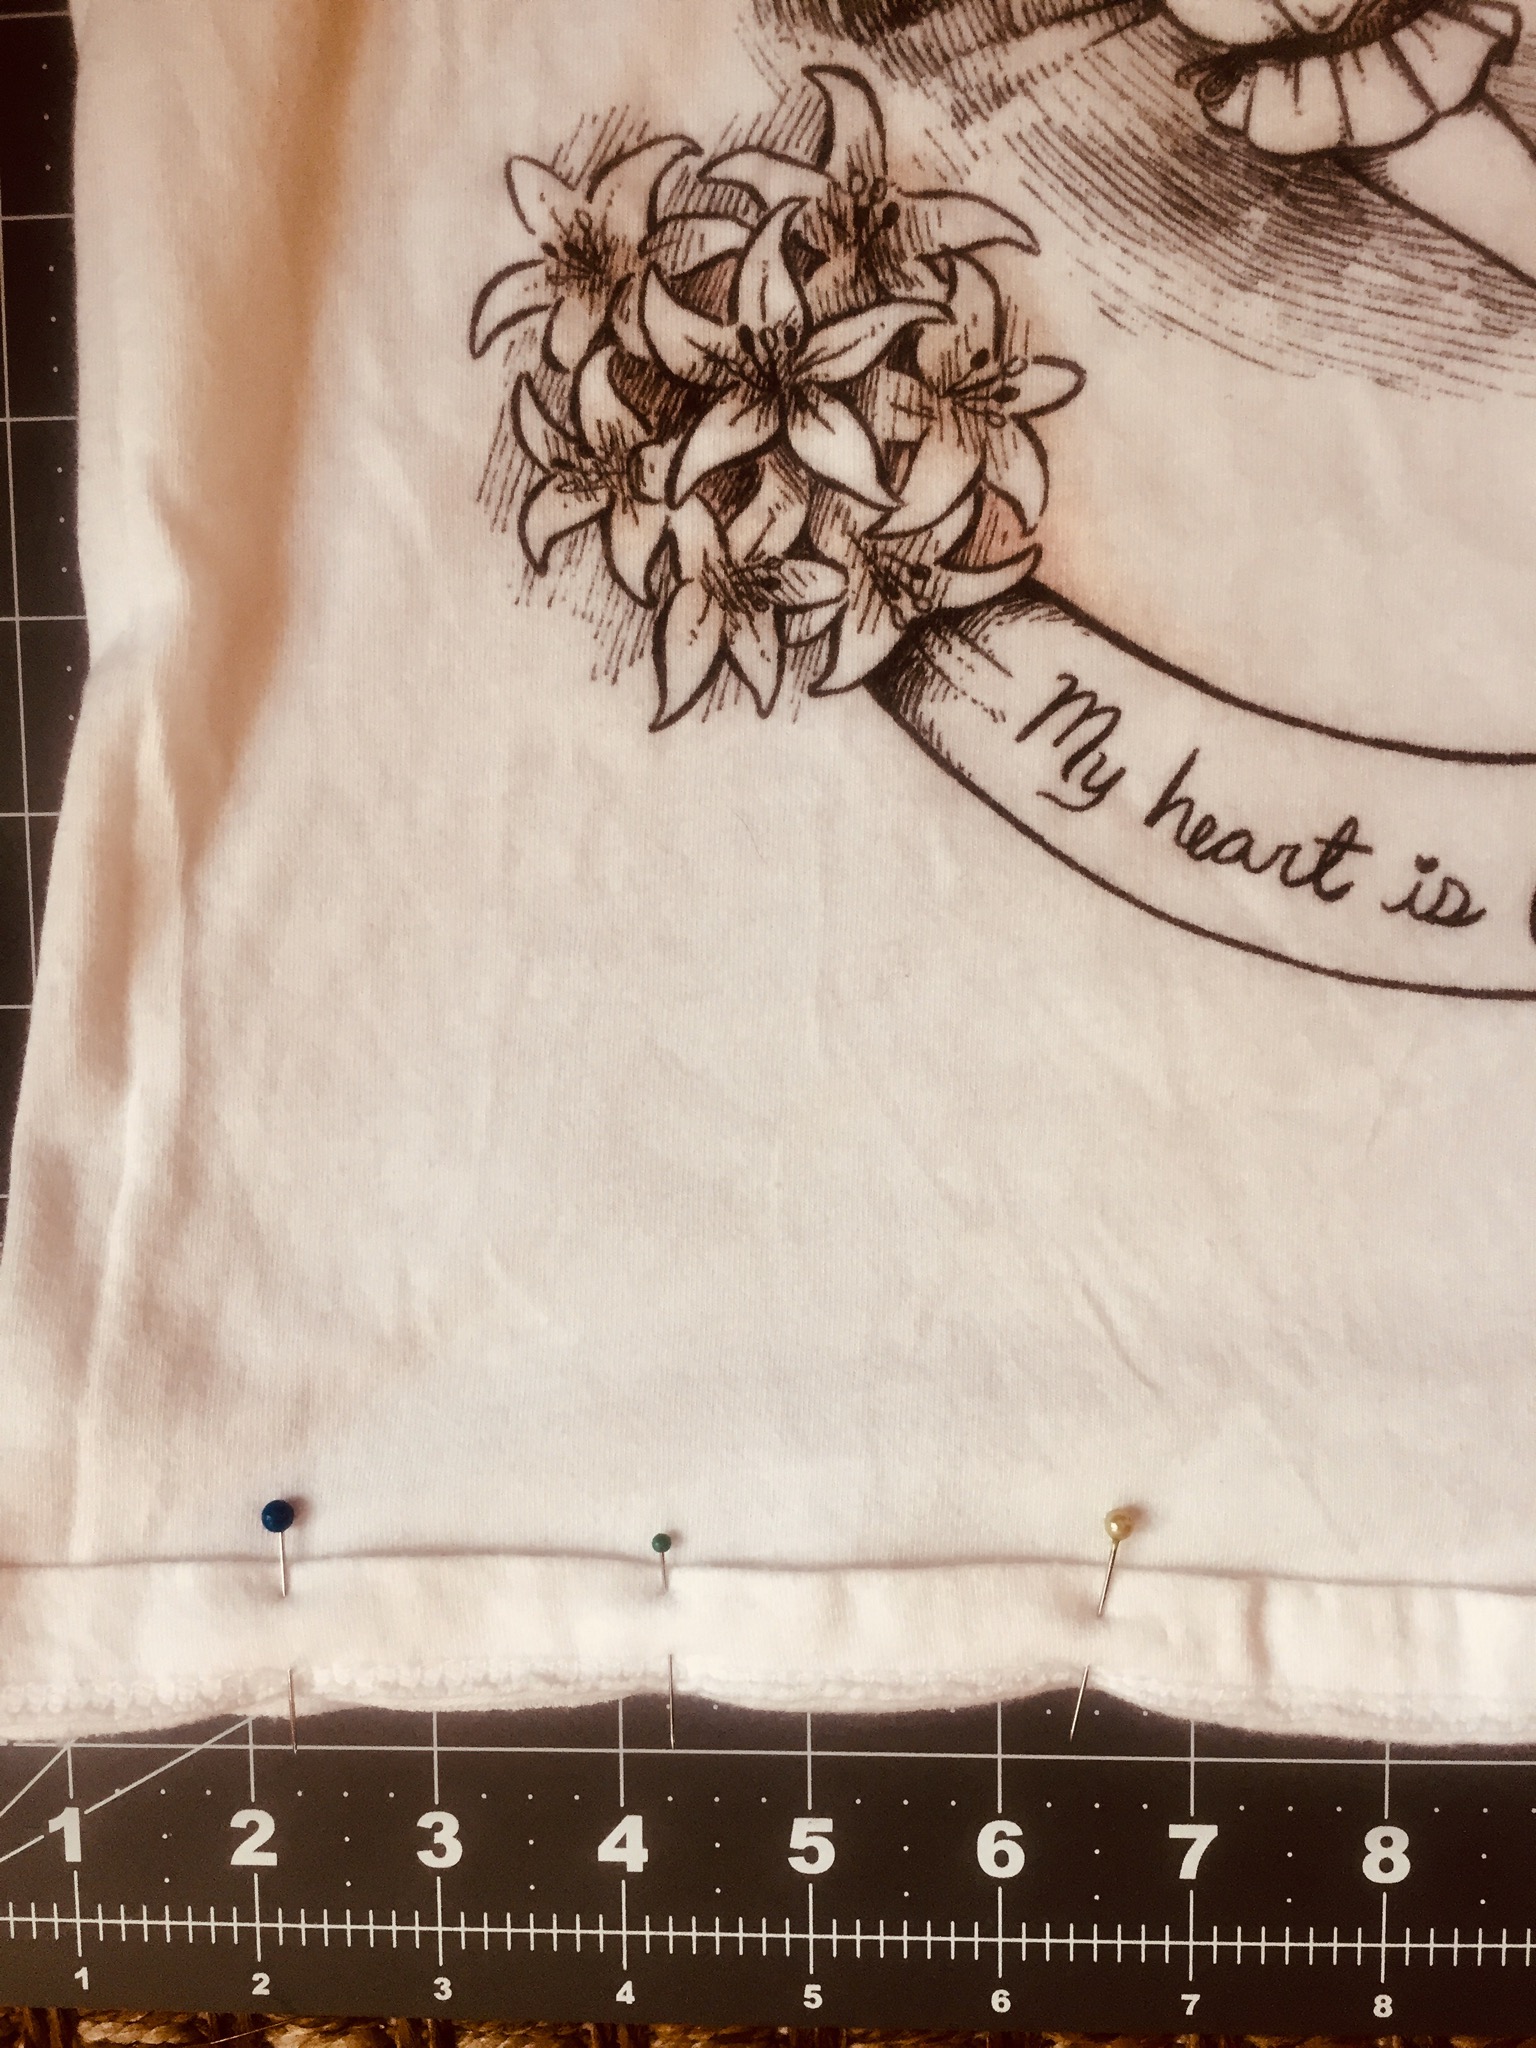
I decided to add three bows out of self fabrics to the sleeves and neckline. I knew I’d need some fabric from the bottom of skirt, but I wanted to keep the finished hem. So I gathered my supplies and got to work.
First, wash and iron and your shirt.
Try it on and measure to see how much you can trim off the bottom of the shirt.
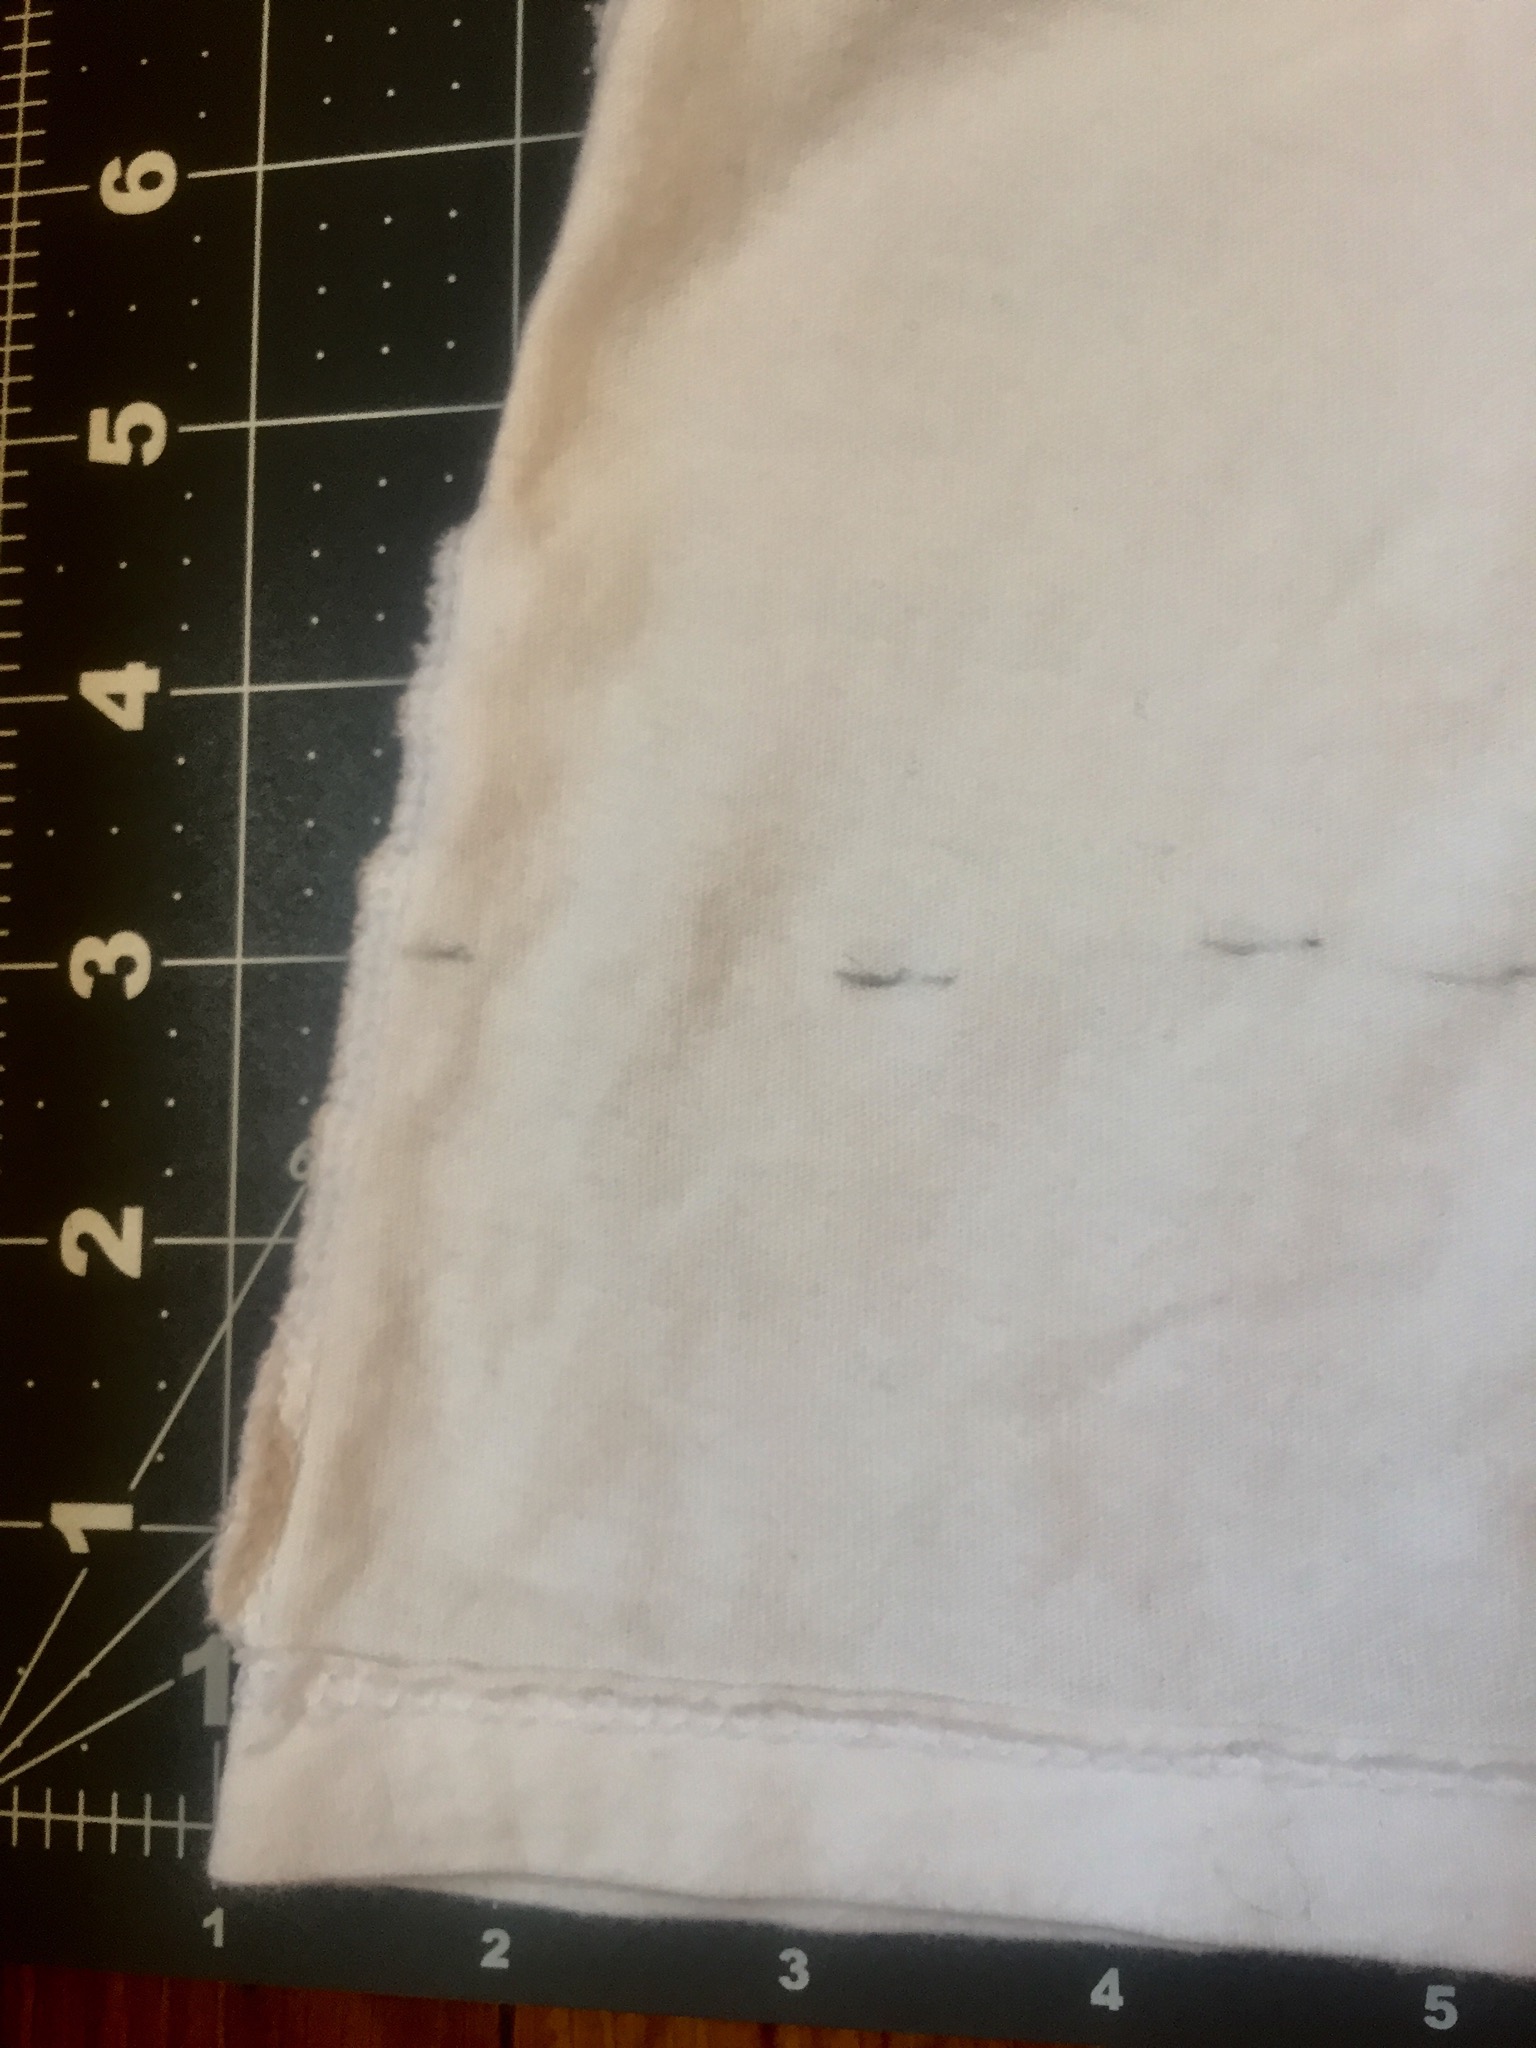
Since I had no plans for the bottom of the shirt, I left it longer than my waist to tuck into skirts, but you could add a ruffle along the hem, add scallops, etc. Take inspiration from Japanese cutsews.
Carefully mark and cut.
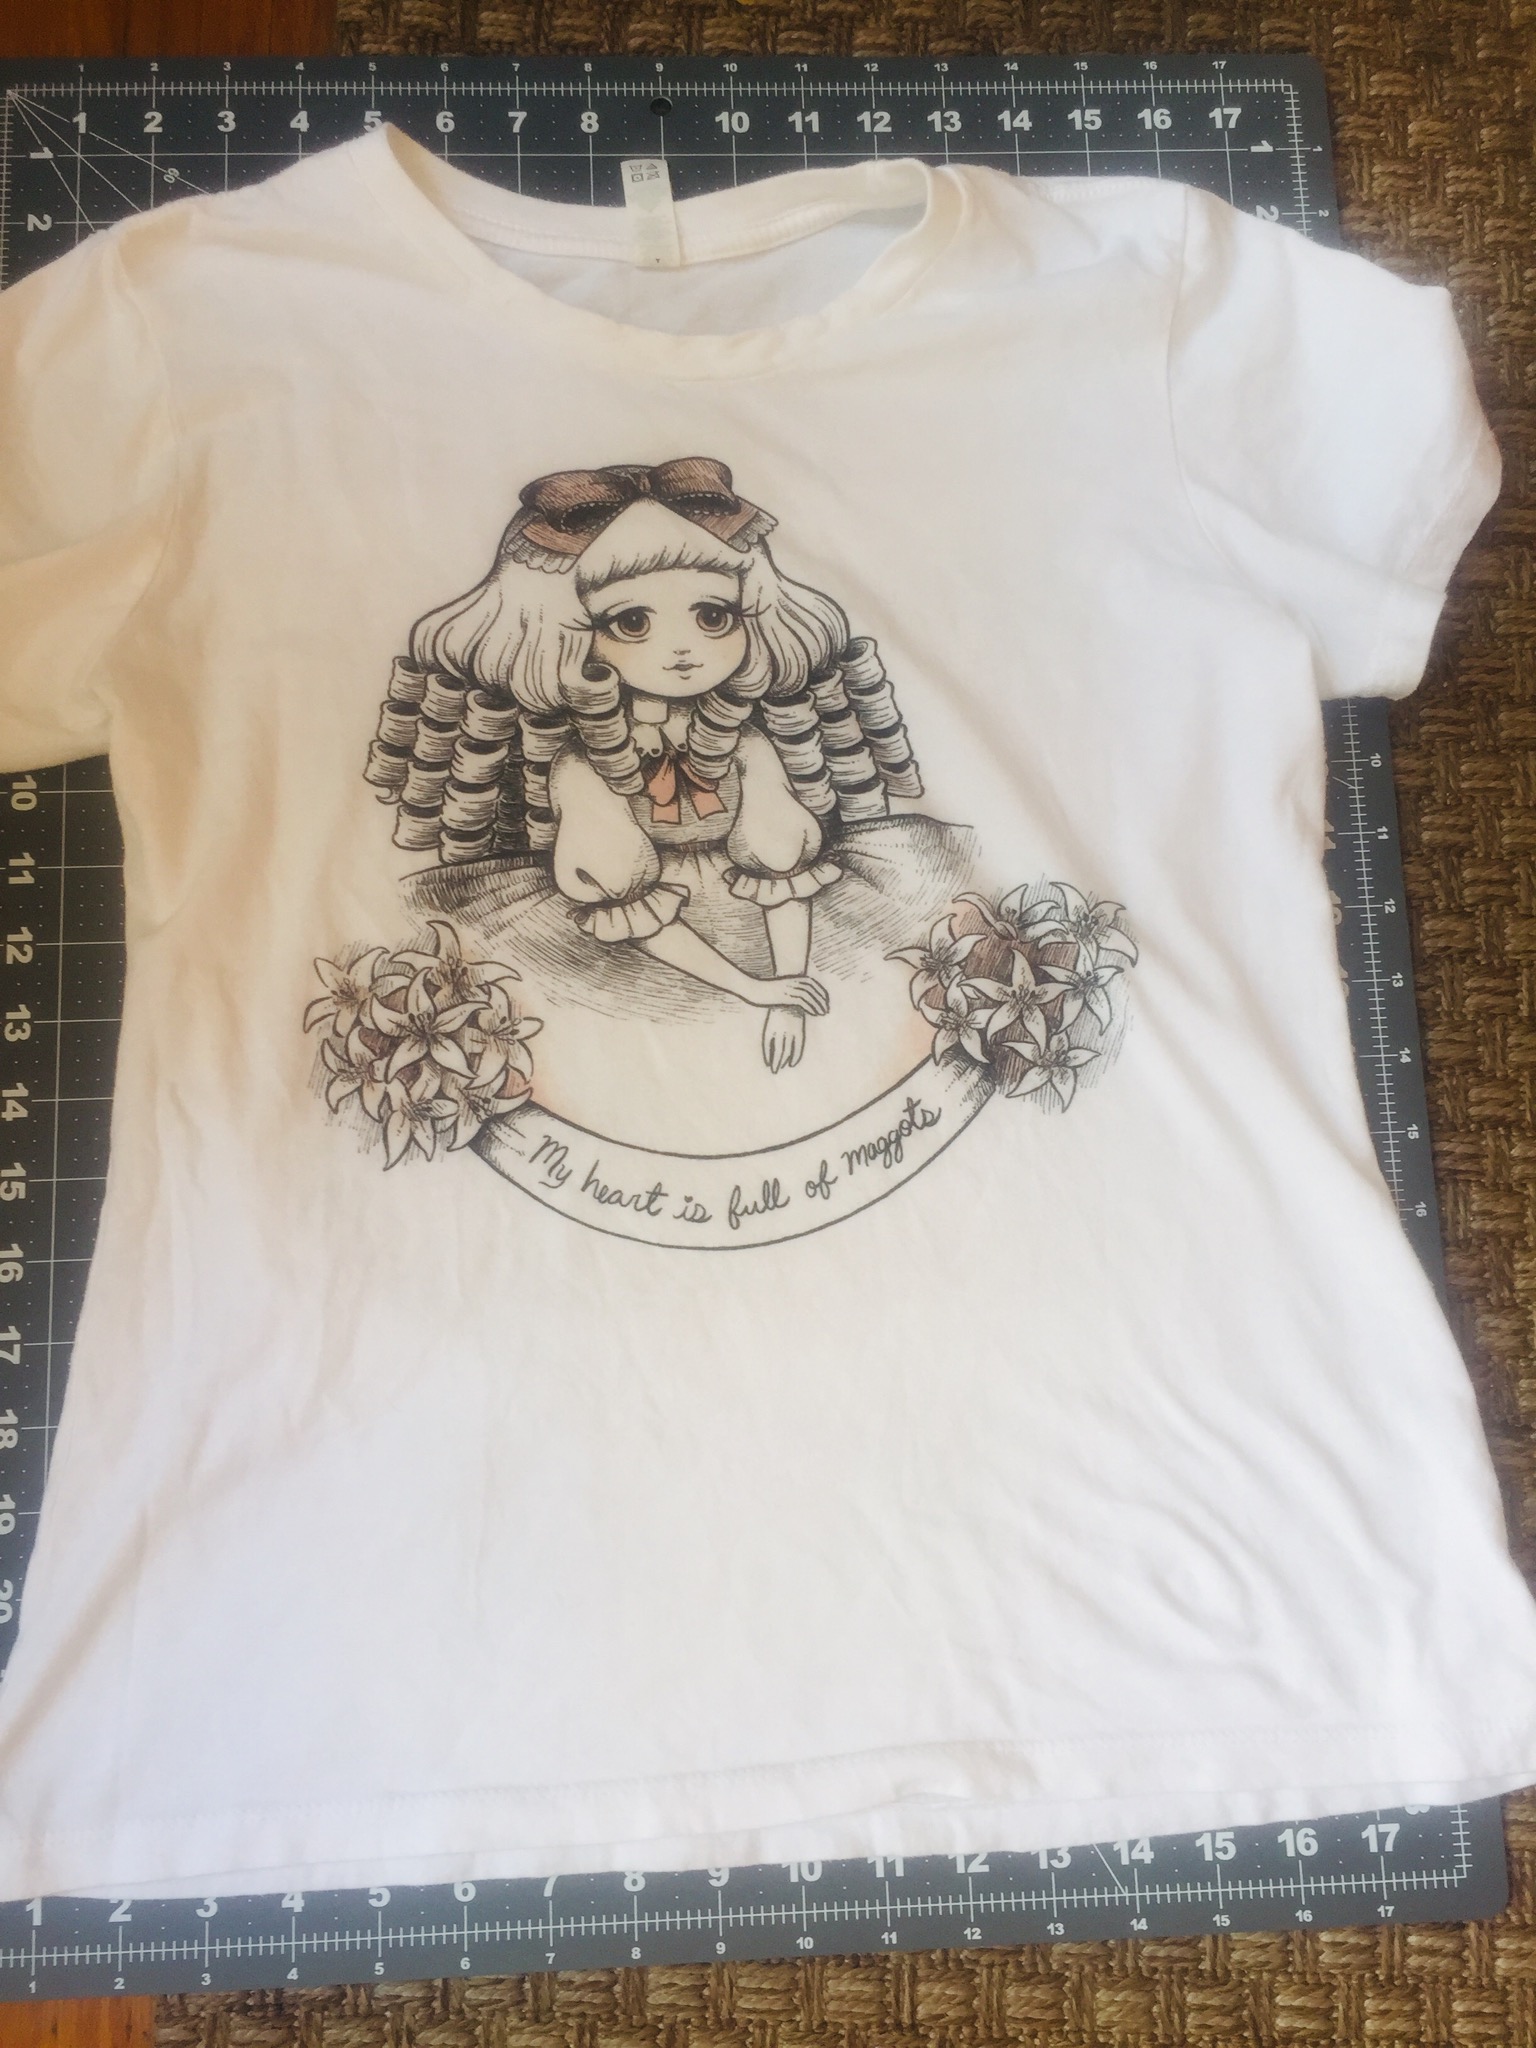
Since I wanted to keep the bottom hem, I cut that part off too. To reattach the hem, I put right sides together and pinned all the way around, taking special care to line up the side seams. Sew, then press the seams. I also topstitched it to keep it from turning under.

Using your extra fabric, decide how big you want your bows to be.
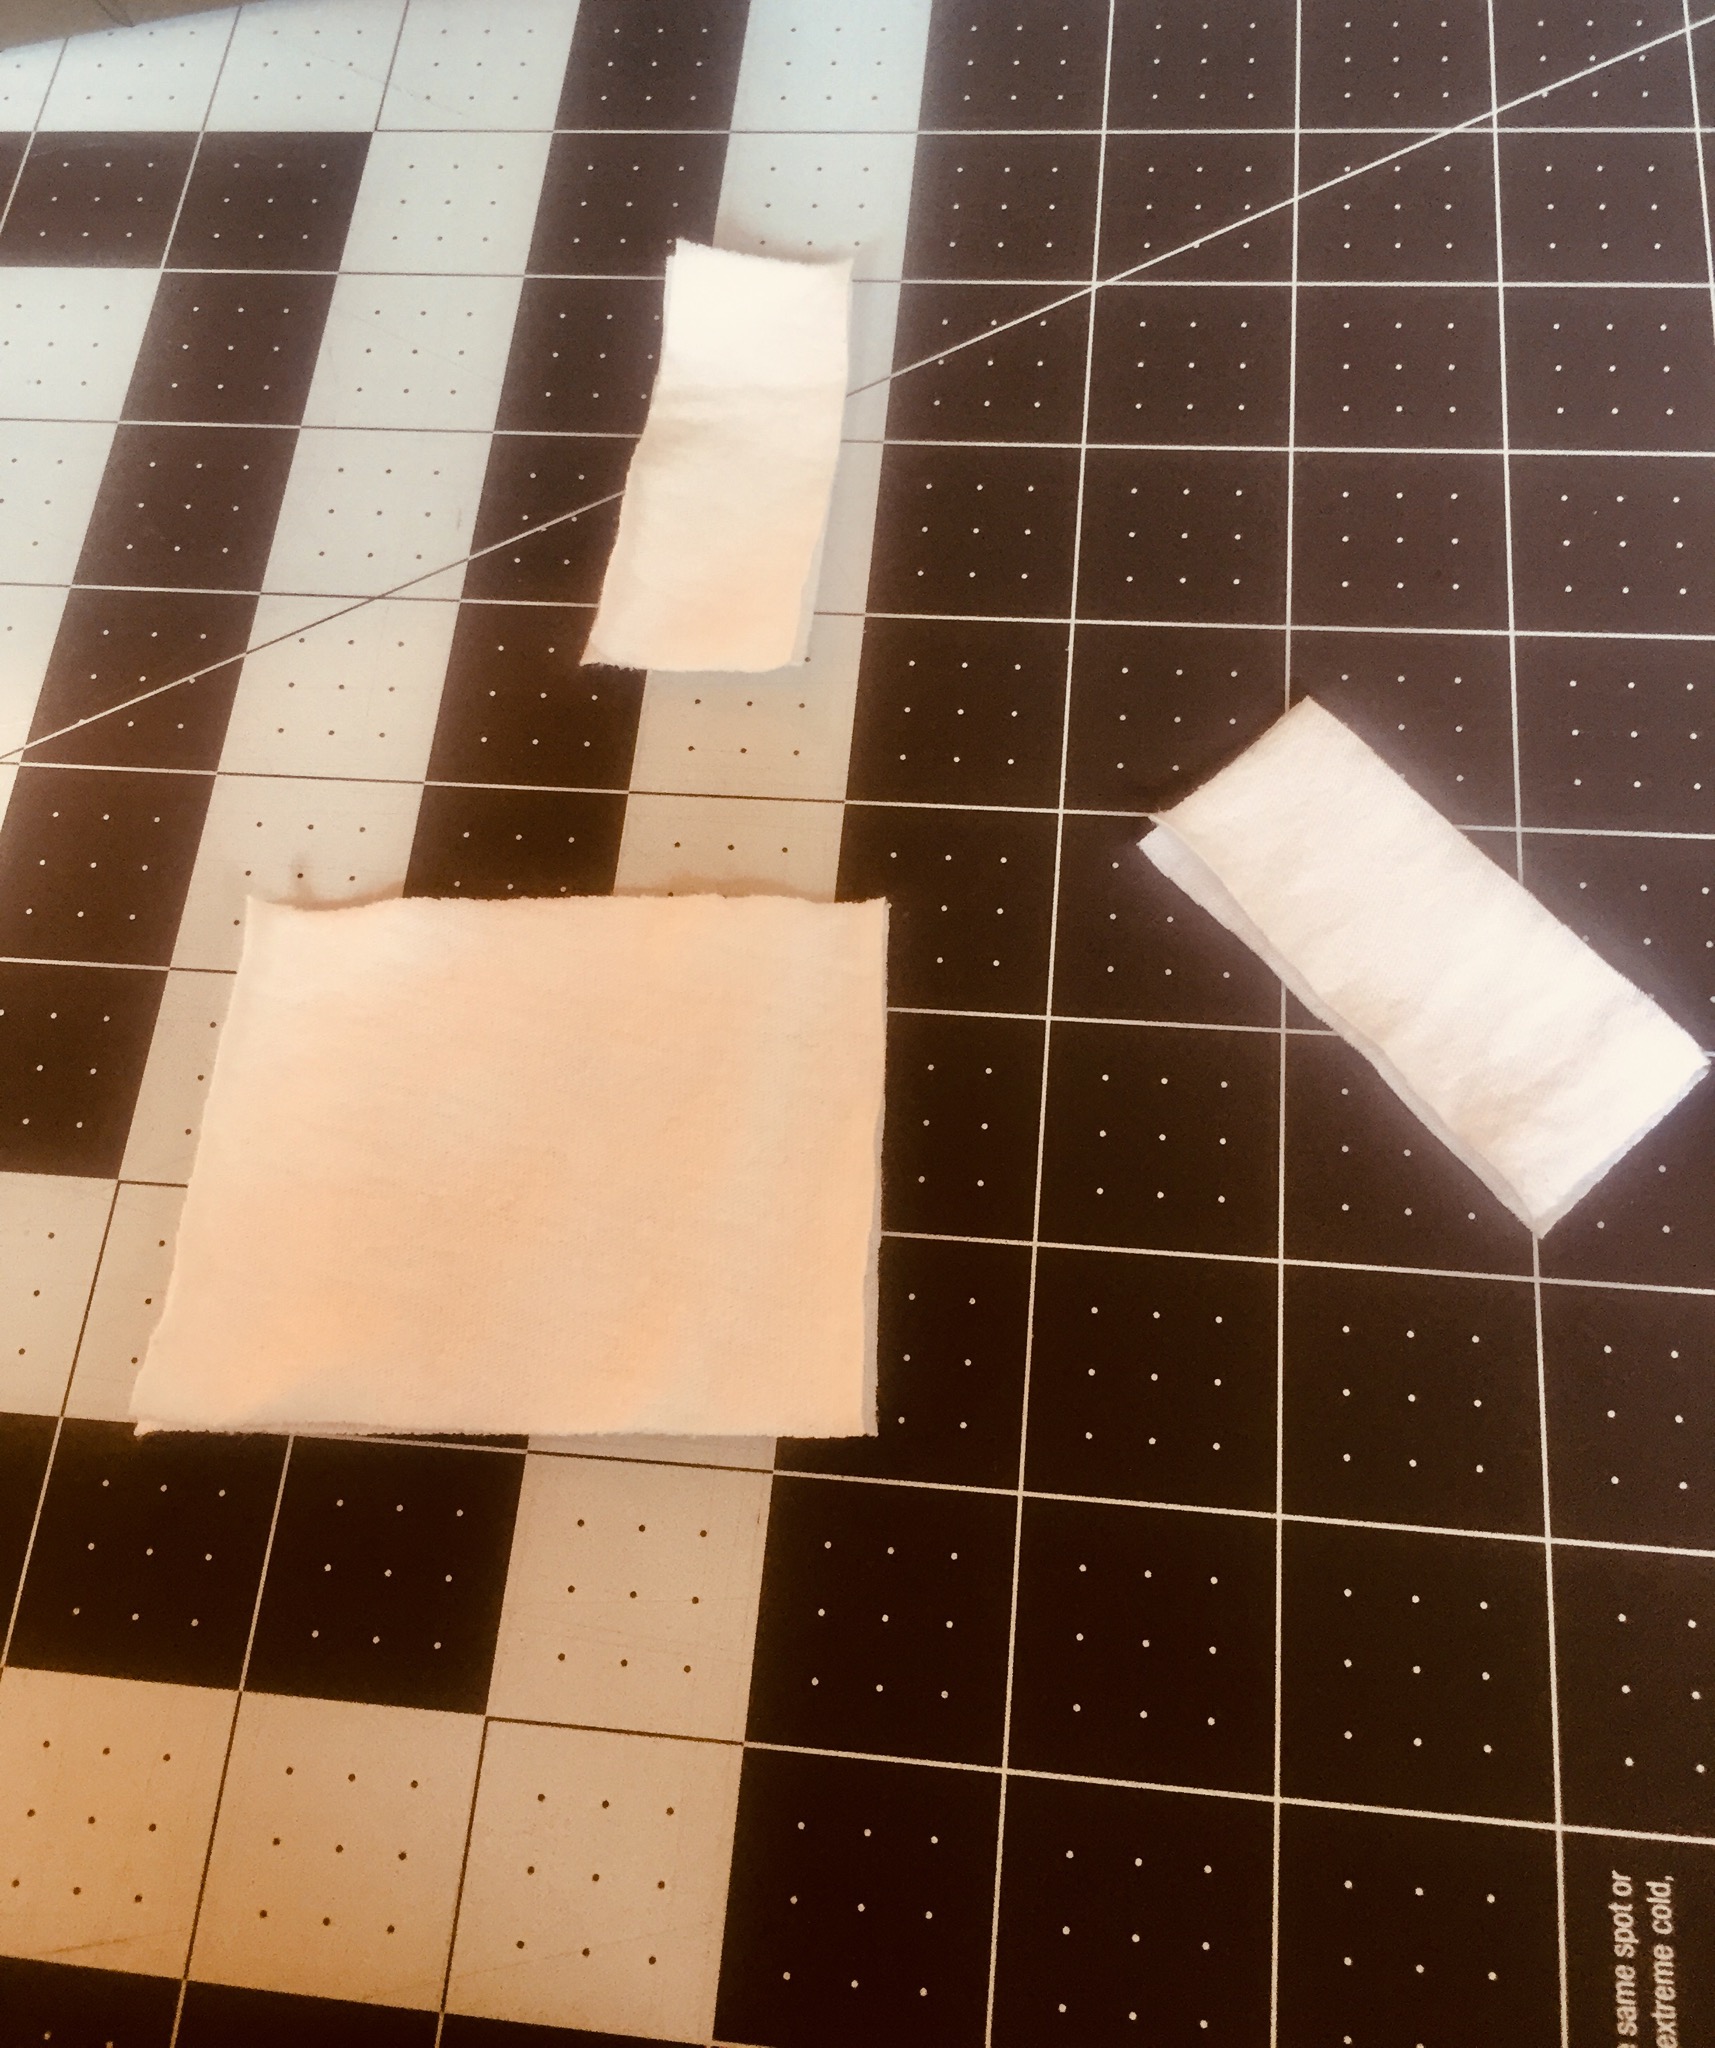
I made my sleeve bows 3 inches by 3 inches and my center bow 4 inches by 3 inches. The center pieces were approximately 1 inch. Measure your bows, then cut out your pieces. I needed 3 pieces total for each bow: two pieces for the bulk of the bow and one piece for the center.
To create your bow
Sew the two pieces of your bow together on all four sides, leaving a small space to turn your bow inside out. Press your seams and turn your bow. Finish with a slip stitch (or be lazy like me and just stitch across the bottom). Sew the center piece along one side press your seam. Turn inside out so you have a skinny tube.
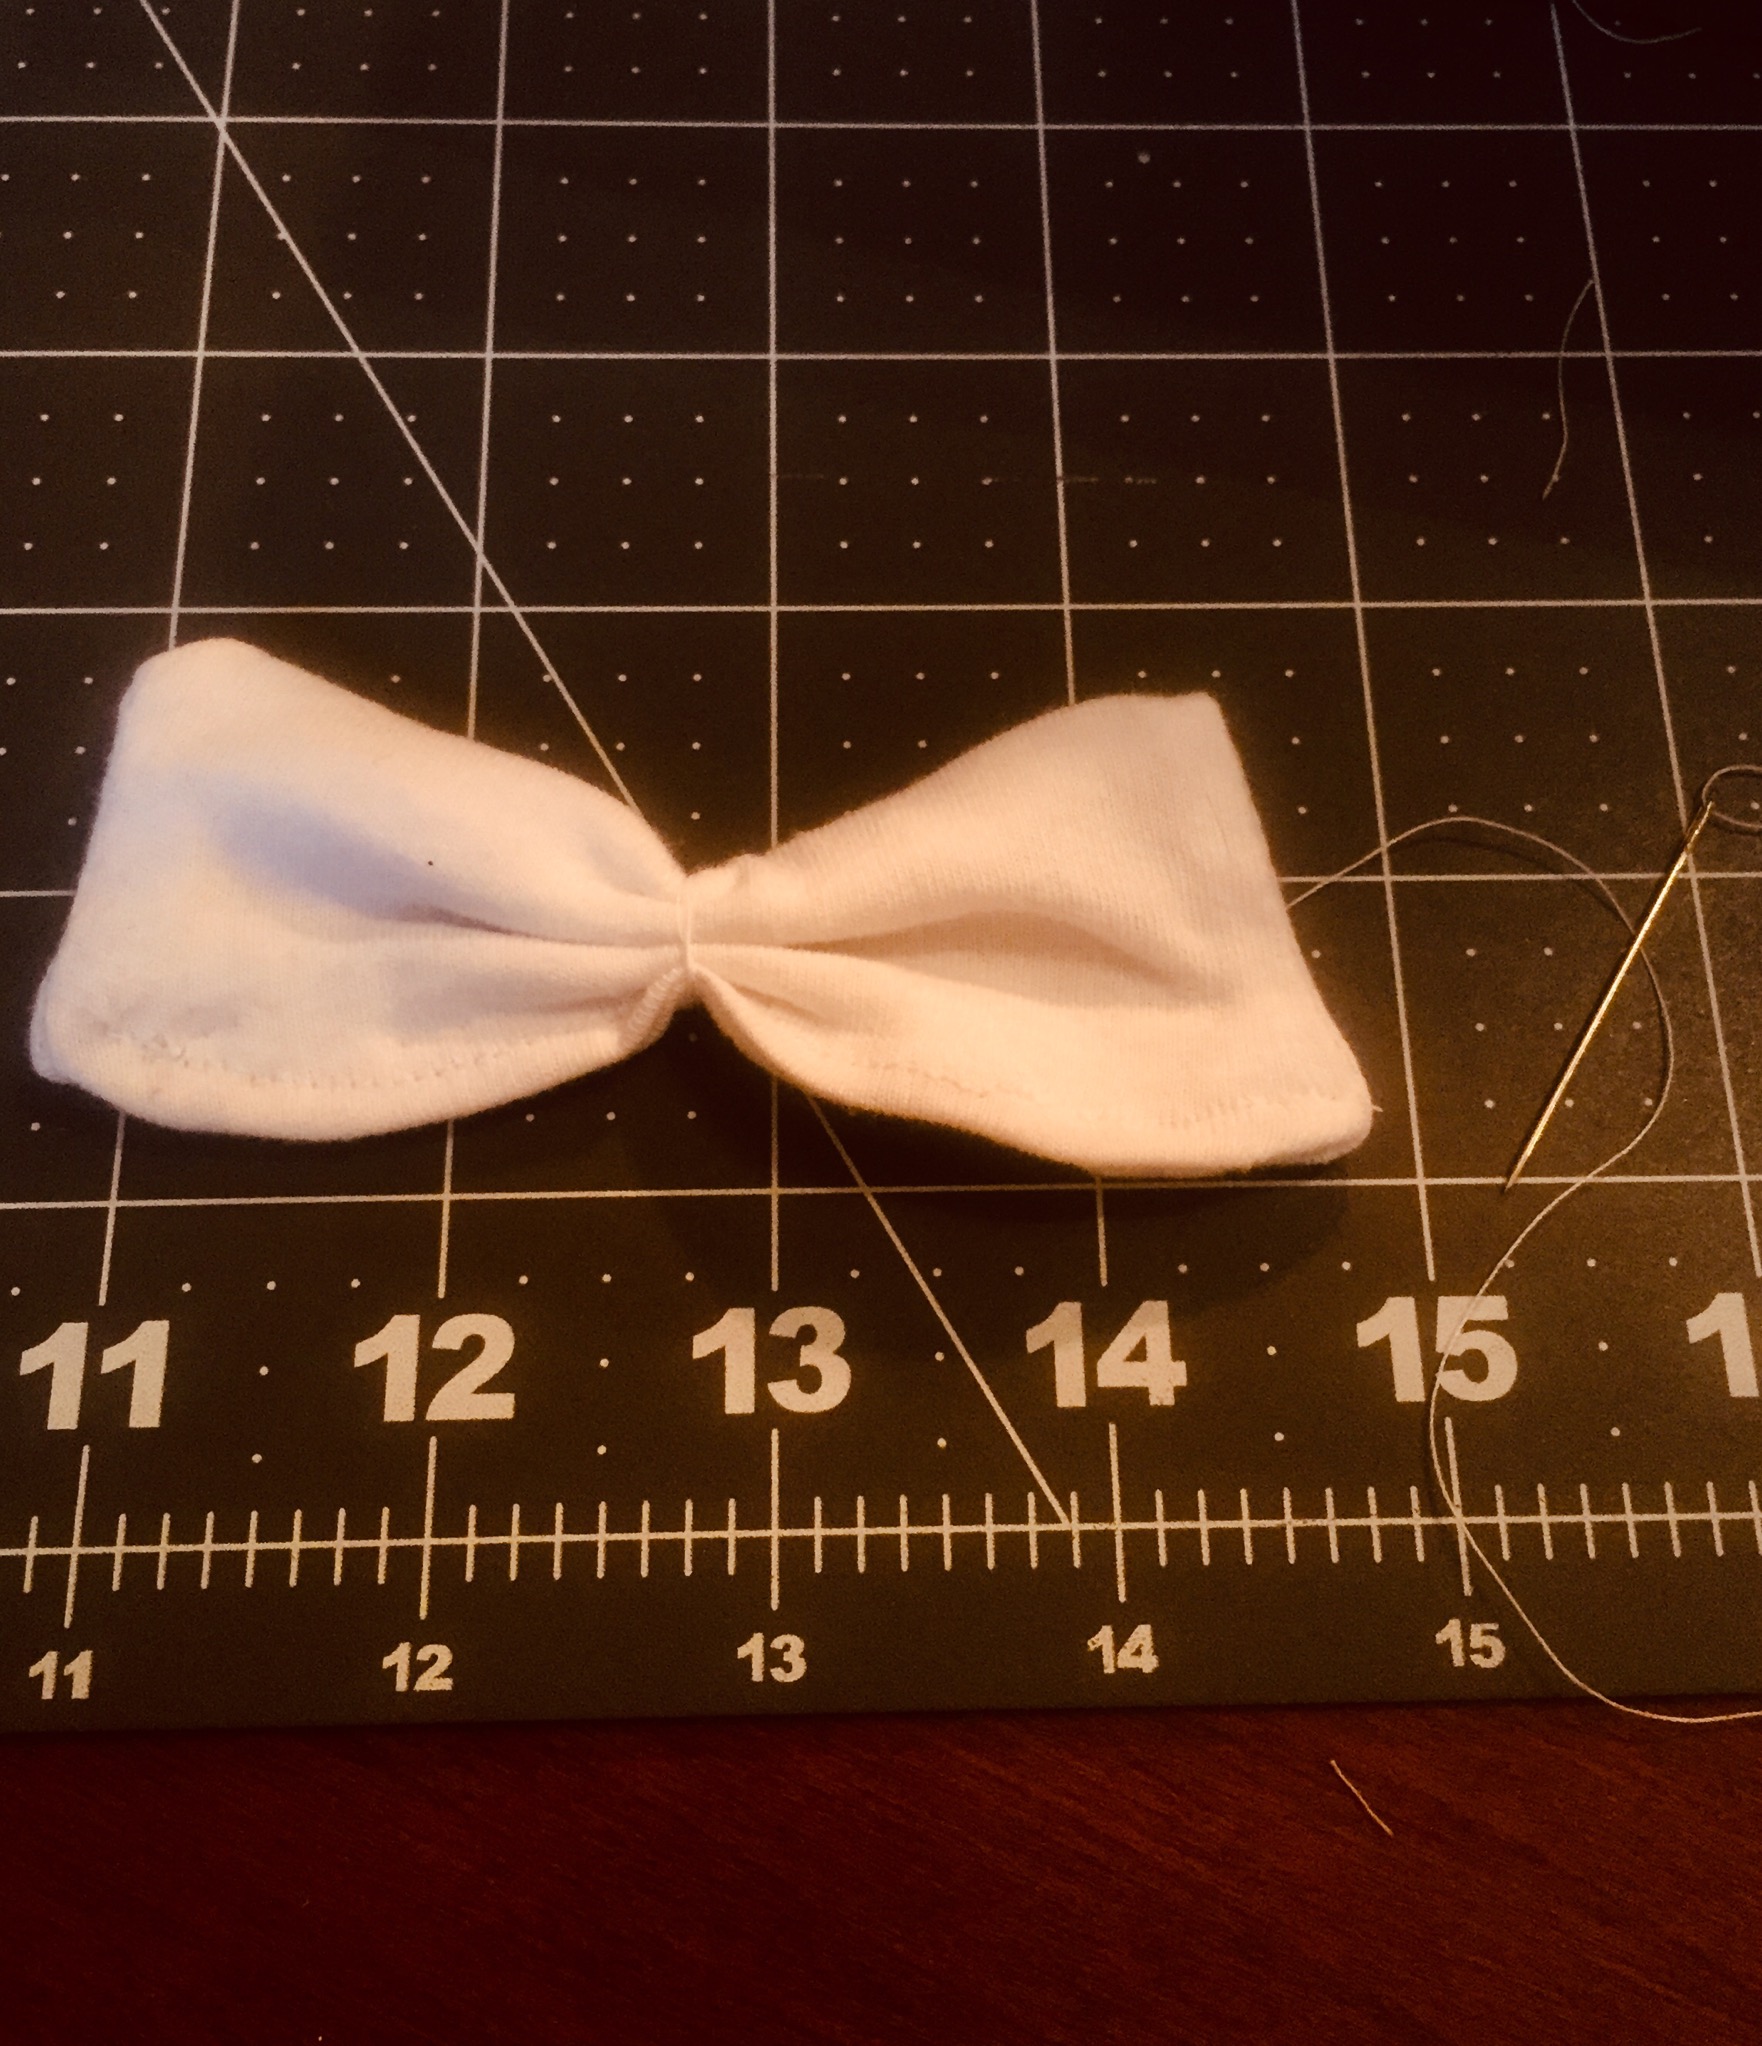
Take your larger piece and run a quick running stitch through the center to create pleats in your bow. Wrap the thread around the center and tie a knot to secure the pleats. Tack your bow down in the back and wrap around the front. Trim the excess fabric and tack down the back. Repeat for the other bows.
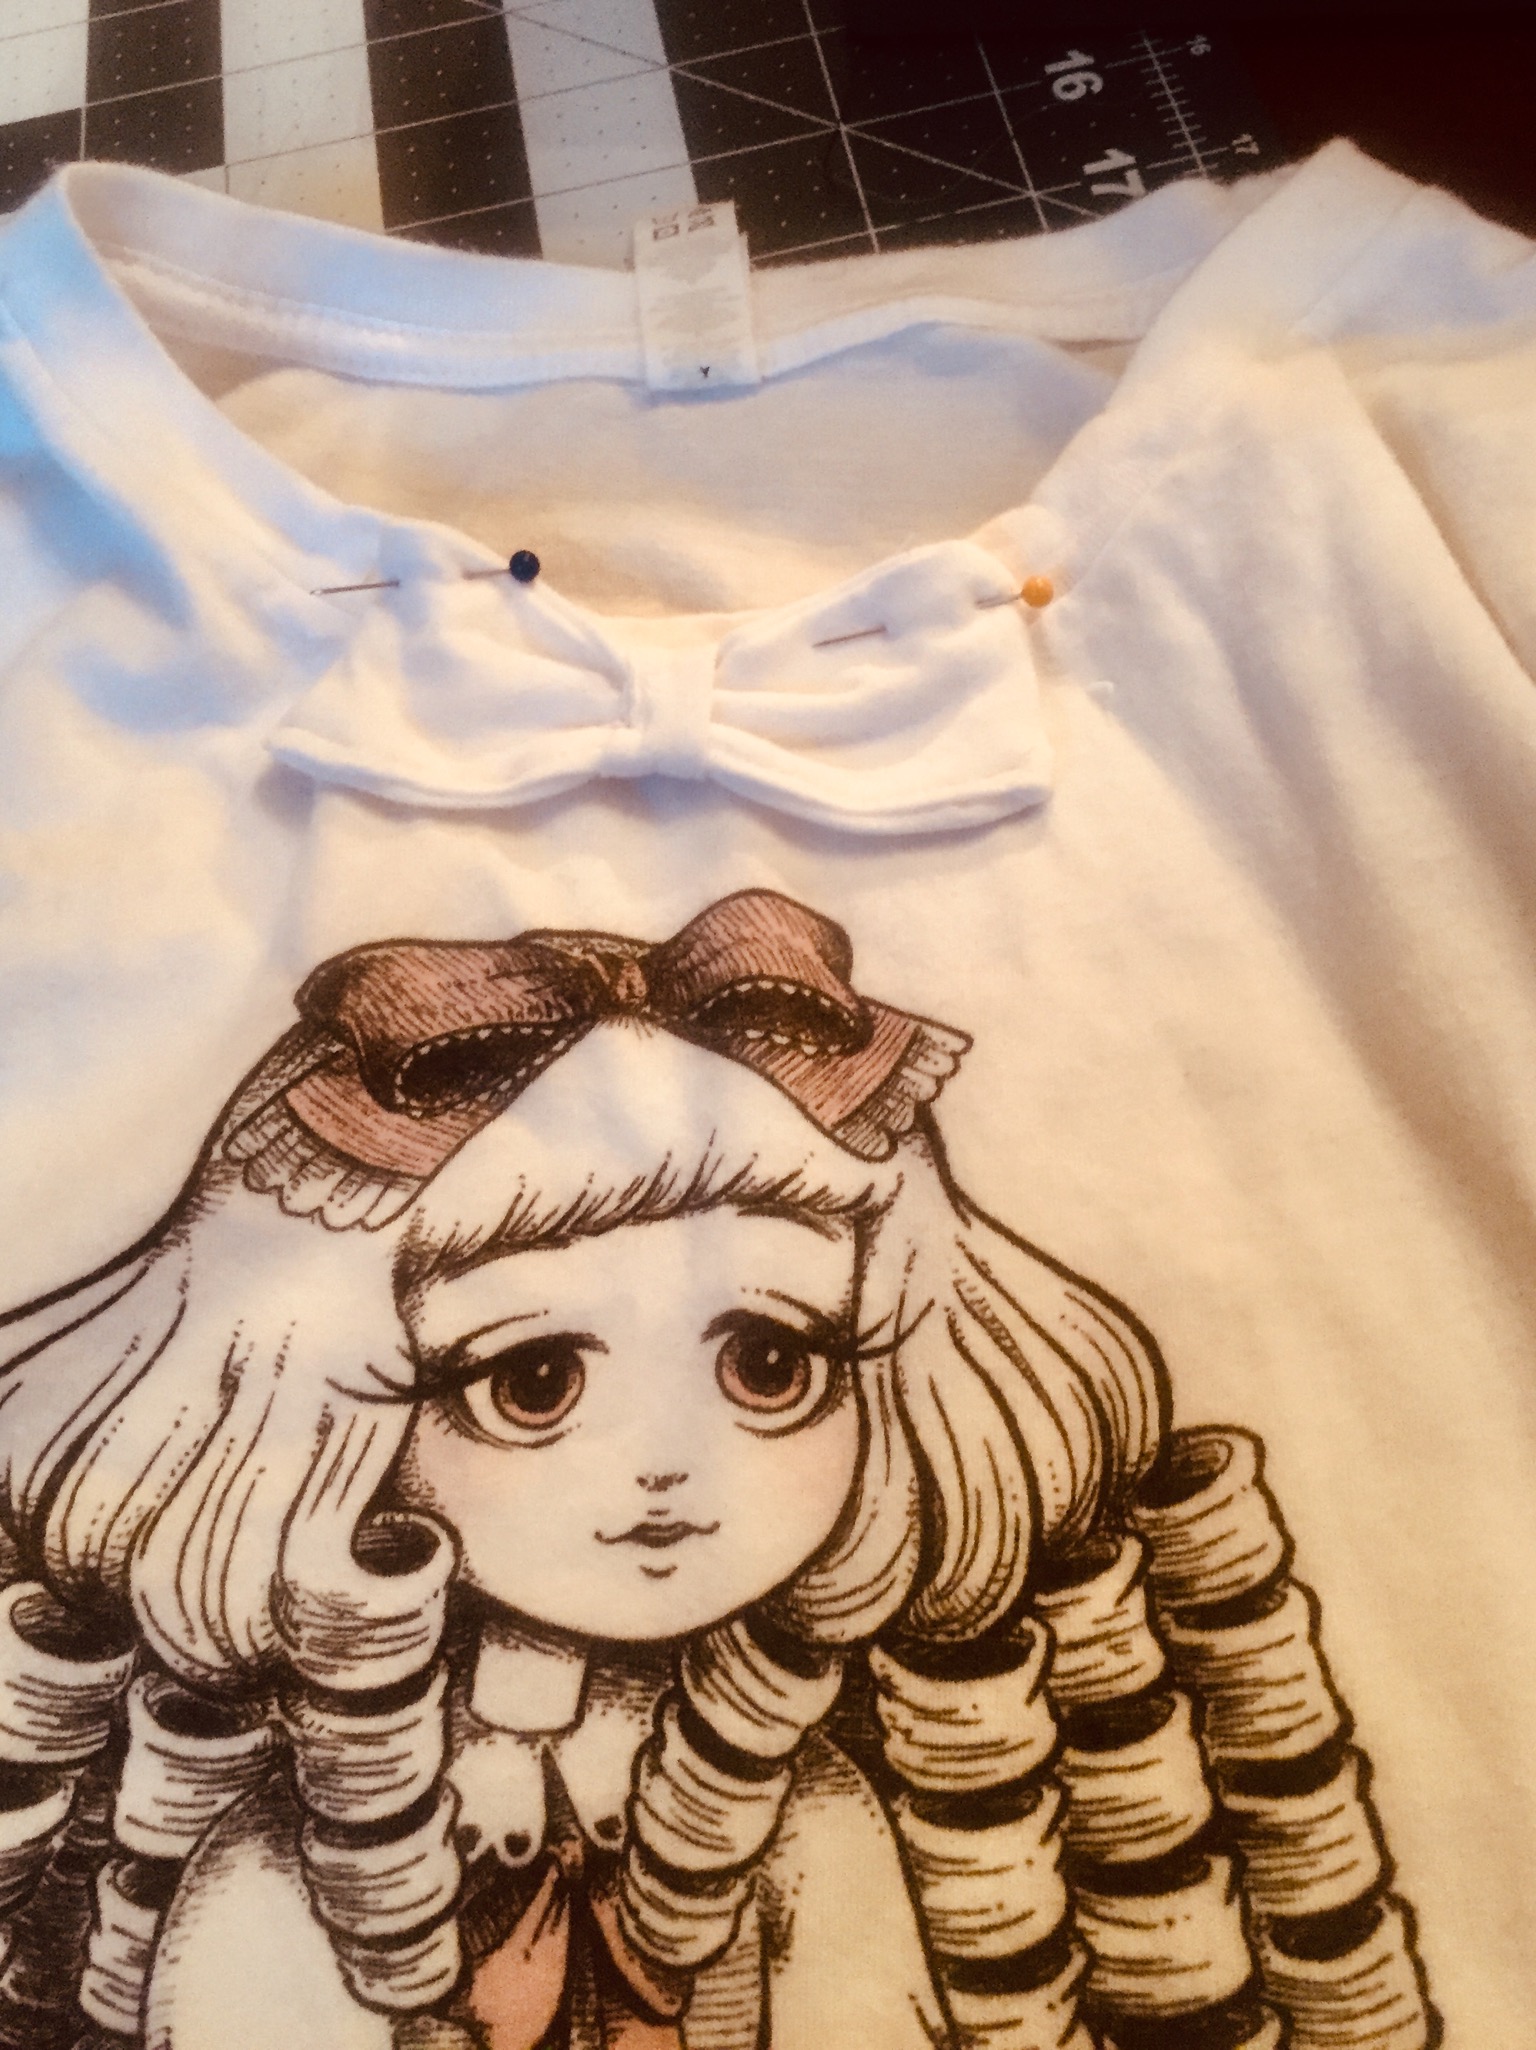
Center your bows on the center collar and center sleeves. Pin in place. Tack down with a few stitches (I did this in three places).
Step back and admire your work!
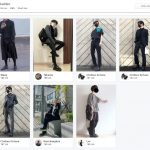
Once your find a style you like, its easy to do this any t-shirt with a graphic on the front. Like these from Lulu Vanhoagland. Or these from In Control Clothing. Or this cute one from Coffee Cakey. Or…well, you get the idea. Let me know if you find this inspiring! I’d love to see what you make.
By day, Jenna is a legal professional living in Los Angeles, California. By night (and weekends), she is a frill wearing monster who loves Innocent World and lolita indie brands. When she isn’t taking mirror selfies of her coordinates, she enjoys reading comic books, playing board games, and snuggling with her pup, Lily. You can see her mirror selfies on her instagram @lovelylaceandlies and contact her at lovelylaceandlies@gmail.com.
Recommend