2020年10月21日


Sakura Nail Art Tutorial
当サイトの記事には広告、アフィリエイトが含まれています。
Spring is almost here! Of course you’ll need some nail art to match. Here’s a quick tutorial for some super simple sakura nails!
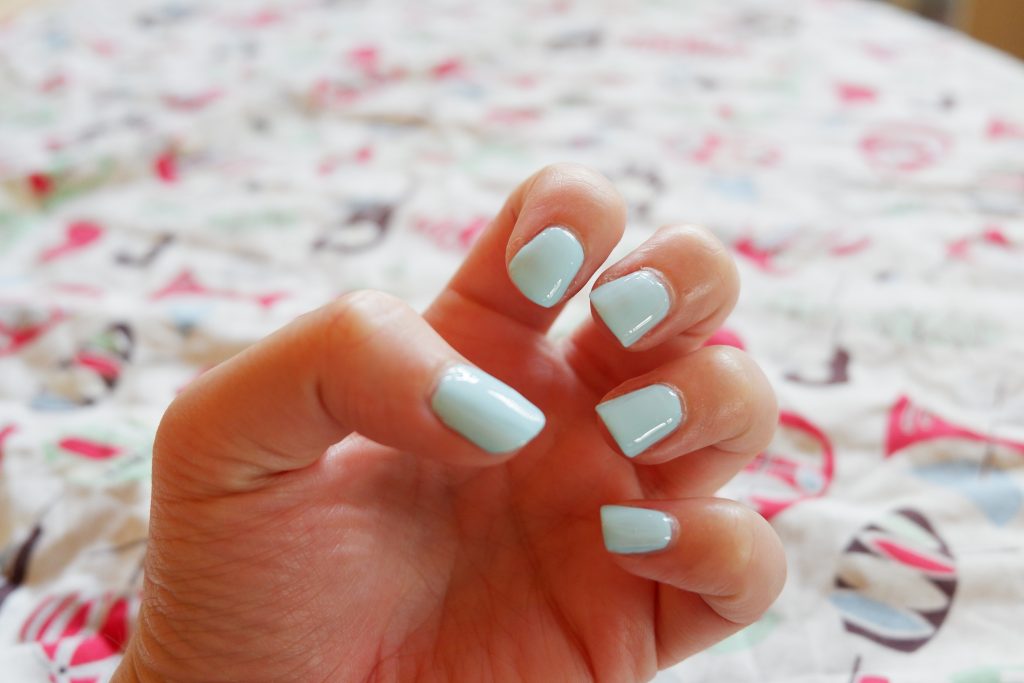
Prep your nails as desired. Paint your nails a solid background color that will contrast with your flower petals. Top with a quick dry top coat and make sure that your nails dry completely before continuing.
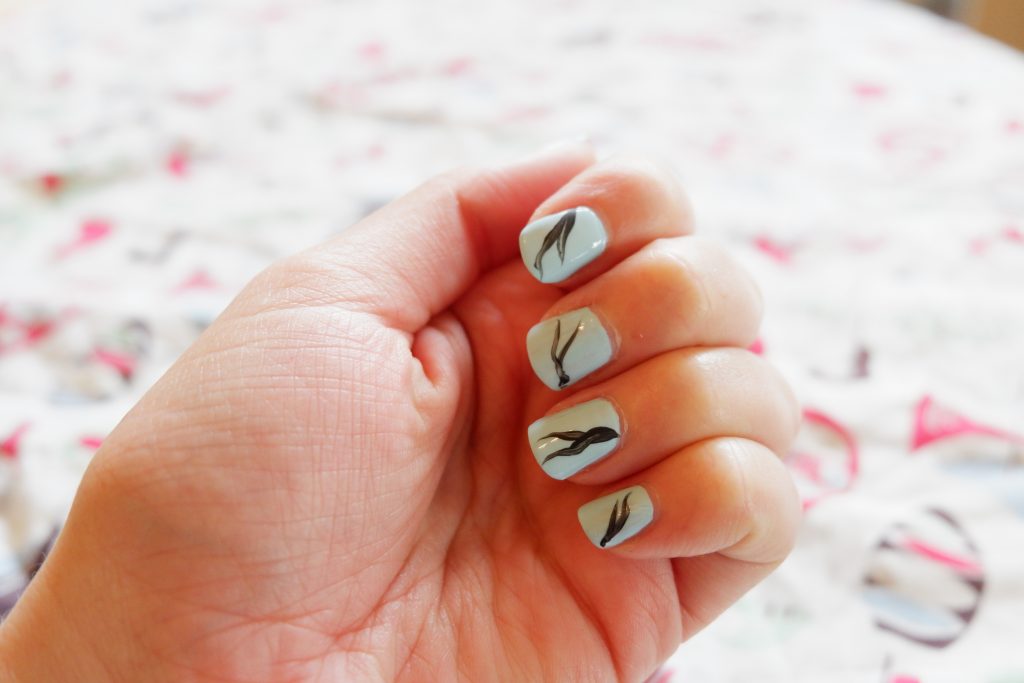
Using a thin liner brush, create branches on your nails. I like to do forks with two branches, but see what looks best with your nails. Top with quick dry top coat and make sure your branches are dry before continuing.
Tip: use acrylic paint instead of nail polish to create finer details. Plus you can clean your brushes with water instead of nail polish remover, which is less harsh on the bristles.
With a dotting tool, begin creating your cherry blossoms with a white, off-white, or pale pink. You can make a full blossom with a few dots, or create a single petal with just one dot. The blooms can sit on a branch or float on the window. Get creative!
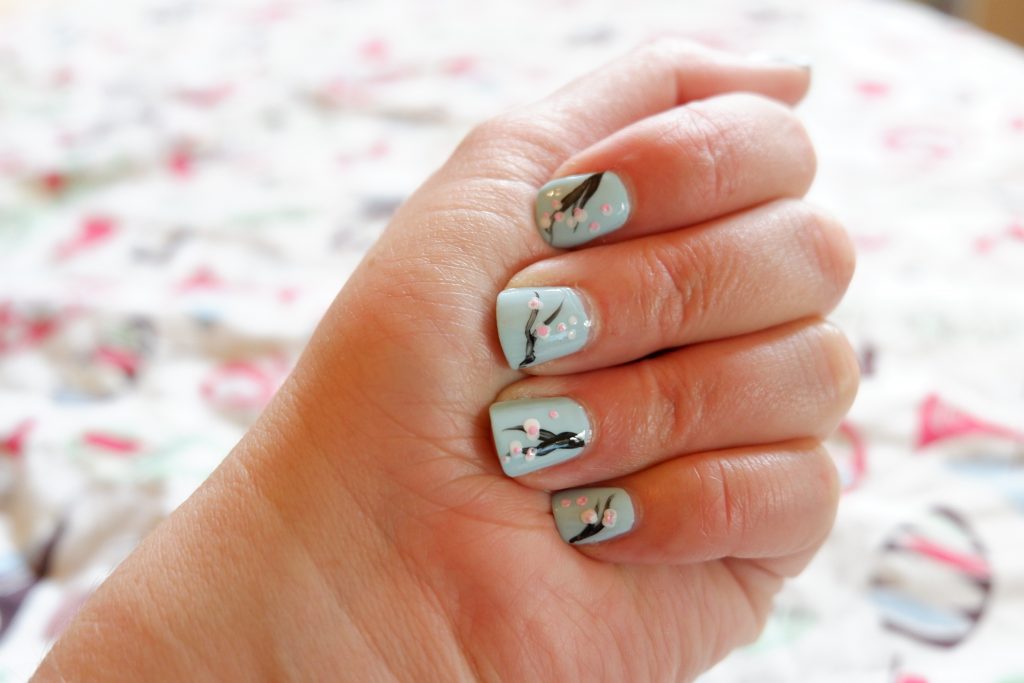
Tip: nail polish gets tacky quickly, so have a cotton ball soaked in nail polish remover handy to clean your dotting tool frequently.
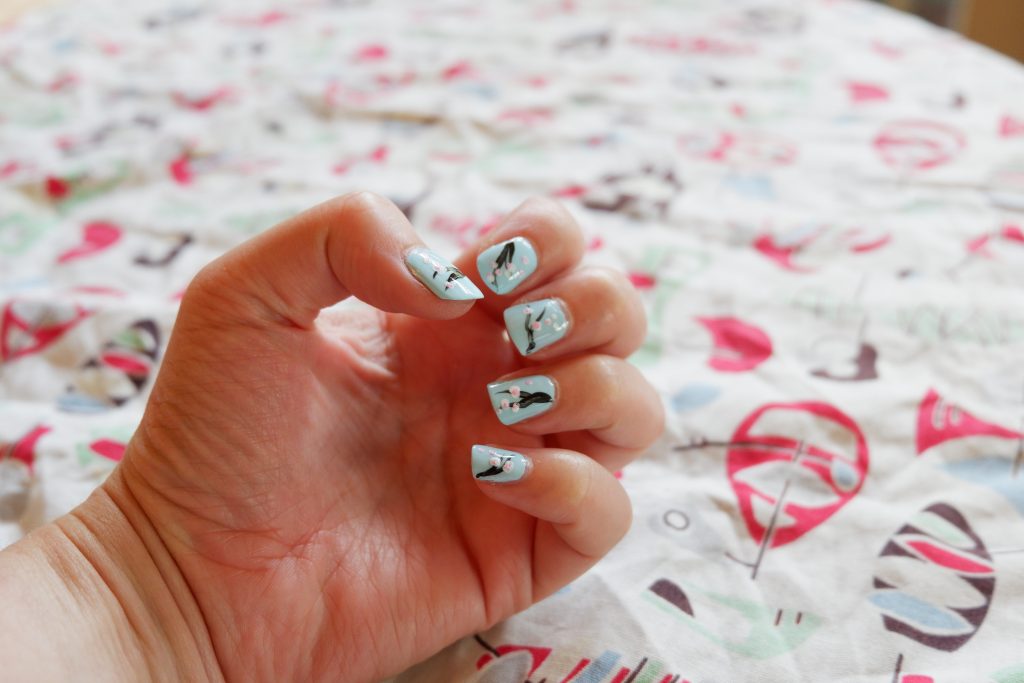
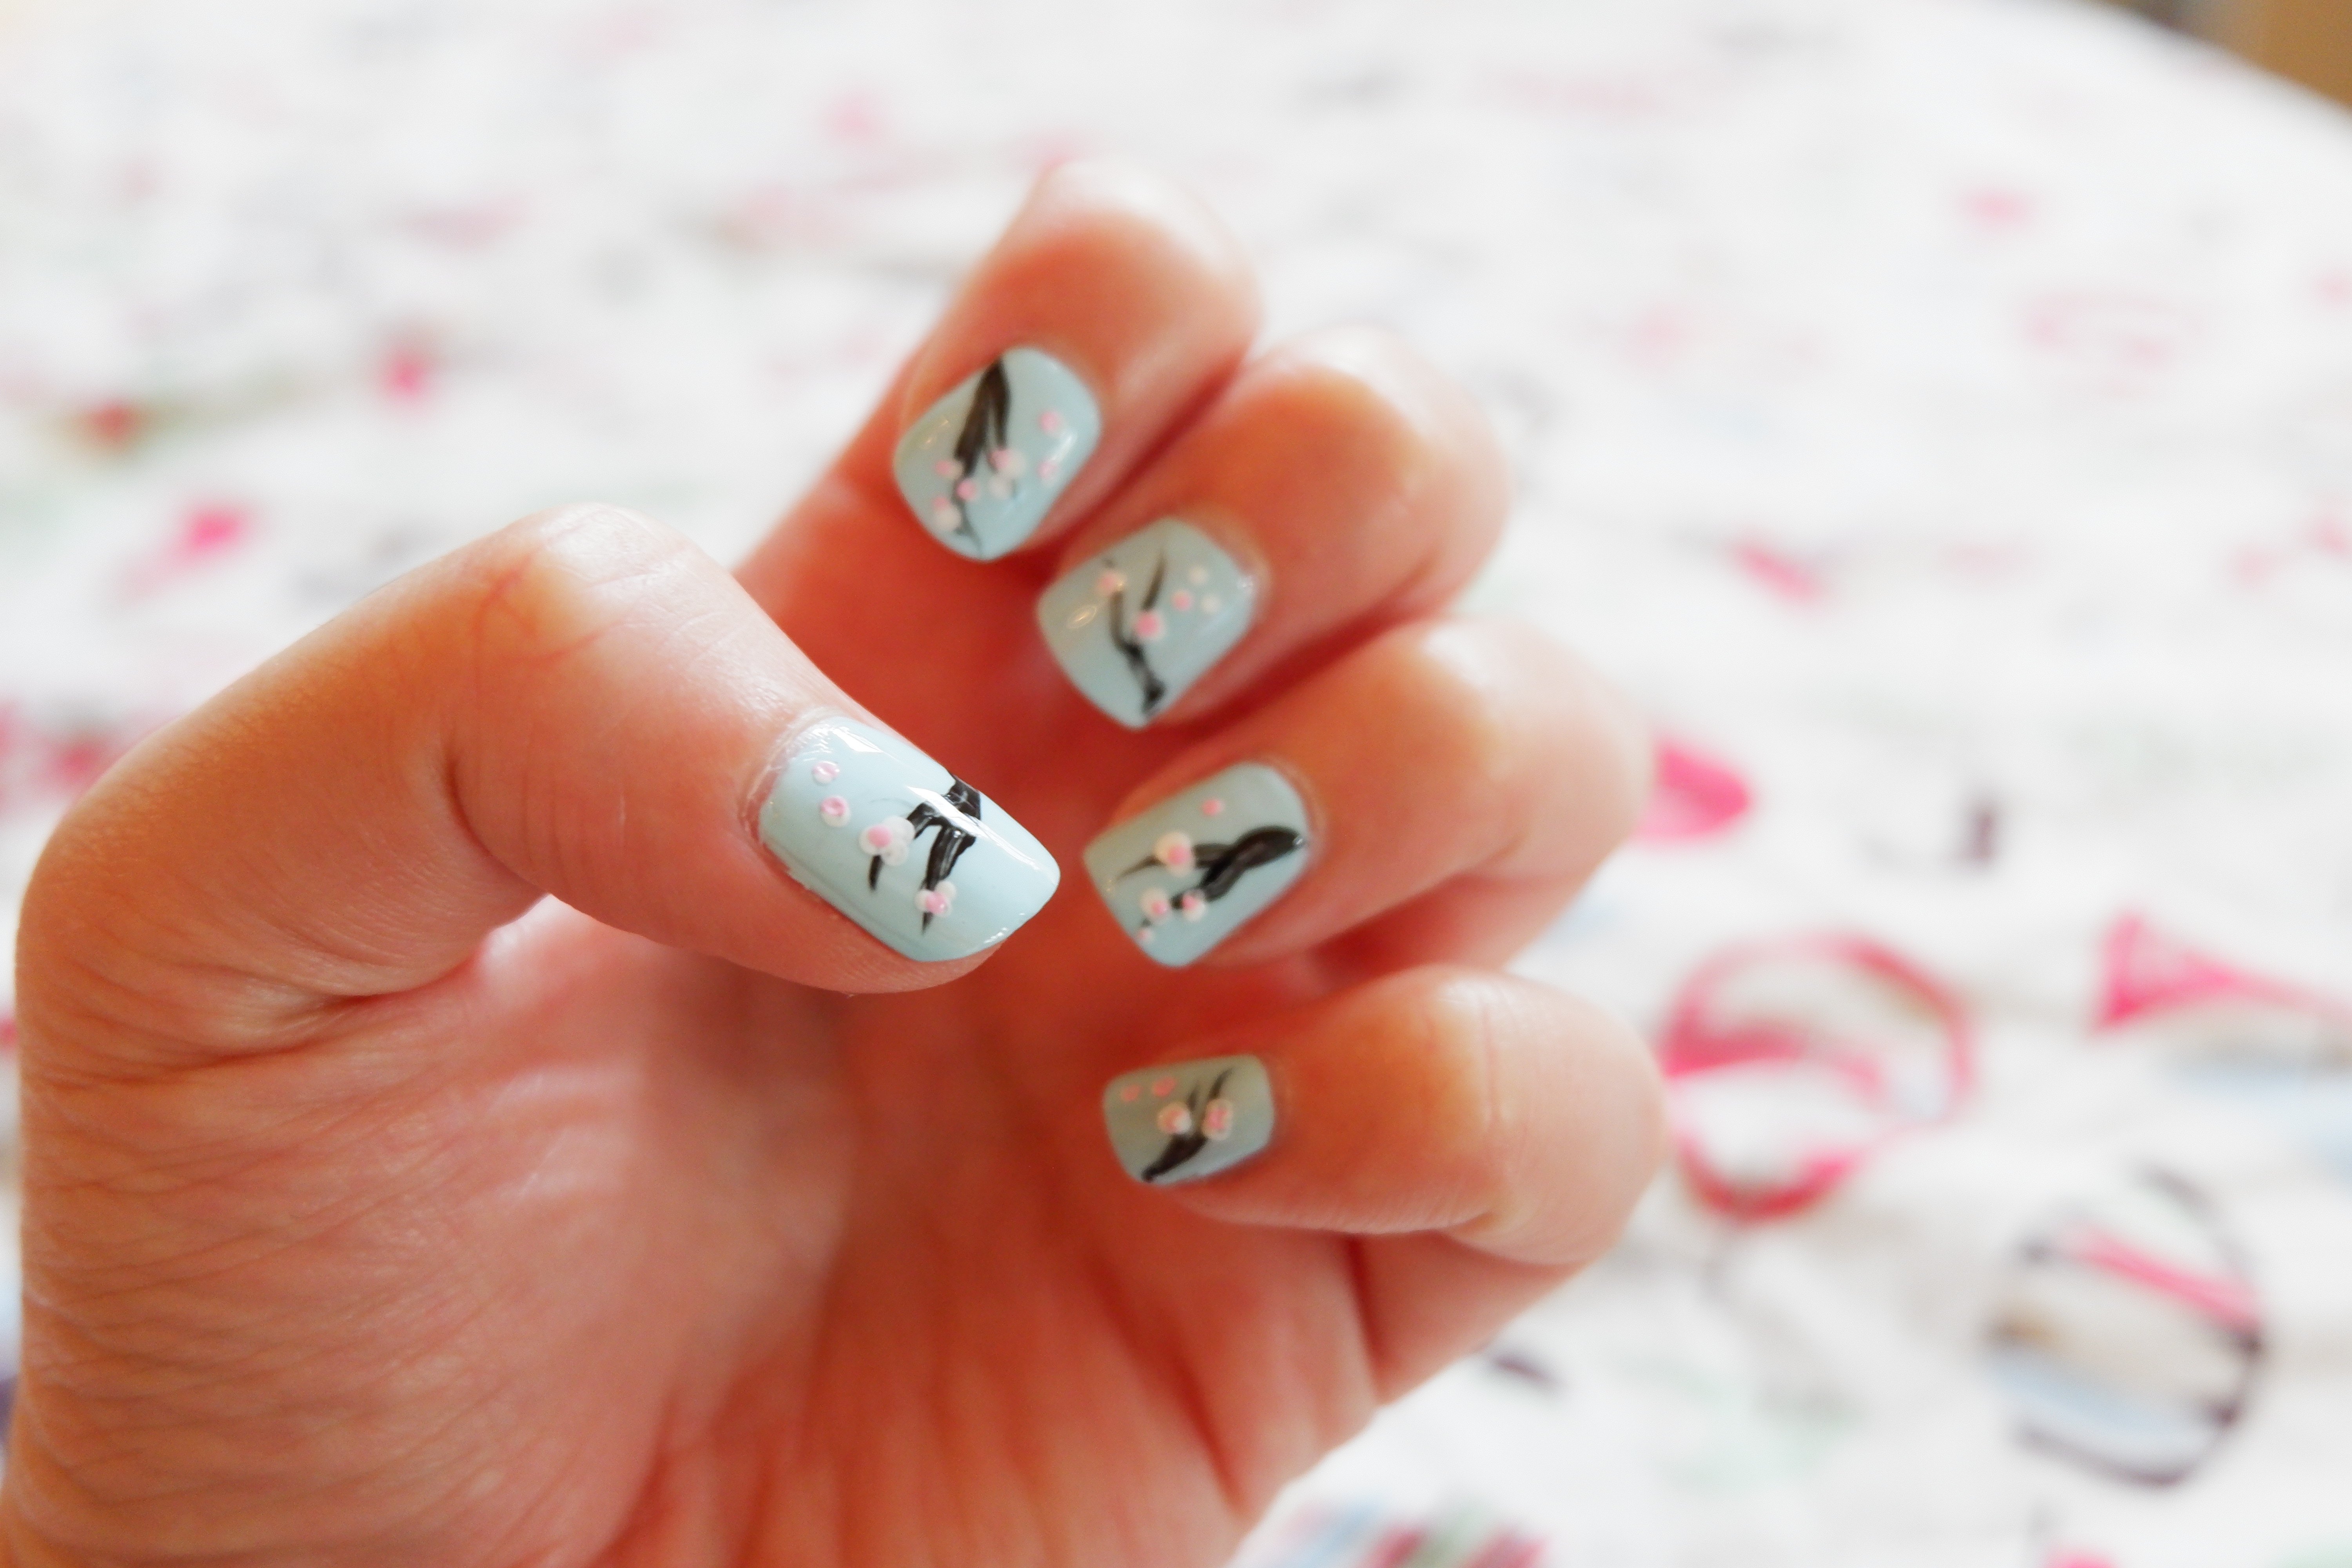
After you have finished with your light color, use a smaller dotting tool or a careful hand to add a darker pink or red center to your blossoms. You can also add a dot to your single petals.
When you’re satisfied, top with a quick dry top coat.
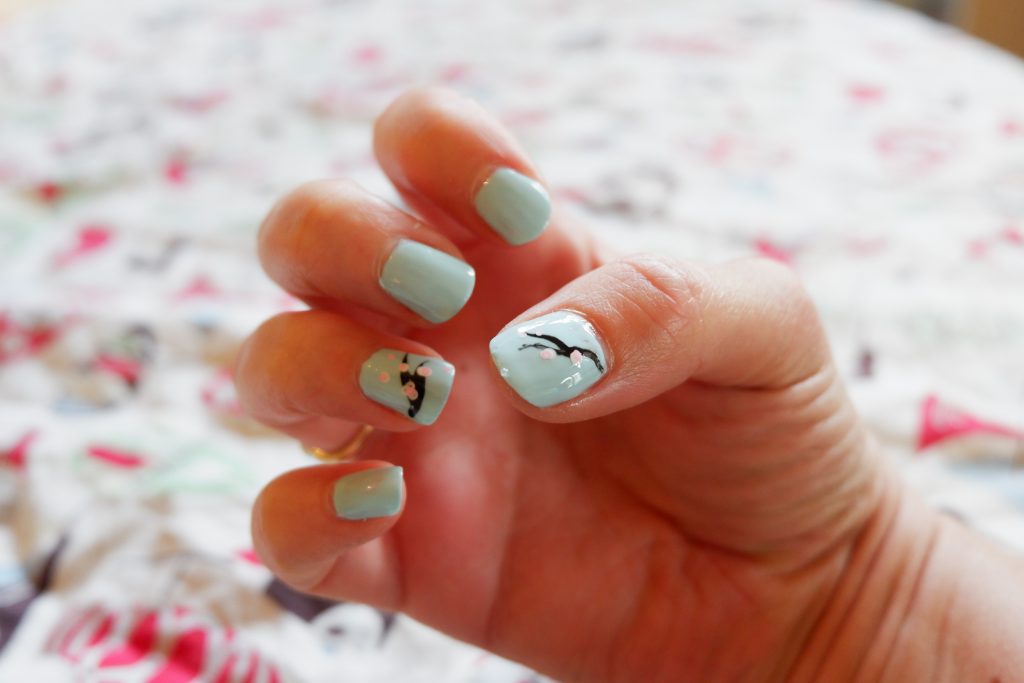
In case you were curious, its totally possible to do this design on both hands. If you don’t have the dexterity at first, keep practicing! It will become easier with time.
By day, Jenna is a legal professional living in Los Angeles, California. By night (and weekends), she is a frill wearing monster who loves Innocent World and lolita indie brands. When she isn’t taking mirror selfies of her coordinates, she enjoys reading comic books, playing board games, and snuggling with her pup, Lily. You can see her mirror selfies on her instagram @lovelylaceandlies and contact her at lovelylaceandlies@gmail.com.

Recommend


Sorry. No data so far.