2021年5月28日


Dried Flower Manicure
当サイトの記事には広告、アフィリエイトが含まれています。
Spring is here in the United States. My backyard is full of flowers, so I created a manicure tutorial using some dried flowers for a way to capture the natural beauty of the season.
Gathering your materials
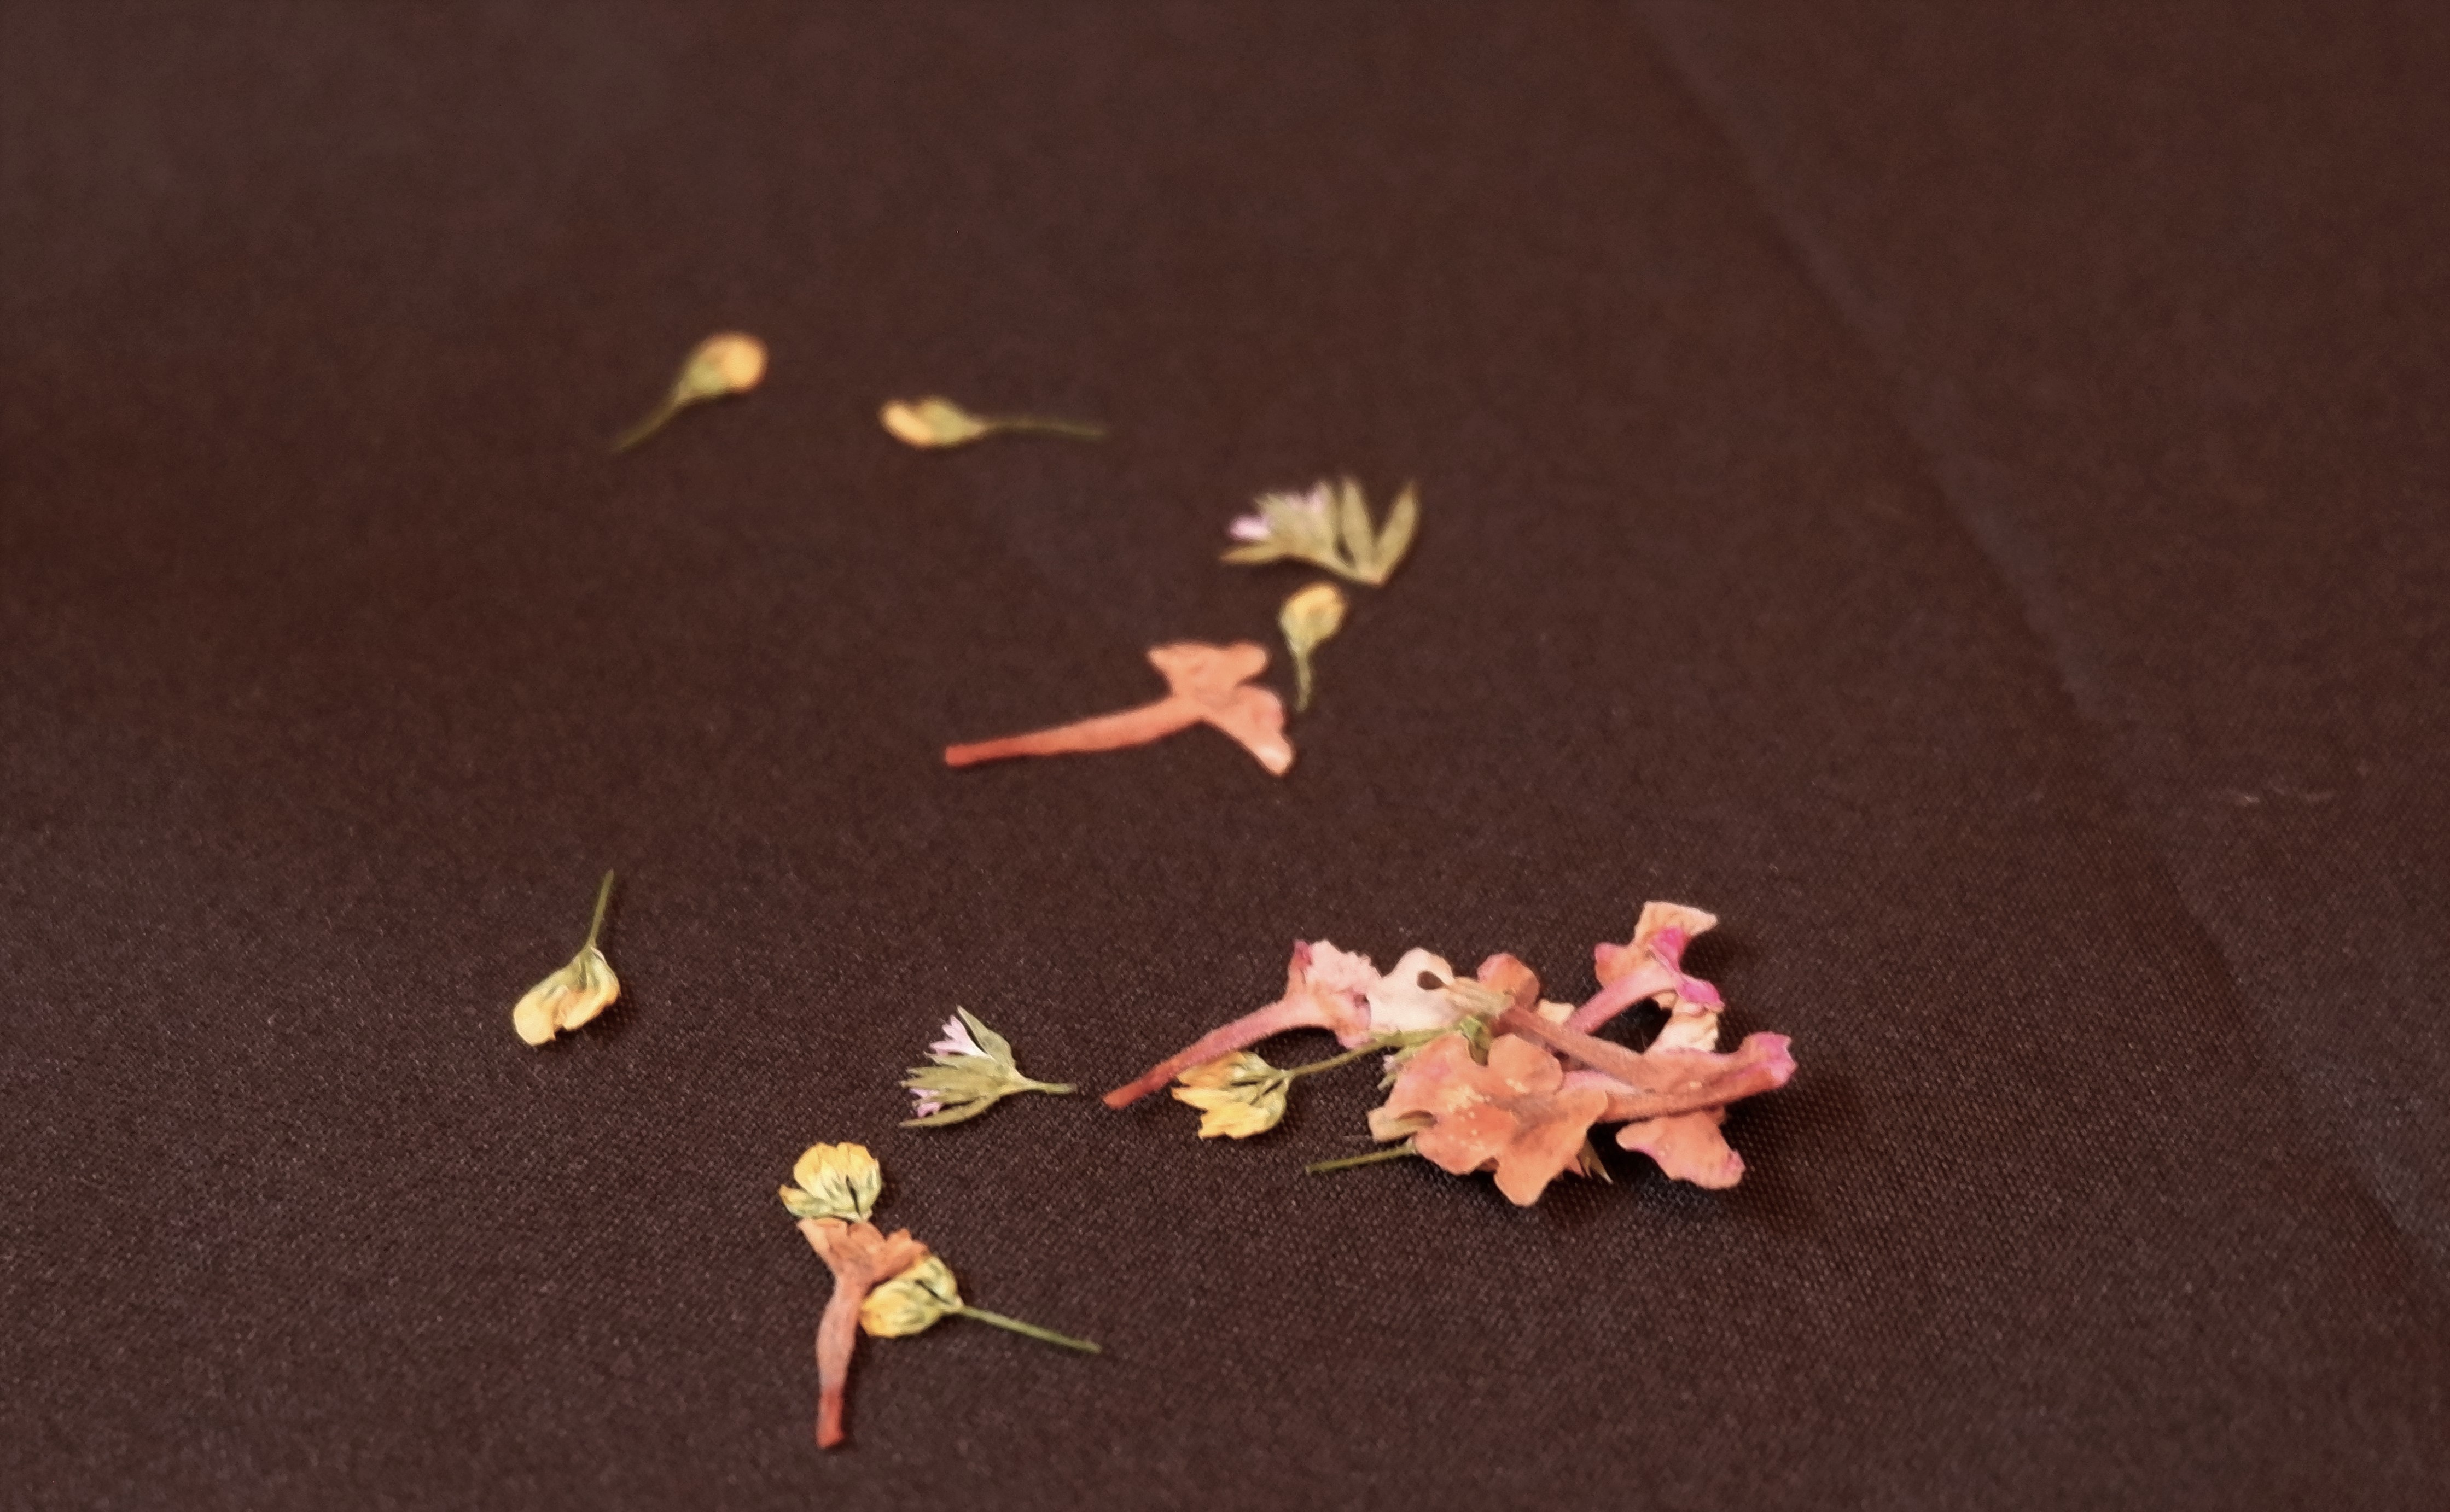
Make or purchase dried flowers. Even if you don’t have a full garden or backyard, you can probably find some suitable flowers outside your front door. These flowers were from patches of clover! Look for small flowers that will fit on your nails or trim them to size. Press the flowers between the pages of a book or other heavy objects for a day or so.
Prep work
Prep your nails as desired and paint your nails a contrasting color to your flowers. Though I chose a neutral, you could easily do them pink, blue, white, whatever! Get creative and see what colors look best together.
How do your flower grow?
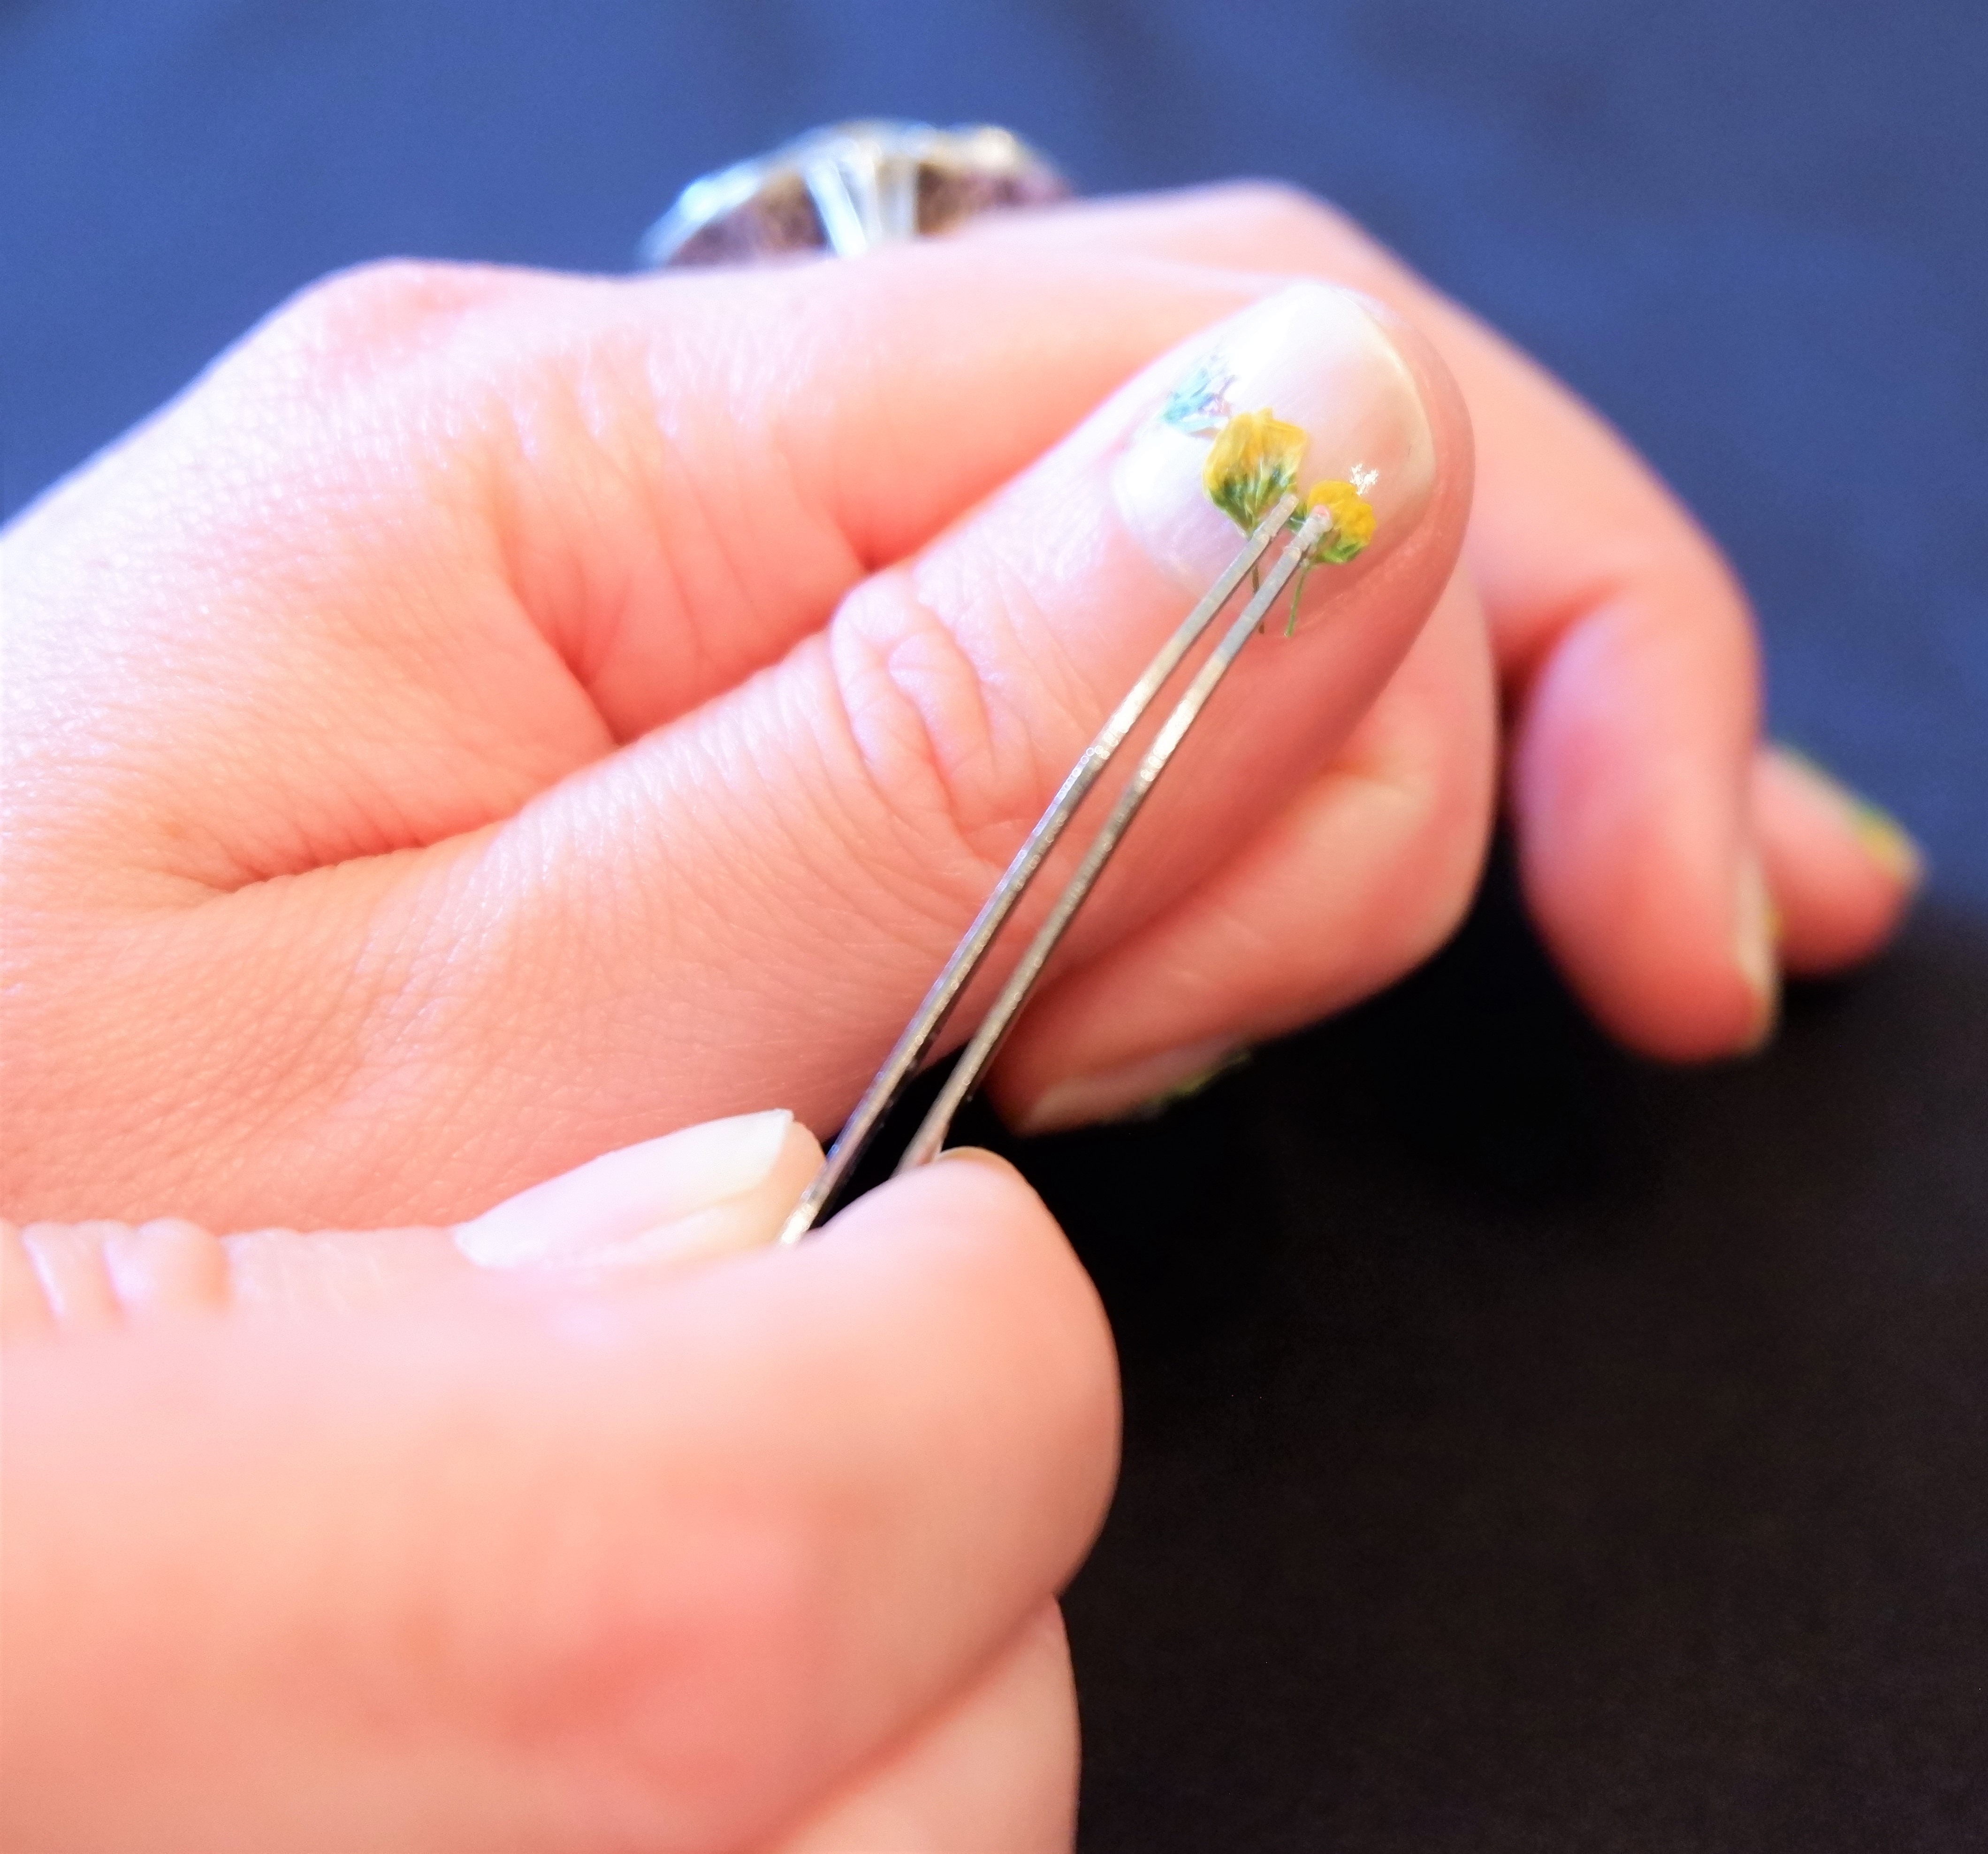
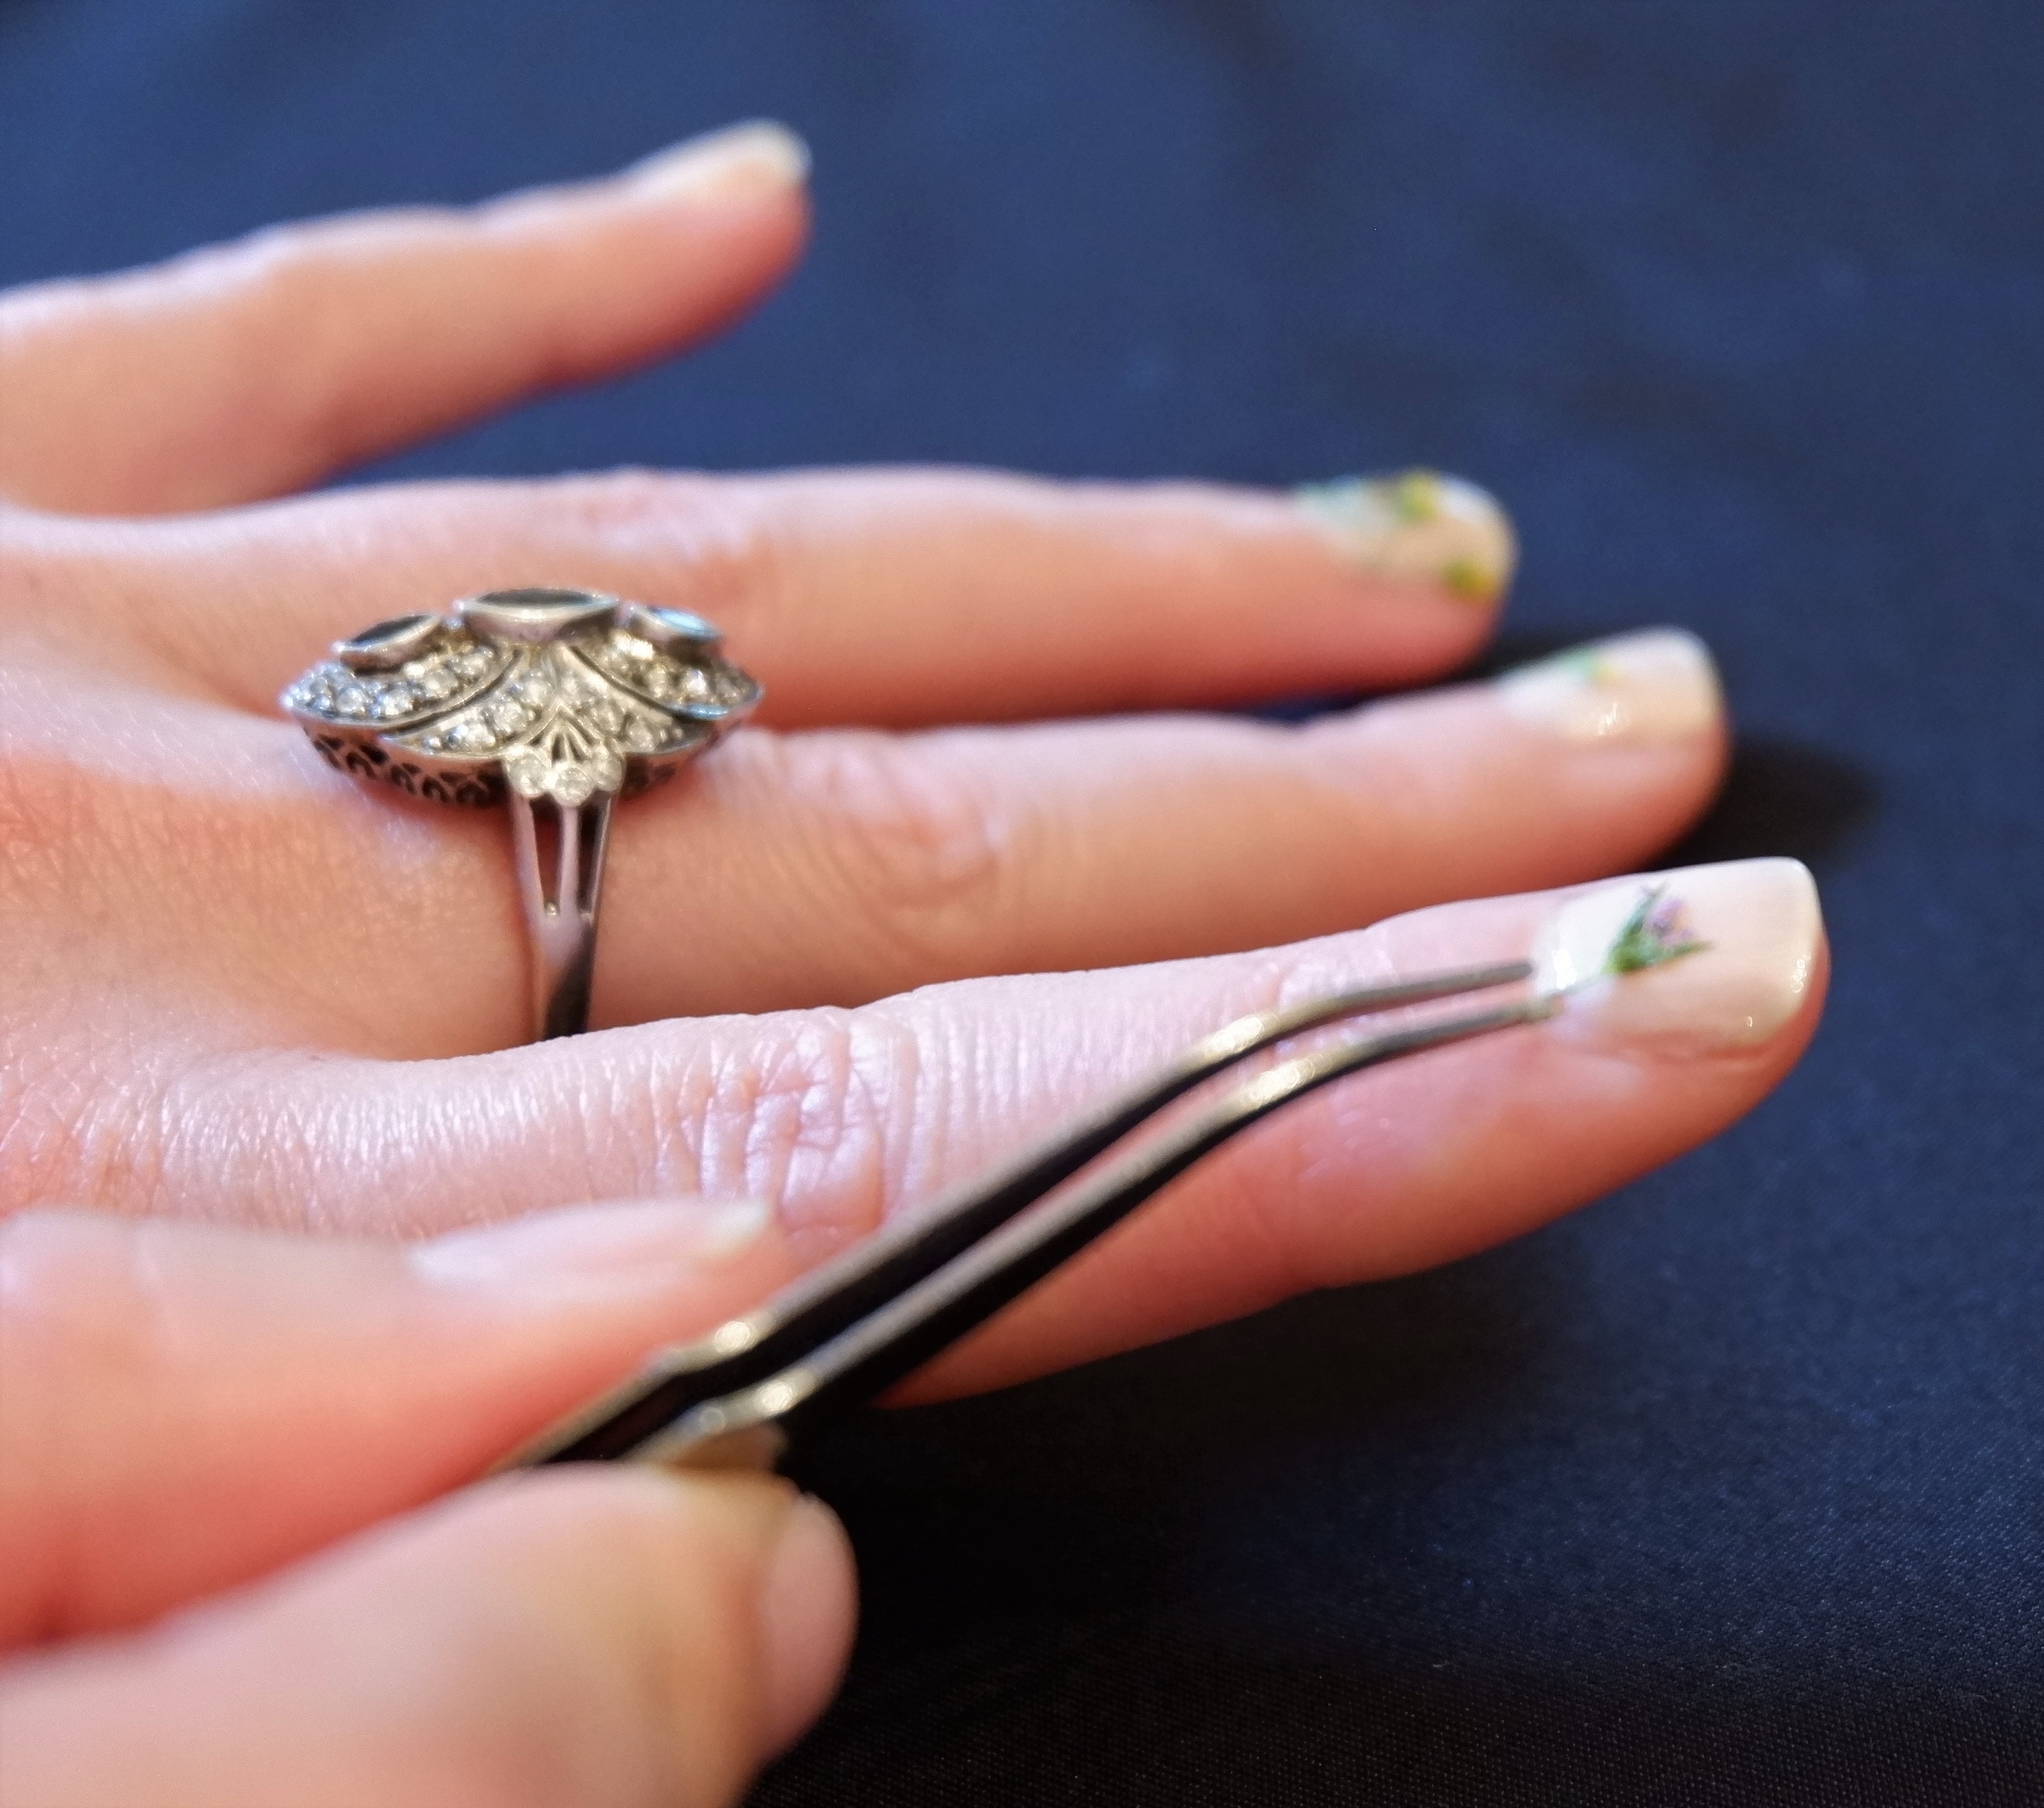
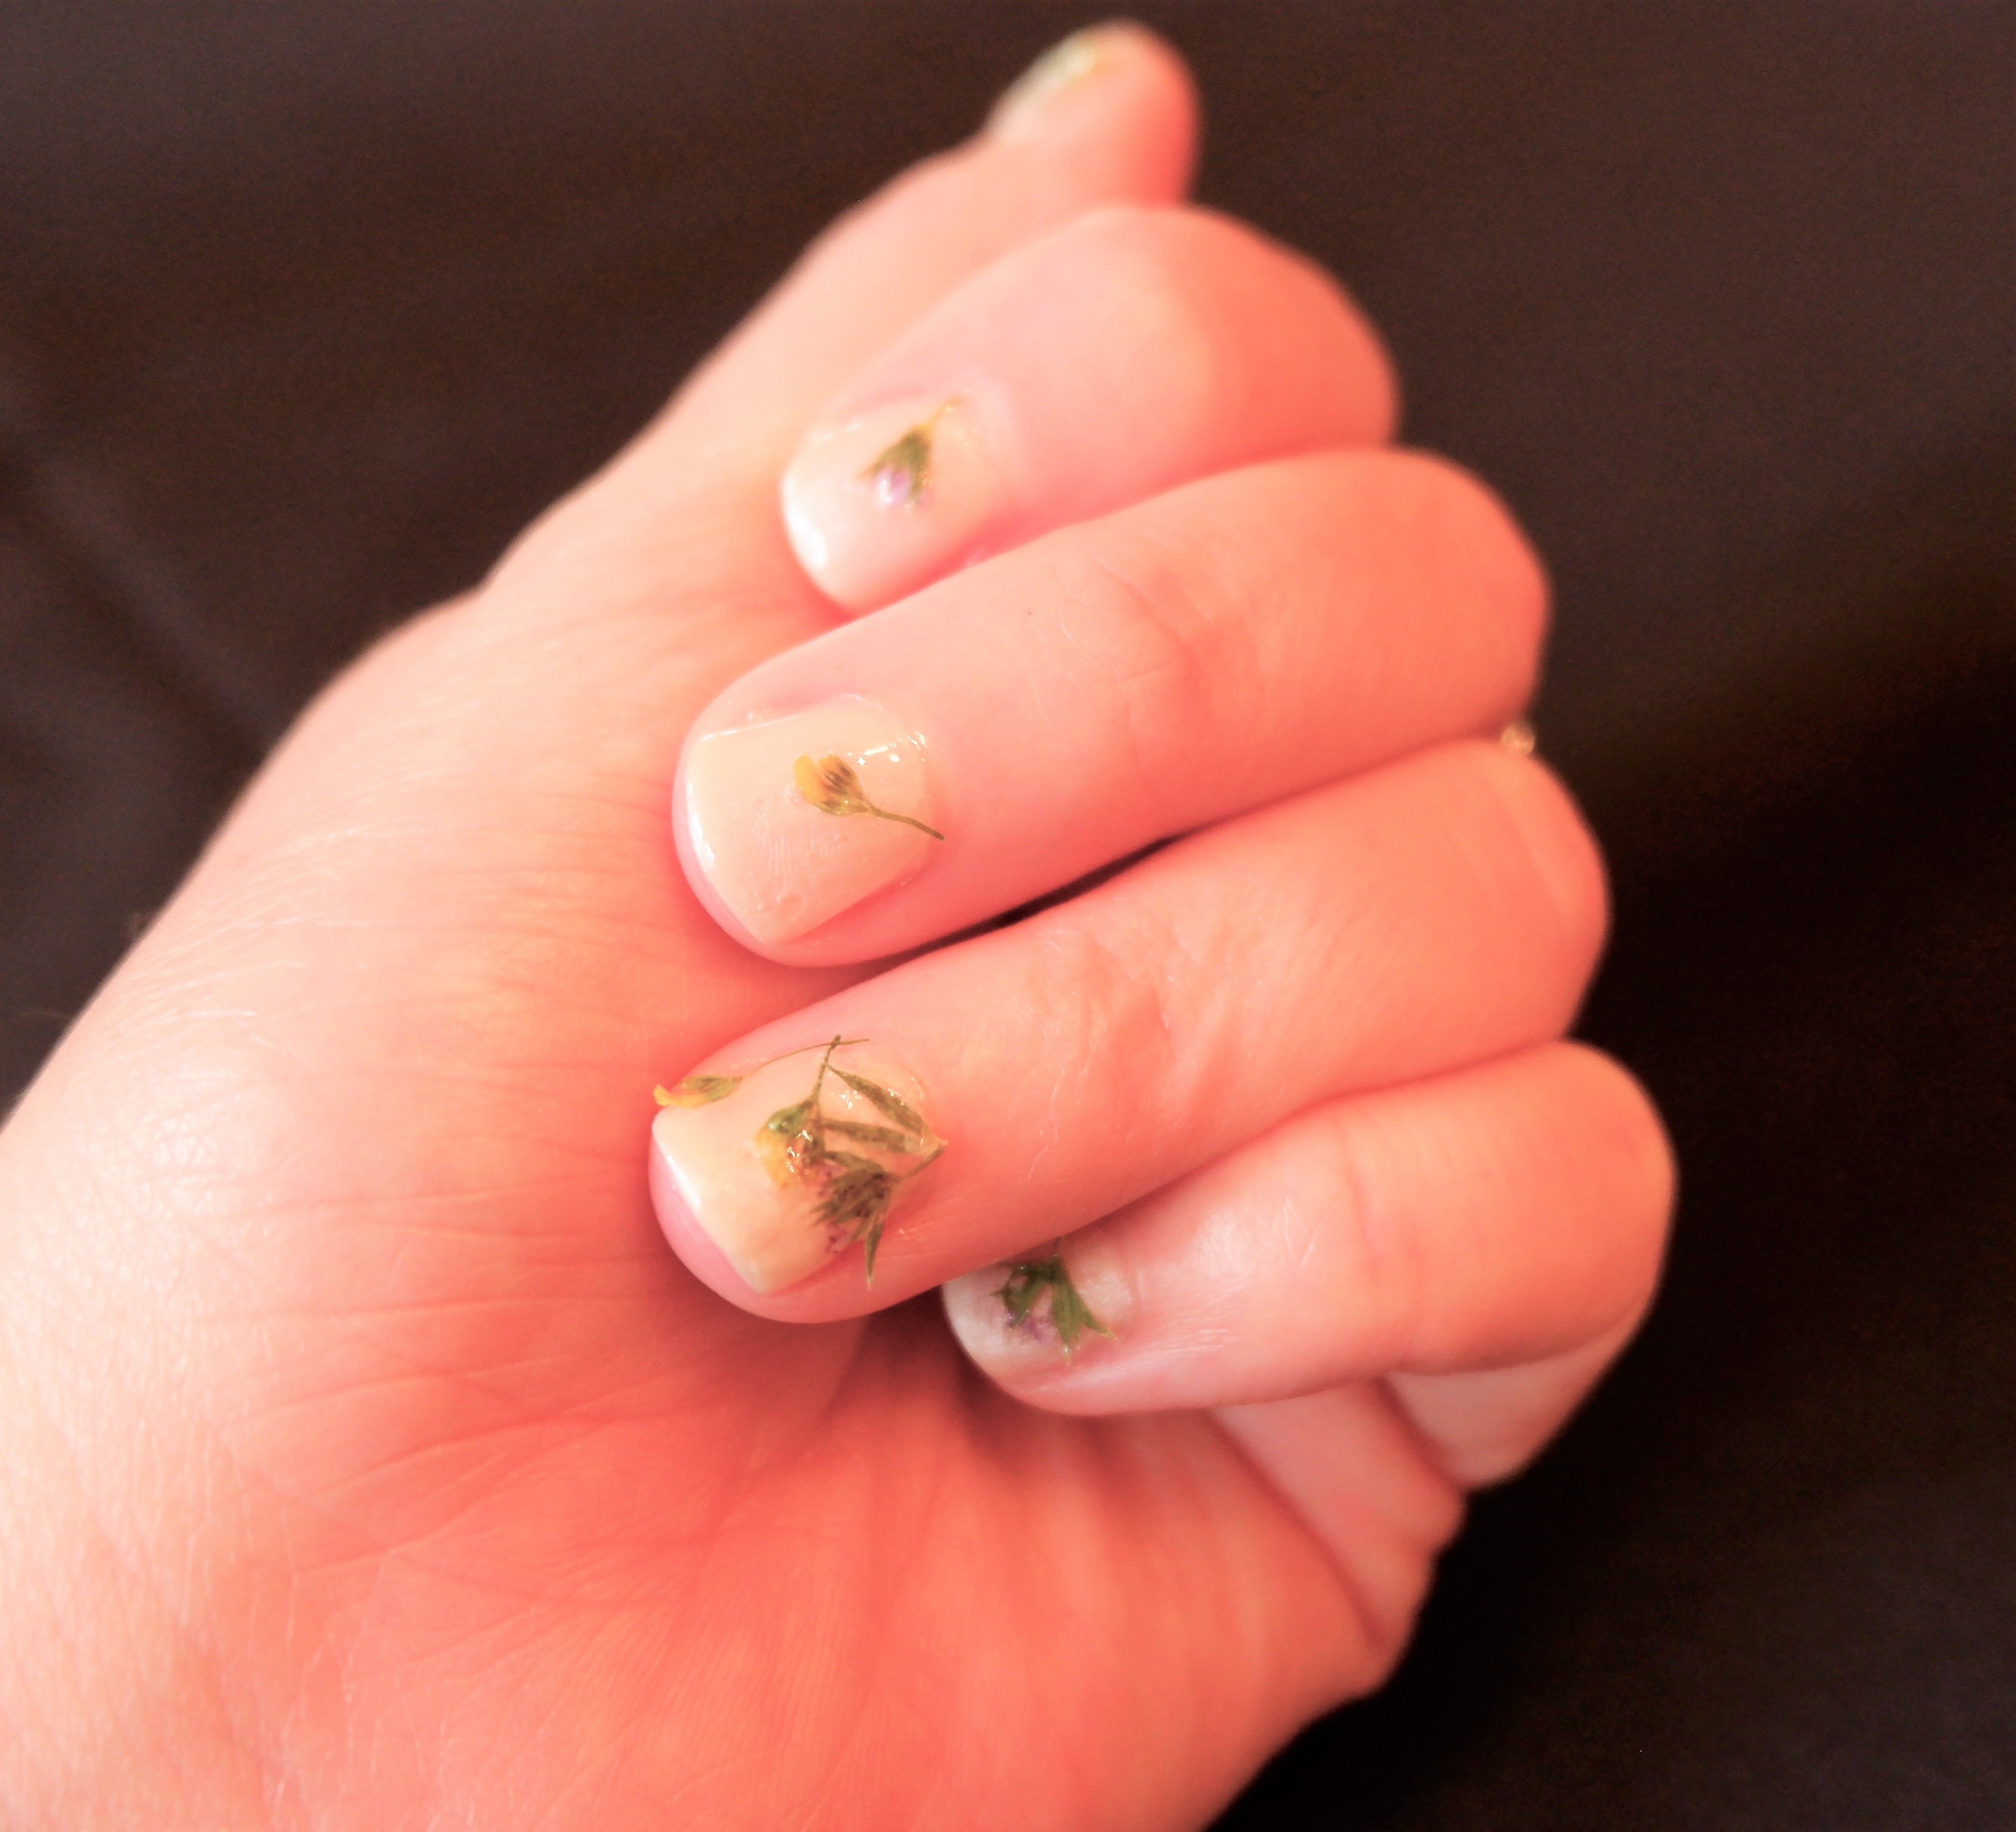
While your nails are still slightly tacky, use tweezers or a steady hand to place your flowers onto your nails. Since your nails are tacky, it will be difficult to reposition them, so chose wisely. I left stems on my flowers, so I chose to position them as if they are growing my nail bed.
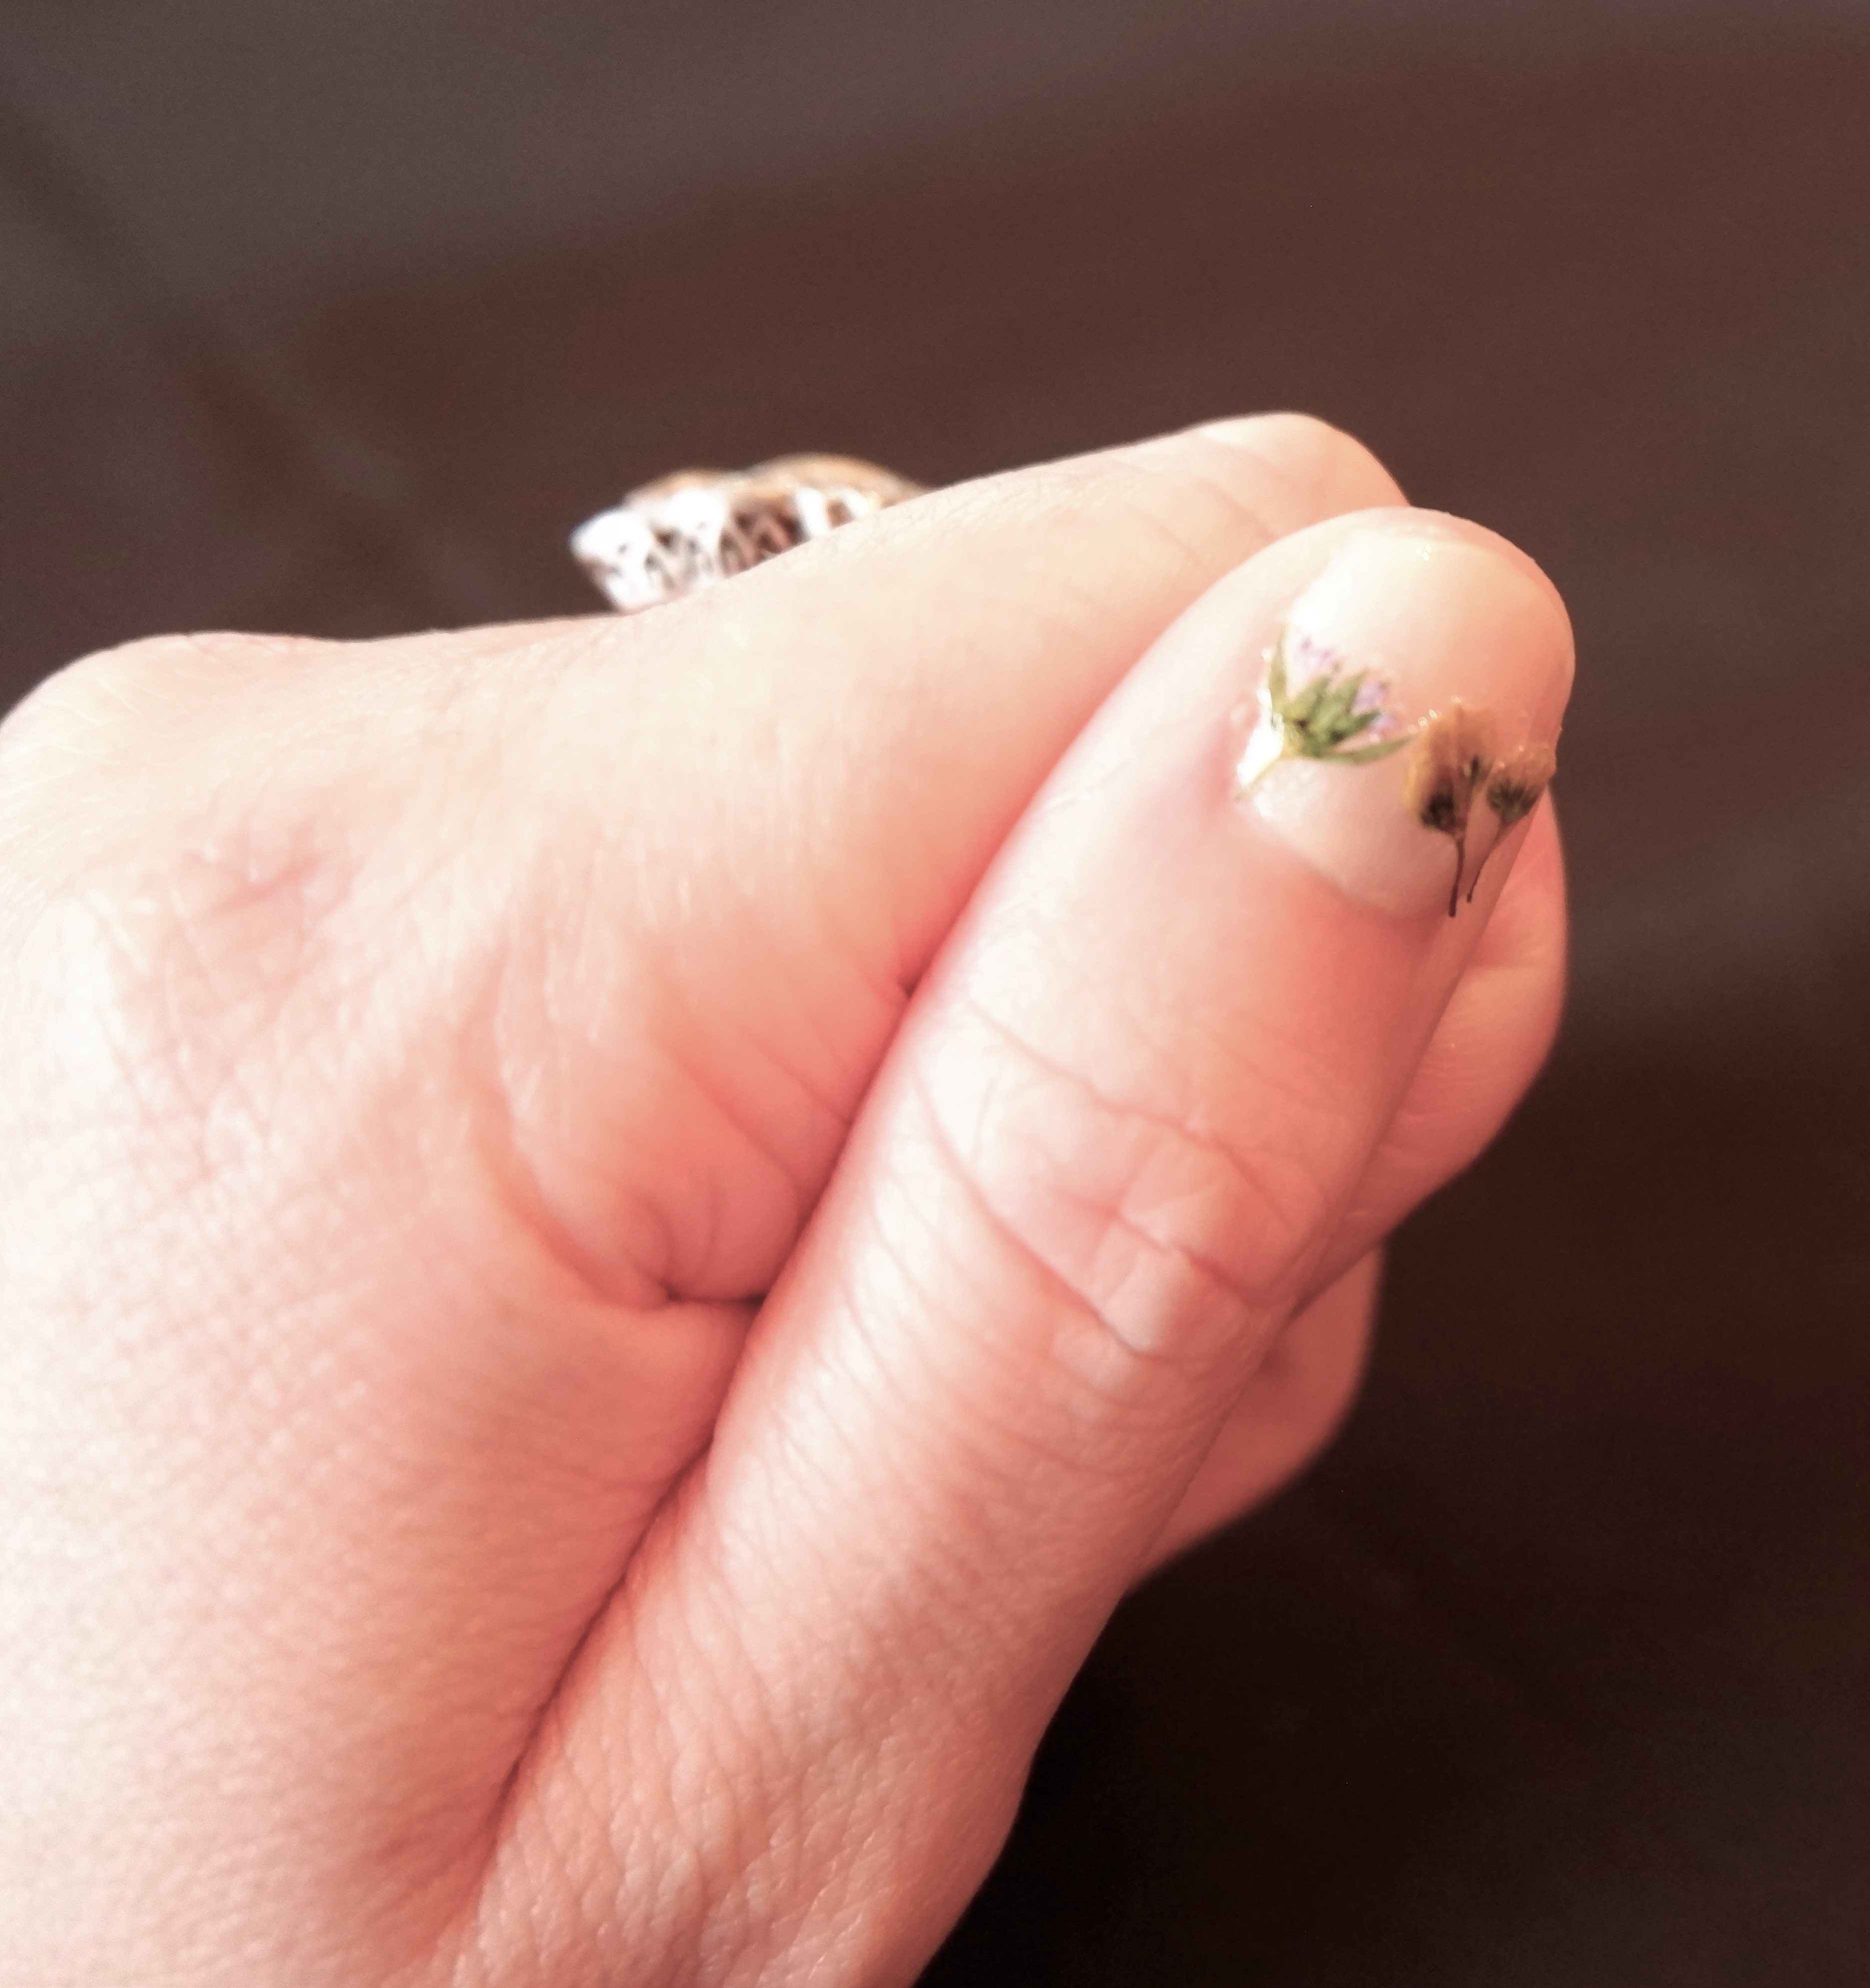
Generously coat your flowers and polish in a quick dry top coat. If your flowers won’t lay flat, gently press them into place with tweezers while your top coat is drying.
Tip: use gel polish and top coat to get a domed effect like resin jewelry.
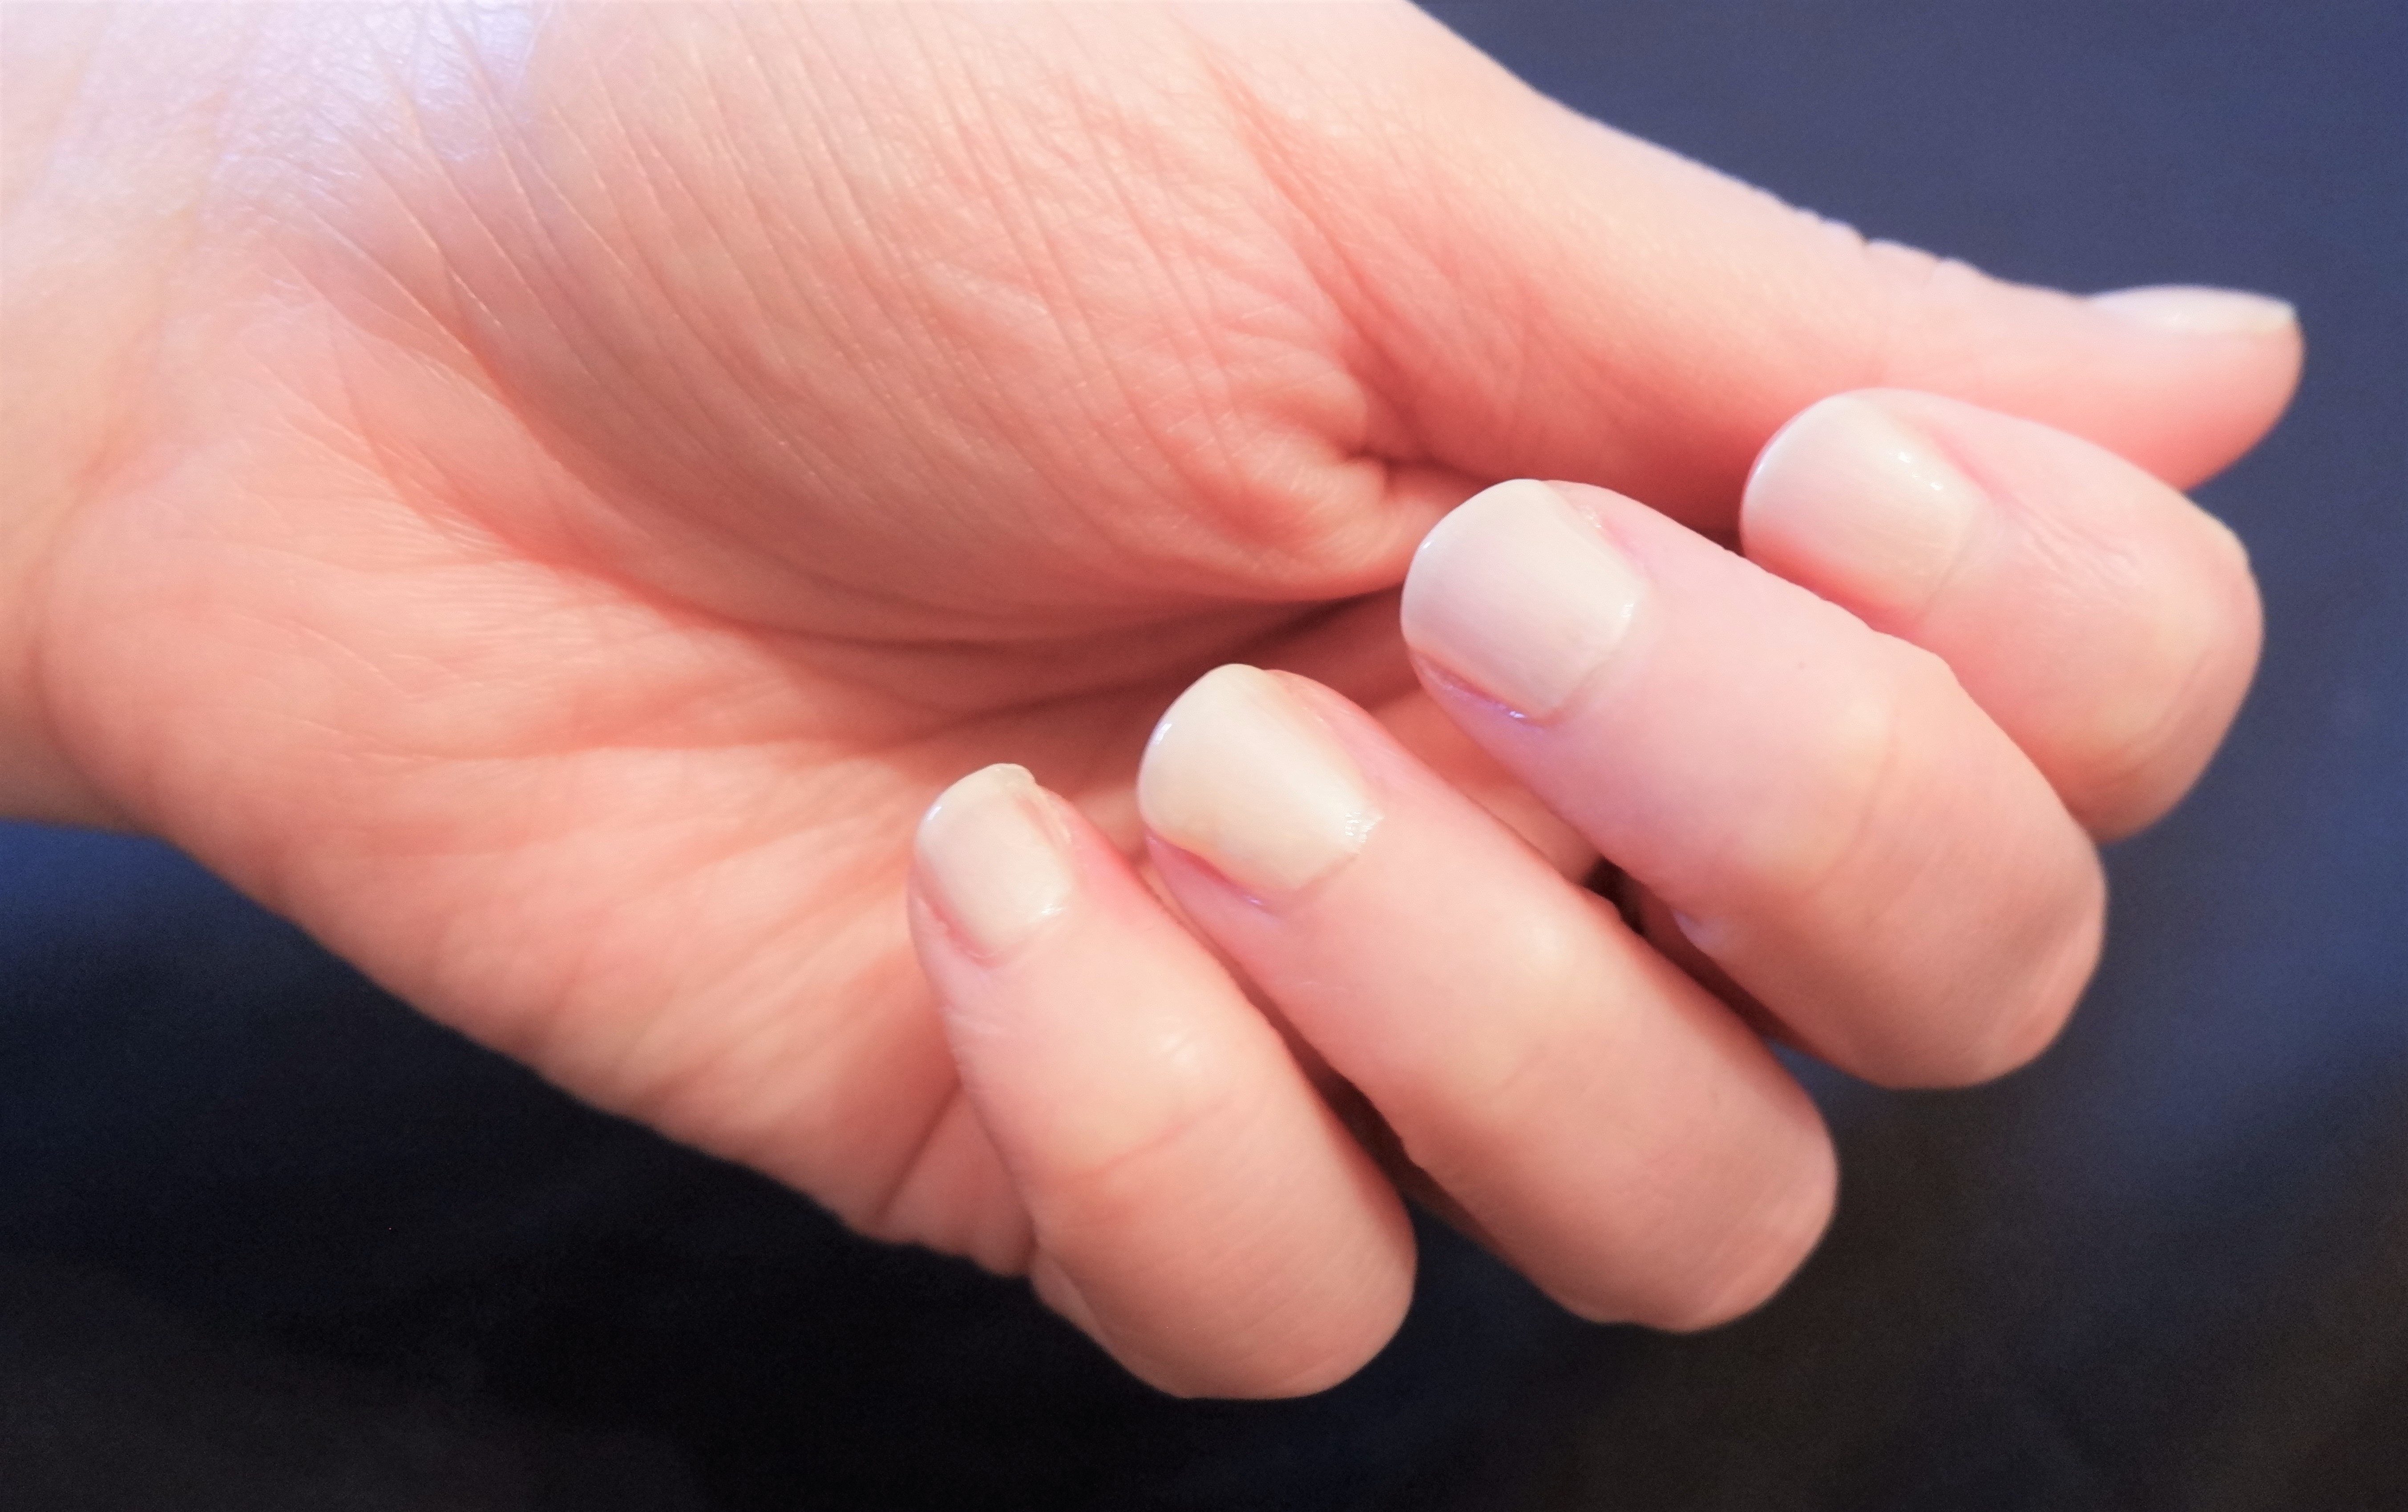
Apply more top coat as necessary to fully coat your flowers. Ensuring that your flowers are fully covered by top coat will prolong their life and make sure that they don’t get catch on anything while you go about your life.
If you nails don’t turn out the way you want the first time, keep practicing! There are plenty of clover patches to supplies your materials.
By day, Jenna is a legal professional living in Los Angeles, California. By night (and weekends), she is a frill wearing monster who loves Innocent World and lolita indie brands. When she isn’t taking mirror selfies of her coordinates, she enjoys reading comic books, playing board games, and snuggling with her pup, Lily. You can see her mirror selfies on her instagram @lovelylaceandlies and contact her at lovelylaceandlies@gmail.com.
Recommend